

Ceiling Wallpaper That Works: Install Steps and $6–$14/sq ft Costs
Yes, wallpaper on ceiling surfaces works when the room, pattern, and prep line up. Powder rooms, bedrooms, and entryways reward the effort most, since a bold overhead pattern reads as intentional design rather than clutter. Expect extra prep time, careful pattern matching, and a possible call to a professional if your ceiling is large, vaulted, or textured. Below, you’ll find room ideas, material choices, a step-by-step install workflow, cost ranges, and upkeep advice.
TL;DR:
- Testing a full-size sample sheet on the ceiling for several days helps determine if the pattern, scale, and lighting effects meet expectations before ordering large quantities.
- Traditional paste-hung wallpaper is more durable for large or high-traffic ceilings, while peel-and-stick options suit small, smooth, or rental spaces with shorter lifespan.
- Proper surface preparation, including removing old wallpaper and applying primer, is crucial for a crisp, lasting installation, especially on textured or older ceilings.
- Ceiling wallpaper costs range from $6 to $14 per square foot for materials and installation, with textured surfaces or complex jobs increasing overall expenses.
- Professional installation is recommended for vaulted, large, or patterned ceilings to ensure precise pattern matching and a seamless finish.
Table of Contents
- Where Ceiling Wallpaper Makes the Biggest Design Impact
- Is Wallpapering a Ceiling Worth the Effort?
- Which Wallpaper Materials Work Best Overhead
- What to Prep and What to Buy Before Install Day
- How to Install Wallpaper on a Ceiling Step by Step
- Should You Hire a Pro or Do It Yourself?
- Getting the Scale, Color, and Lighting Right
- How Long Does Ceiling Wallpaper Last?
- Why Trust This Ceiling Wallpaper Guide
- The Ceiling Isn’t an Afterthought. Stop Treating It Like One.
- Ready to Try Wallpaper on Your Ceiling?
- Sources
Where Ceiling Wallpaper Makes the Biggest Design Impact
Treating the ceiling as the “fifth wall” softens overhead lighting and adds intimacy to rooms with high ceilings, which is why designers keep returning to a short list of spaces:
- Powder rooms — small square footage keeps material costs low while the payoff feels dramatic.
- Bedrooms — a print overhead, especially above the bed, creates a canopy effect without touching the walls.
- Entryways — the first thing guests see sets the tone for the whole house.
- Reading nooks or attic corners — a small-scale print on a sloped ceiling makes a cramped space feel styled, not accidental.
Save the boldest florals and murals for small rooms. Save subtle textures, like grasscloth or tonal geometrics, for larger living spaces where you don’t want the ceiling competing with everything else.
Is Wallpapering a Ceiling Worth the Effort?
The benefits are real: a wallpapered ceiling becomes an instant focal point, makes tall rooms feel more intimate, and adds pattern without crowding your walls or furniture. The drawbacks are just as real. Seams show up more on a ceiling than they ever would on a wall, overhead work strains your neck and arms, textured surfaces need remediation first, and humidity or heat can loosen adhesive over time.
Before you commit, run through this quick checklist:
- What’s the room type, and how forgiving is a mistake there?
- Is the ceiling smooth, or does it need scraping and skim-coating first?
- Does the pattern scale suit the room’s size?
- Is ventilation adequate, especially in a bathroom?
Pro Tip: Tape a full sample sheet to the ceiling and live with it for a few days before ordering. Overhead light changes color and pattern scale more than most people expect.
Which Wallpaper Materials Work Best Overhead
Material choice depends on ceiling size, surface condition, and how long you want the install to last.
- Traditional paste-hung paper handles larger rooms and long-term wear better than most alternatives, and it’s generally more forgiving during hanging since you can slide and adjust the paste before it sets.
- Peel-and-stick suits small, smooth ceilings and rental units. It’s a solid fit for closets or powder rooms if the surface is properly prepped, but it has a shorter lifespan and holds up worse in humid rooms.
- Vinyl-coated papers resist moisture better, making them a smarter pick for bathroom ceilings. Avoid hanging any wallpaper directly over a shower stall or a vent where steam collects.
- Textured and metallic papers hide minor ceiling flaws well, but they need the correct adhesive strength and you should consider how much they’ll reflect your light fixtures before committing.
What to Prep and What to Buy Before Install Day
Surface prep decides whether your install looks crisp or turns into a redo. Start by checking for popcorn texture, since ceilings finished before 1980 should be tested for asbestos before you disturb them. Strip old wallpaper, skim-coat rough patches or apply liner paper, then prime with a dedicated wallpaper primer and let it cure for 24 hours before hanging anything.
Tools you’ll want on hand:
- A laser level for a straight guide line
- A seam roller and smoothing tool
- A sturdy ladder or scaffolding plank for reach
- A paste roller and sharp utility knife
A laser level reduces the cumulative alignment errors that cause visible seam drift across a run of strips — one of the single most useful tools for this job. On the materials side, order 15 to 20% extra to cover pattern repeat waste, confirm whether your paper is paste-the-paper or paste-the-wall, and test a swatch overhead before buying the full order. Our wallpaper installation tools guide breaks down what each tool actually does on the job.
How to Install Wallpaper on a Ceiling Step by Step
- Mark your centerline. Use a laser level to establish the viewing orientation and plan strip widths from there, since ceilings are unforgiving. Even a small seam misalignment becomes highly visible overhead.
- Dry-fit before you commit. Cut strips and lay them out on a table first. Book pasted strips if your product calls for it, and bring in a helper for overhead positioning. Two sets of hands beat one set of arms holding a wet strip above your head.
- Apply paste and hang. Roll paste according to your product type, lift the first strip into place, and smooth from the center outward, matching the pattern repeat as you go. Run the seam roller over every joint.
- Trim carefully. Cut around light fixtures, vents, and any hardware with a fresh utility knife blade, then wipe excess paste immediately before it dries and yellows.
- Reinstall fixtures after curing. Wait until the adhesive fully sets before putting light covers or vent grilles back on.
If an edge starts lifting while the paste sets, work a small amount of fresh paste underneath with a seam tool rather than repositioning the whole strip. A short strip of painter’s tape can hold a stubborn seam flat overnight. For a rundown of the mistakes that trip up first-timers, our installation mistakes guide is worth a read before you start.
Pro Tip: Work in natural daylight if you can. Overhead artificial light hides seam gaps that become obvious the moment the sun comes through a window.
Should You Hire a Pro or Do It Yourself?
Many professionals caution against DIY ceiling installs because of the physical strain, the precision pattern alignment demands, and how visible a crooked seam becomes on an overhead surface. Hire a pro if you’re dealing with:
- A vaulted or unusually high ceiling
- A large living or dining room
- A complex, large-scale pattern that needs exact repeat matching
- A textured surface that needs remediation first
- Any job where you want a seam-matching guarantee
Installed ceiling wallpaper typically runs $6 to $14 per square foot for materials and labor combined, with textured-surface prep pushing costs higher. A powder room ceiling costs far less in total dollars than a living room, though small jobs sometimes hit an installer’s minimum charge. When vetting an installer, ask to see photos of past pattern-matching work, confirm whether they handle fixture removal and reinstallation, and ask if they warranty seam quality.
Getting the Scale, Color, and Lighting Right
Larger-scale motifs generally read better overhead than tight, busy prints, which can look muddy from below. Designers recommend testing swatches taped up and viewed from where you’ll actually stand or lie in the room, not from across the store.
- Metallics catch and amplify light near fixtures, so consider bulb color temperature before hanging.
- Dark grounds can feel heavy without enough ambient light to lift them.
- Keep walls and furnishings simpler when the ceiling carries a bold pattern.
- Frame a papered ceiling panel with crown molding or trim for a finished, intentional look.
Designers describe this as a controlled way to embrace maximalism: go bold overhead, stay simple everywhere else. Our piece on how wallpaper changes room atmosphere digs deeper into how pattern and light interact.
How Long Does Ceiling Wallpaper Last?
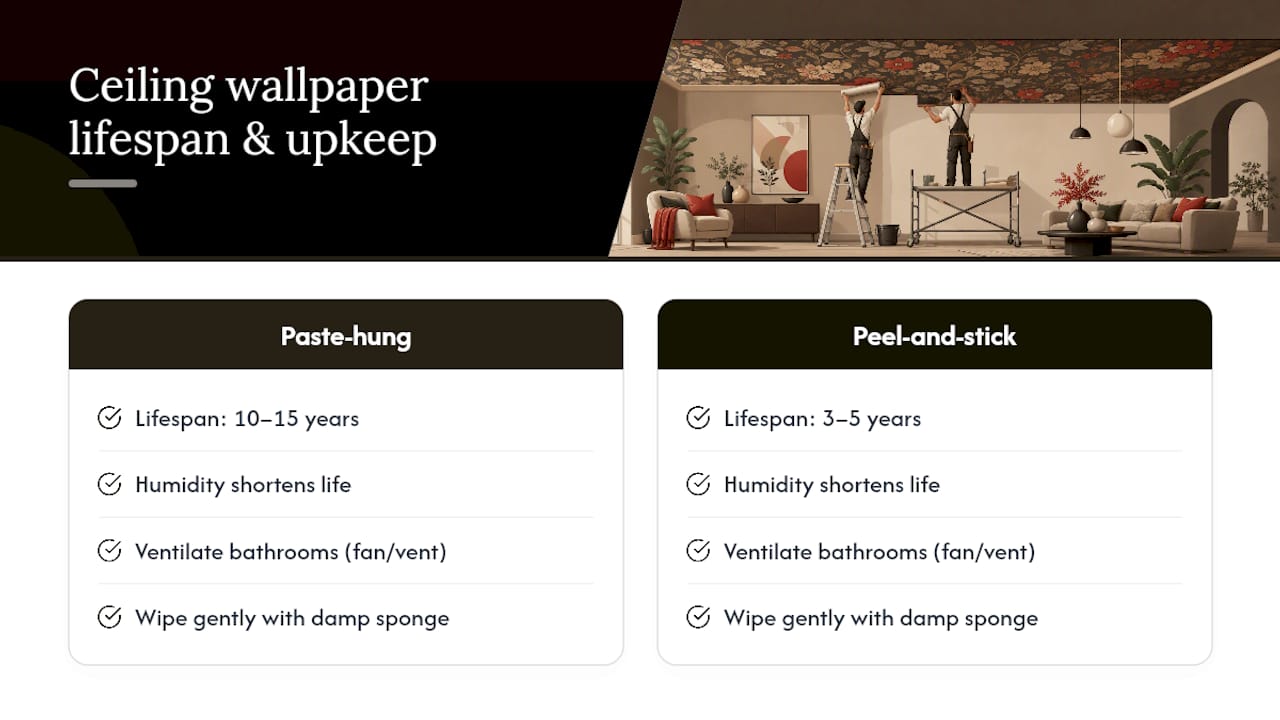
Paste-hung ceilings often last 10 to 15 years in dry rooms, while peel-and-stick tends to hold up for closer to 3 to 5 years. Humidity shortens both, so run a fan or vent well in any bathroom or powder room install. For upkeep, wipe gently with a damp sponge, re-paste small lifting edges as soon as you spot them, and call a professional if a seam separates across a wide span. Our maintenance basics guide and removal best practices guide cover both ends of that lifespan.
Why Trust This Ceiling Wallpaper Guide
Wallsneedlove specializes in custom-printed wallpaper and murals, offered in both peel-and-stick and traditional paste, with custom orders typically produced in 1 to 3 days. The site’s installation guides, maintenance resources, and sample ordering exist to support exactly the kind of project covered here, whether you’re papering a powder room or a full living room ceiling.
The Ceiling Isn’t an Afterthought. Stop Treating It Like One.
Most advice on this topic treats the ceiling as a wall you happen to hang overhead, and that’s the wrong frame. A wall competes with furniture, art, and traffic patterns. A ceiling competes with nothing. That’s exactly why small mistakes, an off-center seam, a pattern that doesn’t scale, read louder up there than anywhere else in the room.
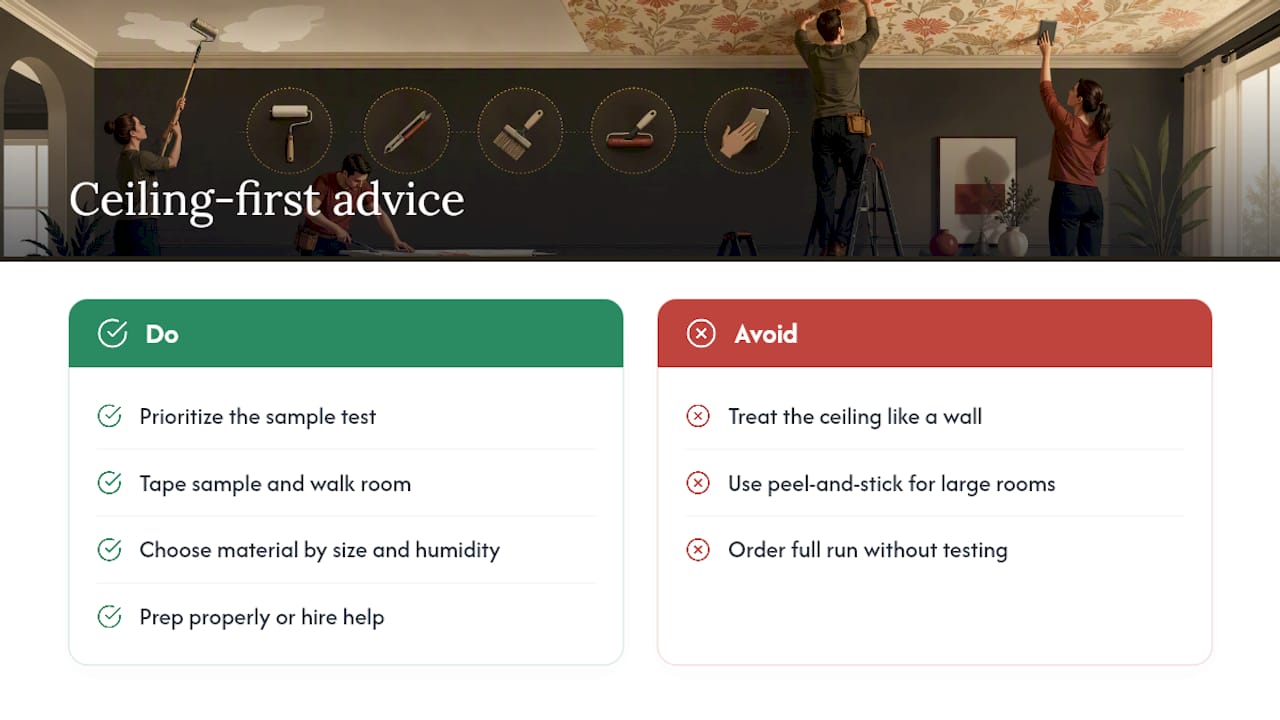
The conventional wisdom oversells peel-and-stick as the universal beginner’s fix. It’s genuinely good for a closet or a small powder room, but pushing it onto a large living room ceiling just to avoid paste is how people end up with lifting edges within a year. Material choice should follow room size and humidity, not fear of a paste bucket.
If you take one thing from this guide, prioritize the sample test. Tape it up, walk the room at different times of day, and decide before you order the full run. Everything else, prep, tools, installation, is solvable with patience or a hired hand. A pattern you regret overhead is not.
— WallsNeedLove
Ready to Try Wallpaper on Your Ceiling?
This project cuts out the biggest risk: guessing whether a pattern will actually work before you’ve committed to a full roll. Designs are available in peel-and-stick for smaller rooms and quick swaps, or traditional paste for larger ceilings, with custom orders typically produced within a few days.

If you’re leaning toward a bold overhead statement, the Monkeying Around wallpaper shows how a playful, large-scale print reads in a small space, while the Java Mountain mural is built for a full feature ceiling. For a subtler texture that pairs well with wood trim or paneling, Bodaq’s wall paneling ideas are worth a look alongside your wallpaper choice. Order a sample, tape it overhead, and see how it actually reads in your room before you commit. If you need install advice or a quote for a larger ceiling, reach out through Wallsneedlove to get started.
Sources
- Should You Put Wallpaper on the Ceiling? Here’s What Designers Recommend
- How to Hang Wallpaper on the Ceiling | HGTV
- Wallpaper on Ceiling: Ideas and Cost Ranges
- Wallpaper on Ceiling: Ideas and Cost Ranges — The Spruce


Leave a comment