

Wallpaper Installation Mistakes Decorators Must Avoid
The most common wallpaper installation mistakes decorators encounter fall into four categories: poor wall preparation, measurement errors, wrong adhesive use, and bad seam finishing. Each category produces visible, often permanent flaws. Failures are usually due to installation errors, not wallpaper quality. That means adhesive choice and surface prep decide whether your project succeeds or fails before you hang a single strip. Wallsneedlove offers detailed installation guides alongside its Greenguard Gold certified wallpaper collections to help homeowners get professional results on the first attempt.
1. Common wallpaper installation mistakes decorators make with wall prep
Wall preparation is the single most frequent source of wallpaper failure. Skipping or rushing this step causes bubbles, peeling edges, and visible surface imperfections that show through the paper after it dries.
The wall surface must be clean, dry, smooth, and properly primed before any paper goes up. Grease, dust, or old paint residue all break the adhesive bond. Sand down any raised areas, fill cracks with joint compound, and let everything dry completely.
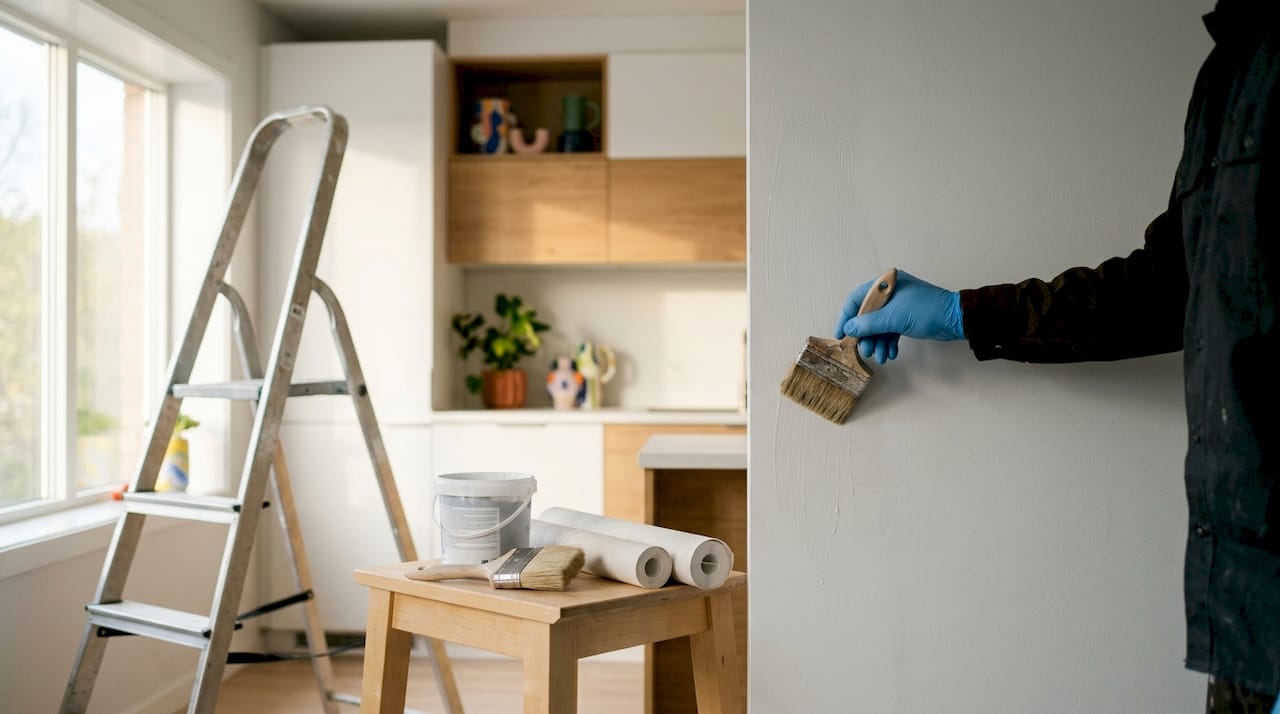
Priming with wallpaper primer rather than standard paint primer is critical for adhesion and lasting results. Standard paint primers are not formulated to hold wallpaper adhesive. A dedicated wallpaper primer creates a consistent, slightly porous surface that grips paste evenly.
Two prep techniques that professionals use but DIYers often skip:
- Mist coat on new plaster: Apply a diluted matt emulsion to new plaster before priming. This seals the surface without fully closing it, which prevents the plaster from drawing moisture out of the paste too quickly.
- Lining paper on previously painted or papered walls: Lining paper creates a uniform surface that reduces seam visibility and absorbs minor wall imperfections before the decorative layer goes on.
High wall moisture causes bubbles and bond failure, so controlling humidity is not optional. Rooms with recent plumbing work, new plaster, or poor ventilation are high risk.
Pro Tip: Use a moisture meter to check wall readings before you start. Walls should read below 12% moisture. Hanging paper on a damp wall is the fastest way to guarantee peeling within weeks.
2. Measurement and pattern alignment errors
Measurement mistakes are the second most common source of visible wallpaper errors. The most damaging error is hanging the first strip without establishing a true vertical reference.
Walls are rarely perfectly plumb. A strip hung against a wall corner or door frame will drift off vertical as it travels across the room. By the time you reach the opposite wall, the pattern can be noticeably crooked.
The first strip must be hung using a perfectly vertical plumb line. Even a few millimeters of error causes the entire wall’s pattern to drift, and that drift is often irreversible without stripping and restarting. Use a spirit level or laser level to mark your plumb line before cutting a single piece.
Follow these steps to avoid the most common measuring and cutting errors:
- Measure wall height and add 4 inches total (2 inches top, 2 inches bottom) for trimming.
- Check the pattern repeat on your wallpaper label and account for it when cutting each strip.
- Match dye lots across all rolls. Different dye lots produce subtle color shifts that become obvious once the paper is hung.
- Dry-fit each strip against the wall before pasting to confirm the pattern match.
- Use a fresh, sharp blade for every cut. Dull blades drag and tear the paper edge.
Pattern matching breaks at internal corners. Trying to force a continuous pattern around a corner causes cumulative misalignment on the next wall. Cut at the corner and restart with a new plumb line on the adjacent wall.
Pro Tip: Mark your plumb line in pencil, not pen. Ink can bleed through light-colored wallpaper and create a visible line behind the pattern.
3. Adhesive selection and application errors
Using the wrong adhesive is a direct cause of peeling, bubbling, and long-term bond failure. The adhesive type must match the wallpaper material.
Vinyl wallpapers require specific adhesives. Using a standard wheat-starch paste on a heavy vinyl paper will not hold. Heavy materials need a heavy-duty or fungicidal adhesive. Lightweight papers like grasscloth or fabric-backed styles need a gentler formula that will not bleed through.
The three main application types each have different requirements:
- Pre-pasted wallpaper: Activate the paste by soaking the strip in a water tray. Under-soaking leaves dry spots. Over-soaking washes the paste off entirely.
- Paste-the-paper: Apply paste to the back of the strip, fold it paste-to-paste (booking), and wait the manufacturer’s specified time before hanging.
- Paste-the-wall: Apply paste directly to the wall surface. This method works well for non-woven papers and reduces mess, but the wall must be evenly coated.
Booking time typically ranges from 2 to 8 minutes, depending on the material and label instructions. Booking allows the paper to expand and become flexible. Skipping this step causes the paper to expand after it is already on the wall, which creates bubbles and seam gaps.
Paste on the face of the paper is a common application error. It dries shiny and leaves a visible residue. Wipe any paste off the paper face immediately with a clean, damp sponge.
Pro Tip: Read the wallpaper adhesive guide before purchasing paste. Matching adhesive to paper type is the single most preventable cause of installation failure.
4. Seam mistakes that create visible flaws
Seams are the most scrutinized part of any wallpaper installation. A poorly finished seam is visible from across the room and cannot be fixed without removing the strip.
Seams must be butted, not overlapped. Two strips pressed edge-to-edge create a flat, nearly invisible joint. Overlapping creates a raised ridge that catches light and draws the eye directly to the seam.
Common seam errors and how to avoid them:
- Gaps at seams: Caused by paper shrinking as it dries. This happens when booking time is too short or the room is too warm and dry. Keep the room at a stable temperature and humidity during installation.
- Paste residue on seams: Paste left on the paper face dries shiny and unattractive. Wipe seams immediately after butting each strip with a clean, damp cloth.
- Torn or ragged edges: Caused by dull cutting blades. Replace the blade after every 3–4 cuts.
- Rolled-open seams: Pressing too hard with a seam roller crushes the paper texture and forces paste out from behind the seam. Use light, even pressure only.
Pattern matching at seams requires patience. Slide the strip up or down slightly to align the repeat before pressing the seam flat. Once the paste grabs, repositioning becomes difficult.
Pro Tip: Keep a small artist’s brush and a dab of adhesive nearby. If a seam lifts after drying, apply a small amount of paste behind the edge and press it flat with a clean cloth.
5. When to call a professional instead of going DIY
Some wallpaper projects exceed typical DIY skill levels. Recognizing those limits before starting saves money and prevents damage to expensive paper.
Wallpaper installation requires apprenticeship-level skill to read paper tension, timing, and wall conditions in real time. That judgment develops through repetition. A first-time installer working with a large-scale scenic mural or a heavily textured wall faces a steep learning curve with expensive consequences.
Projects that typically require professional installation:
- Large-scale murals or scenic prints: Pattern matching across 8 or more strips leaves no margin for error.
- Older or uneven walls: Walls with multiple layers of old paint, significant texture, or structural movement require extensive prep that goes beyond standard DIY scope.
- Multi-corner rooms: Each corner requires a new plumb line and a precise cut. Rooms with many corners multiply the chances of cumulative misalignment.
- Specialty materials: Grasscloth, silk, and metallic papers are unforgiving. Paste marks, tears, and misalignment are permanent on these surfaces.
Peel-and-stick wallpaper is a practical option for DIY homeowners who want a lower-risk project. It works well on accent walls, small spaces, and rental properties where damage-free removal matters. Wallsneedlove offers peel-and-stick options alongside traditional paste styles, so you can match the product to your skill level and wall conditions.
Key Takeaways
Avoiding wallpaper installation errors requires proper wall prep, accurate measurement with a plumb line, correct adhesive selection, and careful seam finishing at every stage.
| Point | Details |
|---|---|
| Wall prep is non-negotiable | Prime with wallpaper primer and check moisture below 12% before hanging any paper. |
| Plumb line prevents pattern drift | Hang the first strip on a verified vertical line, not against a wall corner or door frame. |
| Match adhesive to paper type | Vinyl, non-woven, and lightweight papers each require a different adhesive formula. |
| Book paper before hanging | Allow 2–8 minutes of booking time so paper expands before it goes on the wall. |
| Butt seams, never overlap | Edge-to-edge seams are nearly invisible; overlapped seams create a raised ridge that catches light. |
What working with wallpaper has taught us at Wallsneedlove
The most consistent pattern Wallsneedlove sees across failed installations is this: the mistake happened in the first 20 minutes, not the last. Homeowners rush the prep, skip the plumb line, or paste the paper without booking it. By the time the problem shows up, the paper is dry and the damage is done.
DIY mistakes once dried are often irreversible. That fact changes how you should approach the project. Treat the first strip as a test. Check the plumb line twice. Confirm the pattern match before pressing the seam flat. Slow down at every decision point.
The other thing worth saying plainly: most wallpaper failures are not the paper’s fault. The design, the print quality, the material weight — none of that matters if the wall is damp or the adhesive is wrong. Good paper on a bad wall still fails. Preparation is the product.
Wallsneedlove recommends reading the installation tools guide before purchasing materials. Having the right smoother, seam roller, and cutting blade on hand before you start removes one more variable from an already demanding process.
— Wallsneedlove
Wallsneedlove wallpaper collections and installation resources
Wallsneedlove carries a wide range of wallpaper styles for residential and commercial spaces, from geometric patterns to scenic wall murals, all available in peel-and-stick or traditional paste formats. Every order is custom made within 1–3 days and certified Greenguard Gold for indoor air quality.

The site also includes detailed installation guides covering surface prep, adhesive selection, and seam finishing. Whether you are hanging a geometric accent wall in a bedroom or a full scenic mural in a commercial lobby, Wallsneedlove has the product and the guidance to support the project. Browse the full wallpaper and murals collection to find the right style and format for your space.
FAQ
What is the most common wallpaper installation mistake?
Skipping proper wall preparation is the most frequent error. Hanging paper on an unprimed, damp, or uneven surface causes bubbles, peeling, and visible texture telegraphing through the paper.
Why do wallpaper seams open up after drying?
Seams open when paper shrinks during drying, usually because booking time was too short or the room temperature was too high. Allow the full manufacturer-specified booking time of 2–8 minutes before hanging each strip.
Do I need a plumb line for every wall?
A new plumb line is required at every internal corner. Pattern matching breaks at corners, so cutting at the corner and restarting with a fresh vertical reference on the next wall prevents cumulative misalignment.
Can I use standard paint primer before hanging wallpaper?
Standard paint primer is not formulated for wallpaper adhesive. Use a dedicated wallpaper primer to create the right surface porosity for a strong, lasting bond.
When does wallpaper installation require a professional?
Large-scale murals, specialty materials like grasscloth or metallic paper, and rooms with uneven or heavily textured walls typically require professional installation. The margin for error on these projects is too narrow for a first-time installer.


Leave a comment