

DIY Wallpaper Removal Best Practices for Homeowners
DIY wallpaper removal best practices follow a clear sequence: score the surface, soak the adhesive, and scrape with patience to protect your walls. Skipping any step leads to gouged drywall, stubborn glue residue, or costly repairs. The right wallpaper removal tools make the process faster and safer. Whether you are dealing with old vinyl paper or a single layer of paste wallpaper, the techniques covered here apply to both drywall and plaster substrates. Follow these steps and you will finish with walls that are smooth and ready for paint or new wallcovering.
1. DIY wallpaper removal best practices start with proper prep
Preparation is the step most homeowners skip, and it is the one that causes the most damage. Before touching a single strip of wallpaper, clear the room as much as possible. Move furniture to the center or out entirely, and cover everything with drop cloths.
Protect your floors with plastic sheeting or canvas drop cloths taped along the baseboard edge. Water and soaking solutions will drip, and they will stain or warp hardwood if left to sit. Remove all outlet covers and switch plates, then turn off the electrical circuit to those walls at the breaker box. Seal the exposed outlets with painter’s tape to block moisture.
Gather your tools before you start:
- A wallpaper scoring tool
- A plastic or metal putty knife (4–6 inch blade)
- A pump sprayer or spray bottle
- A wide scraper for large flat sections
- Drop cloths and painter’s tape
- Safety glasses and rubber gloves
Open windows and run a fan for ventilation, especially when using commercial chemical strippers. Fumes build up quickly in enclosed rooms.
Pro Tip: Tape a strip of plastic sheeting to the baseboard at an angle so it catches dripping water and channels it away from the floor. This one step saves significant cleanup time.
2. Why scoring wallpaper correctly protects your walls
Scoring is the step that determines how well your soaking solution works. A wallpaper scoring tool creates tiny perforations across the surface, allowing liquid to reach the adhesive layer underneath. Without scoring, solution sits on top of the paper and evaporates before it softens the glue.
Scoring in overlapping circular motions distributes the perforations evenly and prevents missed patches. Use light, consistent pressure. Pressing too hard gouges the drywall face paper, which creates a repair job before you have even started painting.
Substrate type changes how aggressively you can score:
- Drywall: Score lightly. The gypsum core is fragile and absorbs moisture quickly.
- Plaster: Score more firmly. Plaster is denser and tolerates more pressure and moisture.
- Skim-coated walls: Treat like drywall. The thin plaster layer over drywall is not as protective as full plaster.
Knowing your substrate before you score prevents the most common wall damage in the entire removal process.
Pro Tip: Test your substrate by pressing a damp sponge against a small area for 30 seconds. If the surface softens or feels spongy, you have drywall. Treat it gently throughout the entire removal.
3. Choosing the right soaking solution for your wallpaper type
The soaking solution you choose depends on the wallpaper type and how much adhesive is present. Commercial removers versus homemade mixtures each have clear use cases, and knowing which to reach for saves time.
| Solution Type | Best For | Ratio | Soak Time |
|---|---|---|---|
| Commercial stripper | Heavy adhesive, vinyl paper | Per label instructions | 5–10 minutes |
| White vinegar + warm water | Light adhesive, single-layer paper | 1 part vinegar to 2–3 parts water | 10–15 minutes |
| Fabric softener + warm water | Standard paste wallpaper | 1 part softener to 2–3 parts water | 10–15 minutes |
| Steam | Old, multi-layer, or vinyl paper | N/A | Continuous |
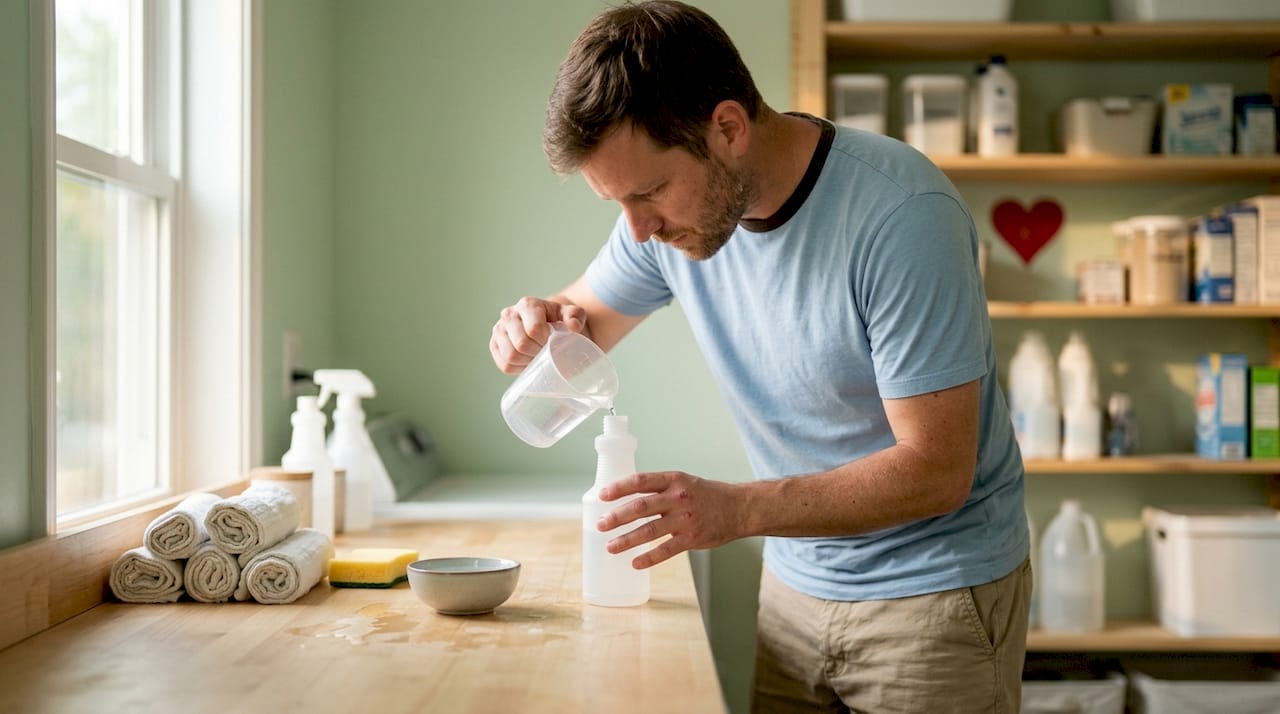
Homemade vinegar or fabric softener mixes work well on standard paste wallpaper. Soak times range from 5–15 minutes depending on wall type and adhesive thickness. Apply the solution with a pump sprayer for large walls or a spray bottle for smaller sections.
Work in 3–4 foot sections to keep the solution active. If you saturate the entire wall at once, the first sections dry out before you reach them. Smaller sections mean the adhesive stays soft when you scrape.
Steamers are the most effective tool for old, multi-layered, or vinyl-coated wallpaper. Steam penetrates adhesive more deeply than chemical solutions and reduces the need for harsh chemicals. Hold the steamer plate against the wall for 20–30 seconds per section, then move immediately to scraping while the adhesive is still hot and soft.
4. Scraping techniques that prevent wall damage
Scraping is where patience pays off. Start at the top of the wall and work downward. Gravity pulls loosened paper and dripping solution away from the area you are actively working on, which keeps your workspace cleaner.
Hold the putty knife at a low angle, roughly 30 degrees to the wall surface. This angle lets the blade slide under the paper rather than dig into the wall. Steep angles concentrate force on a small point and cause gouging.
Follow these scraping steps for the best results:
- Let the solution soak for the full recommended time before scraping.
- Start at a seam or corner where the paper edge is accessible.
- Slide the blade under the paper with steady, even pressure.
- If the paper tears instead of peeling, stop and reapply solution.
- Use a wider scraper for large flat sections and a narrow putty knife for corners and edges.
Impatient scraping before adhesive fully softens is the leading cause of drywall damage. It tears the drywall face paper and creates depressions that require patching compound and sanding before any finish can be applied.
After removing the paper layer, a second pass is often needed for the adhesive backing. Respray the wall, wait five minutes, and scrape again. The adhesive layer is thinner and comes off more easily once the paper is gone.
Pro Tip: Use a plastic putty knife for the first pass on drywall. Plastic cannot gouge the surface the way metal can. Switch to a metal scraper only for stubborn adhesive patches on plaster walls.
5. Cleaning residual adhesive before refinishing
Removing the paper is not the final step. An invisible adhesive film almost always remains on the wall after scraping, and residual adhesive causes paint failure if not removed. Primer and paint will not bond properly to a sticky or contaminated surface.
Wash the wall with warm water and a small amount of mild dish detergent. Use a sponge or soft cloth and work in sections. Rinse with clean water and let the wall dry completely, which typically takes 24–48 hours depending on humidity and ventilation.
Once dry, run your hand across the surface. Any remaining sticky patches will be obvious to the touch. Spot-treat those areas with a second wash. After the wall is fully dry, lightly sand any rough patches with 120-grit sandpaper and wipe away the dust before priming.
6. Common mistakes that cause wall damage and how to avoid them
Most wallpaper removal problems trace back to a small set of repeatable errors. Recognizing them before you start saves hours of repair work.
- Scraping too soon. The adhesive has not softened enough. Reapply solution and wait the full soak time.
- Oversaturating drywall. Excess moisture weakens the gypsum core, causing surface warping. If the wall feels spongy, stop and let it dry for 10–15 minutes before continuing.
- Skipping the scoring step. Solution cannot penetrate unscored vinyl or coated paper. Always score first.
- Leaving adhesive residue. Skipping the wash step leads to paint peeling within weeks of finishing.
- Holding the steamer too long in one spot. Steamers can soften the gypsum core of drywall if held too long. Keep the plate moving every 20–30 seconds.
Patience is the single most effective tool in wallpaper removal. Every shortcut taken during soaking or scraping creates a repair task that takes longer than the time saved. Slow down, let the solution work, and the wall will come clean without damage.
Key Takeaways
Successful wallpaper removal requires scoring, soaking with the right solution, and scraping with patience to protect the wall substrate from damage.
| Point | Details |
|---|---|
| Score before soaking | Use a scoring tool in circular motions to let solution reach the adhesive layer. |
| Match solution to wallpaper type | Use commercial strippers for vinyl, vinegar or fabric softener mixes for standard paste paper. |
| Work in small sections | Apply solution to 3–4 foot sections to keep adhesive soft when you scrape. |
| Protect drywall from moisture | Stop and let walls dry if the surface feels spongy to avoid gypsum damage. |
| Clean adhesive residue | Wash walls with warm water and mild detergent before priming to prevent paint failure. |
What years of wallpaper projects taught us about patience
The most consistent lesson from working with wallpaper is that the wall always wins when you rush. Homeowners who scrape before the adhesive is fully soft end up spending twice as long patching and sanding as they would have spent waiting an extra five minutes for the solution to work.
Substrate awareness is the skill that separates a clean removal from a repair project. Drywall is unforgiving. It absorbs moisture fast and tears easily under a metal blade. Plaster gives you more room to work, but it has its own risks if the surface is already cracked or fragile. Knowing which wall you are working on before you pick up a tool is not optional.
Steamers are genuinely useful for old vinyl wallpaper, but they require discipline. Moving the plate every 20–30 seconds is not a suggestion. Holding it in place while you check your phone is how drywall gets damaged. Ventilation matters too. Steam builds up fast in small rooms and makes the work uncomfortable and less safe.
The post-removal wall prep step is where most homeowners lose patience a second time. Washing off adhesive residue feels unnecessary after hours of scraping. Skip it, and the paint will tell you exactly why it was not optional. Clean walls take finish properly. Sticky walls do not.
— Wallsneedlove
Ready for a fresh wall treatment after removal?
Once your walls are clean, dry, and smooth, the next step is choosing a wall treatment that looks great and goes up without the hassle of traditional paste wallpaper.

Wallsneedlove offers peel-and-stick removable wallpaper and wall murals that install directly onto prepared smooth walls, no paste or professional installer required. Options range from bold geometric patterns to scenic murals and faux textures, all Greenguard Gold certified and custom made within 1–3 days. When you are ready to change the look again, the panels peel off cleanly without damaging the surface underneath. Browse the full collection at Wallsneedlove to find a style that fits your space.
FAQ
What is the best solution for removing wallpaper?
Commercial strippers work best for vinyl or heavily glued wallpaper. For standard paste wallpaper, a mix of 1 part white vinegar or fabric softener to 2–3 parts warm water is effective, with a soak time of 10–15 minutes.
How do you remove wallpaper without damaging drywall?
Score lightly, apply solution in small sections, and wait for the adhesive to fully soften before scraping. Use a plastic putty knife at a low angle and stop immediately if the wall surface feels spongy.
Do you need to score wallpaper before applying solution?
Yes. Scoring creates perforations that let the soaking solution reach the adhesive layer. Without scoring, solution evaporates off the surface before softening the glue, especially on vinyl-coated paper.
When should you use a steamer instead of a chemical remover?
Use a steamer for old, multi-layered, or vinyl wallpaper where chemical solutions struggle to penetrate. Keep the steamer plate moving every 20–30 seconds to avoid softening the drywall gypsum core underneath.
What do you do after removing wallpaper before painting?
Wash the wall with warm water and mild dish detergent to remove adhesive residue, let it dry fully for 24–48 hours, then lightly sand rough patches before applying primer. Skipping this step causes paint to peel.


Leave a comment