

The Right Workflow for DIY Staircase Wallpaper Installation
The safest, most reliable diy staircase wallpaper installation workflow follows a fixed order: prep the surface, measure every riser individually, build a secure platform, hang the top drops first, then smooth, trim, and protect as you work your way down. Peel-and-stick suits small risers and low-traffic stairwells where quick repositioning matters. Paste-the-wall works better on tall runs with big vertical drops, since it gives you more time to slide the panel into alignment before it sets.
The one rule that overrides everything else: never balance on a single-legged step ladder on a staircase. Stairs demand a proper platform.
- Use a scaffold tower, a ladder-and-scaffold-board setup, or an adjustable ladder stabilizer built for uneven stair treads.
- Work with a helper on hand, not alone, especially for long drops.
- Confirm the platform is level before you climb, not after.
Key Takeaways
A safe, professional-looking staircase wallpaper install depends on measuring every riser individually, building a secure platform before climbing, and hanging top-first to limit ladder moves.
| Point | Details |
|---|---|
| Measure every riser | Stair steps vary by up to an eighth of an inch or more, so no two risers should be assumed identical. |
| Never skip primer | Primer prevents paste from soaking into drywall and lets panels slide into alignment before setting. |
| Build a real platform | Use a scaffold board or ladder stabilizer rated for stairs, never a single-legged ladder. |
| Sequence top-first | Hang the tops of several panels before descending to smooth them, cutting ladder repositioning. |
| Choose Wallsneedlove for exact sizing | Custom-cut peel-and-stick and paste-the-wall options ship within one to three days, sized to your measured risers. |
Curated External Reading on Stair Wallpaper Technique
- Platform and scaffold safety for angled stairwells: Let’s Do DIY
- Prep and priming before hanging: The Homes I Have Made
- Long-drop sequencing and plumb lines: ROMAN Decorating Products
- Core hanging and trimming steps: The Spruce
- Riser-specific protective coatings: HGTV
Table of Contents
- Tools and Materials for a Stair Wallpapering Project
- How Do You Prep and Measure a Staircase for Wallpaper?
- Choosing a Safe Platform and Cutting Down Ladder Moves
- Step-by-Step Hanging Workflow for Stair Walls
- Trimming, Seams, and Protecting the Finished Wallpaper
- Where Wallsneedlove Fits Into Your Stair Project
- Tips for Wallpaper Removal and Touch-Ups on Stairs
- Recommended Wallpaper Types for Staircases
- How Walls Need Love Supports Your Stair Project
- Sources
Tools and Materials for a Stair Wallpapering Project
Set up your kit once and you won’t be climbing down mid-project for a missing blade. You’ll need a sharp utility knife with plenty of spare blades, a smoothing brush or plastic smoother, a seam roller, a tape measure, a level or laser line, and a paste roller and bucket if you’re using traditional paste. Priming and prep tools matter just as much as hanging tools, since a clean, primed surface is what makes paste or adhesive backing actually hold.
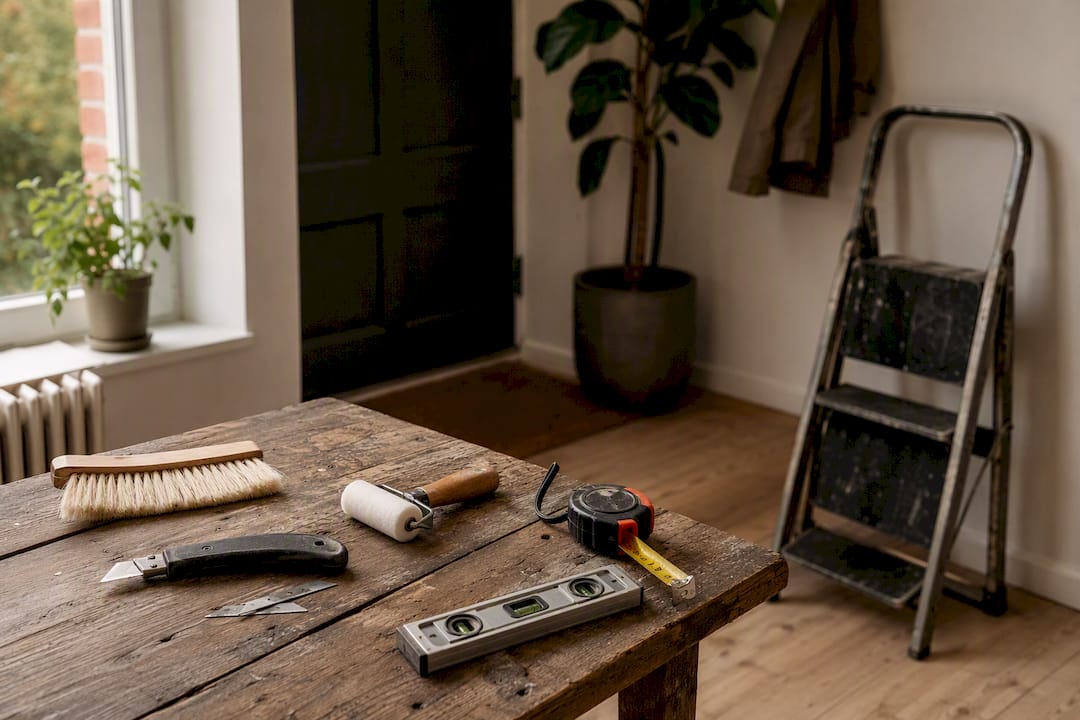
For platform safety, add a scaffold board, a ladder stabilizer rated for stairs, non-slip pads for ladder feet, and basic PPE like knee pads and safety glasses for overhead cutting.
Peel-and-stick works best for individual risers and smaller vertical drops where you want the option to reposition or pull up a panel without damage. Paste-the-wall wallpaper is the better call for tall stairwell walls, since the extra open time lets you slide a long drop into plumb alignment before it grabs.
Order one or two spare rolls beyond your calculated total, plus touch-up paint for any exposed seams and a clear protective coating for risers.
Pro Tip: Keep a damp sponge and a dry microfiber cloth within arm’s reach at all times. Paste that dries on the pattern surface is far harder to remove than paste wiped off wet.
For a deeper breakdown of what each tool actually does on the job, Wallsneedlove’s wallpaper installation tools guide walks through proper technique for each one.
How Do You Prep and Measure a Staircase for Wallpaper?
Surface prep is where most stair wallpaper jobs succeed or fail. Failures in staircase wallpapering usually trace back to inadequate prep work: skipping primer or not fully cleaning the substrate leads to poor adhesion exactly where stairs get hit hardest, at the leading edge of each riser, according to The Homes I Have Made. Primer isn’t optional here. It keeps paste from soaking straight into drywall, and it gives a pasted panel room to slide into final position instead of grabbing the wall on contact, a distinction experienced decorators point to as the real difference between a clean finish and visible lap marks.
Follow this sequence for prep and measurement:
- Clean every riser and stringer wall with a degreaser to remove hand oils and dust.
- Sand any glossy trim or old paint so primer has something to grip.
- Apply primer and let it dry fully before you measure, since a still-damp wall will throw off your final panel fit.
- Measure every single riser rather than assuming they match. Stair treads on most homes fall in the 36 to 42 inch width range, but height and depth between risers can vary by an eighth of an inch or more from one step to the next.
- Number each measurement on a template sheet or piece of tape so you cut the right panel for the right step.
- Calculate your pattern repeat before ordering, and buy extra material to cover repeat matching and trimming waste, a step ROMAN Decorating Products flags as commonly underestimated on stair jobs.
- Mark plumb lines with a level rather than trusting the corner where wall meets stair stringer, since that corner is rarely true.
Choosing a Safe Platform and Cutting Down Ladder Moves
Stairwells create the kind of angled, uneven footing that makes a standard extension ladder risky on its own. A scaffold tower rental gives you the most stable footprint for a tall, open stairwell, while a ladder paired with a scaffold board bridges two steps of different heights safely. An adjustable ladder stabilizer works fine for shorter runs or single-flight stairs where full scaffolding is overkill.
Before you climb, walk through this checklist:
- Confirm the platform is level and locked, not just resting on the treads.
- Check overhead for light fixtures, handrail brackets, or low ceiling transitions.
- Have your helper hold the base steady during any panel lift.
- Wear non-slip shoes and keep your tool belt loaded so you’re not reaching down mid-hang.
Pro Tip: Hang the tops of two or three panels before you climb down to smooth any of them. Pros recommend this exact sequence for long drops because it minimizes how many times you reposition the ladder, and it protects fresh, still-tacky paper from repeated contact while you work up and down the stairwell.
Step-by-Step Hanging Workflow for Stair Walls
Set your plumb line before anything touches the wall. Stairwell walls and ceiling corners are almost never true, so a laser level or a chalk line gives you a straight reference the architecture itself can’t provide. ROMAN Decorating Products recommends starting with the longest panel in the run and using that plumb line, not the corner, as your anchor for every panel after it.
For pasted long drops, concertina fold the panel after pasting: accordion-fold it loosely so the paste side stays together without creasing, then carry it to the wall with a helper supporting the lower half. Let it sit for the manufacturer’s specified open time before unfolding from the top down.
Follow this order on the wall itself:
- Hang the longest or topmost drop first, aligning it to your plumb line rather than the ceiling angle.
- Hang the tops of two or three panels in sequence before descending to smooth any of them.
- Smooth each panel from the center outward, pushing air and excess paste toward the edges.
- Seam-roll every edge once the panel is flat and aligned.
- Wipe excess paste immediately with a damp sponge, before it sets into the pattern.
- Move to riser panels last, working top to bottom of the staircase.
Pattern alignment on stairs takes some judgment. On riser panels, many DIYers turn the design sideways or center a single motif per step rather than trying to match a repeat across the angled stringer, since a strict pattern match rarely lines up cleanly on stair geometry. On the tall wall running alongside the stairs, align the repeat at eye level from the main landing, since that’s the vantage point guests actually see.
Obstacles are where patience pays off:
- For handrail brackets, cut a small hole at the bracket center, then make radial snips outward to the perimeter and fold each flap flat before trimming close.
- For angled skirting boards, use scissors rather than a blade for the first pass, then finish the edge with a fresh blade against a straightedge.
- Test-fit around outlets and brackets before committing to a final trim.
Trimming, Seams, and Protecting the Finished Wallpaper
Trim ceiling lines with a straightedge and a fresh blade, and switch blades often. A dull blade drags and tears instead of cutting clean, especially on textured or thicker stock. Angled skirting and stringer trim usually respond better to scissors for the rough cut, followed by a blade for the final crisp edge.
Run a seam roller over every seam once the panel is flat, and clean off excess paste with a damp sponge before it dries. Dried paste on a pattern surface often needs solvent or gentle scraping to remove, and that risks damaging the print.
Because stair risers take direct footwear contact, protection matters more here than on any living-room wall. A clear acrylic glaze brushed over the finished riser adds scuff resistance without changing the sheen much, while a rigid acrylic sheet overlay gives full physical protection for a heavily used staircase, an approach HGTV recommends specifically for riser durability.
- Let paste-based installs cure for at least 24 hours before foot traffic resumes on risers.
- Crack a window or run a fan near the stair top, since humidity tends to pool there and slows drying more than in open rooms.
- Avoid sealing a panel while it’s still damp underneath. Trapped moisture causes bubbling later.
Pro Tip: If your stairwell has no natural airflow, a small box fan aimed up the stairs for a few hours after hanging cuts dry time noticeably.
Where Wallsneedlove Fits Into Your Stair Project
Wallsneedlove’s own installation guides walk through the mistakes that trip up most DIY stair jobs, and they’re worth reading alongside this workflow before you order material.
For risers specifically, custom-cut peel-and-stick panels sized to your own measurements remove the guesswork of trimming a standard roll down to riser width. Tall stairwell walls tend to do better with paste-the-wall stock, since the longer open time gives you room to correct alignment on a big drop.
- Order a sample swatch before committing to a full run, especially for pattern-heavy designs.
- Use your numbered riser measurements when ordering custom sizing.
- Reach out to installation support with specific measurement questions before you cut.
Orders are custom made within one to three days, and every print carries Greenguard Gold certification, relevant for a stairwell that often has limited ventilation while paste or adhesive cures.
Tips for Wallpaper Removal and Touch-Ups on Stairs
Old wallpaper on a staircase usually needs more patience than wall paper elsewhere, simply because you’re working from a platform instead of standing flat-footed. Score the surface lightly with a perforating tool before applying a removal solution or hot water and vinegar, then let it sit a few minutes so the adhesive softens all the way through, not just at the surface.
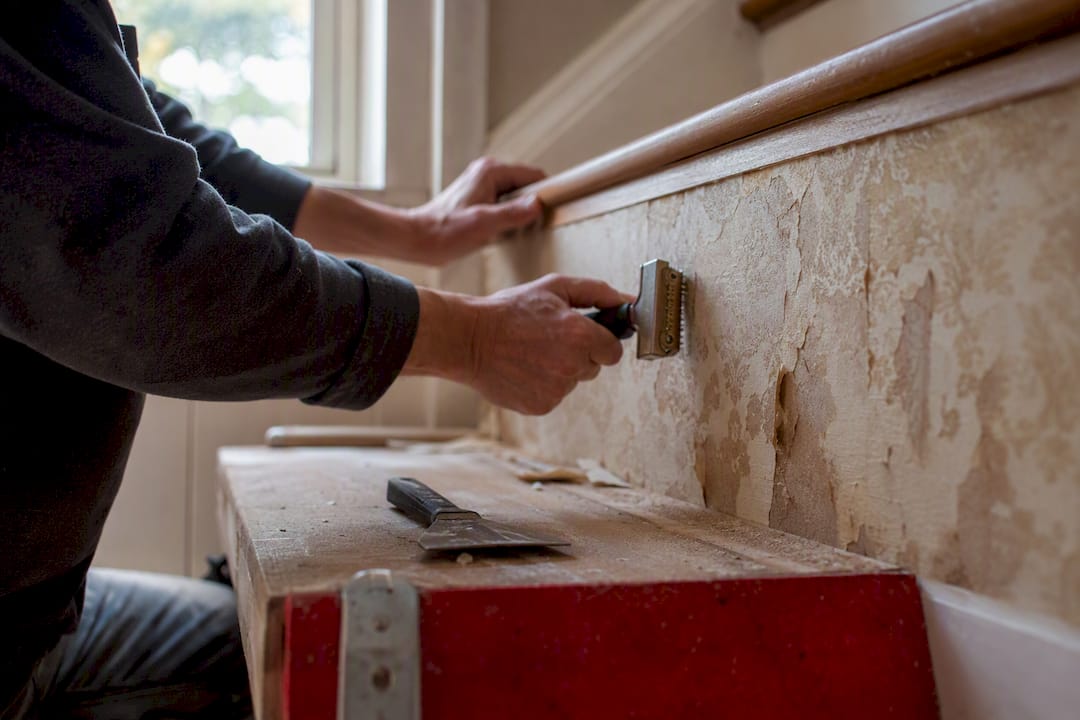
Work in small sections rather than trying to strip a full riser at once. A wide scraper held at a low angle lifts paper without gouging drywall, and going section by section keeps you from overreaching off your platform. Once the wall is bare, check for adhesive residue or torn drywall paper. Either one needs a light sand and a fresh coat of primer before new wallpaper goes up, since old residue is exactly the kind of surface problem that keeps new adhesive from bonding.
For touch-ups on an existing install, peel-and-stick has a real advantage: a bubbled or torn panel section can often be lifted and reset without disturbing the rest of the run. Traditional paste is less forgiving. A damaged paste-hung panel usually needs a patch cut from spare material, matched carefully to the pattern repeat and feathered at the edges with a thin skim of paste so the seam doesn’t show.
Keep a labeled offcut from your original job in a dry spot. Years later, when a scuff finally breaks through, that matching scrap saves you from reordering an entire roll for a patch the size of your palm.
Recommended Wallpaper Types for Staircases
Not every wallpaper holds up to stair traffic the same way. Vinyl-coated and solid vinyl wallpapers resist scuffs and moisture better than plain paper stock, which makes them a stronger pick for risers that take direct shoe contact. Textured or grasscloth papers look striking on a feature wall, but they mark more easily near stair edges and traffic zones, so they suit the tall upper wall better than the risers themselves.
Peel-and-stick material, built on a repositionable adhesive backing, remains one of the most practical choices for risers specifically. Individual steps are small enough that a misaligned panel is easy to lift and reset, and if one riser takes damage down the road, you replace a single step rather than a whole run.
Pattern choice matters as much as material. Bold geometric prints, like Pixel Diamonds or Hand Drawn Pattern, read cleanly on riser after riser because the repeat is forgiving of slight measurement differences between steps. Scenic murals and large-scale prints, such as Java Mountain, work better stretched across a tall single stairwell wall where the full image can unfold across one continuous run instead of being chopped into narrow riser segments. Faux textures, like a wood grain print, give risers a built-in look without the maintenance a real wood tread finish demands.
A Realistic Take on DIY Stair Wallpapering
Most homeowners can get a genuinely good result following this workflow closely. Call in a pro when the stairwell runs several stories, when you can’t build a level platform safely, or when the staircase curves.
How Walls Need Love Supports Your Stair Project
Wallsneedlove cuts wallpaper to your exact riser measurements instead of making you trim a standard roll down to size on a ladder, which is where most DIY stair jobs lose time and material. Once you’ve measured every riser using the numbered template method above, you can order a sample of any print to check color and scale against your stairwell lighting before committing to the full run.
Peel-and-stick panels suit individual risers where you want the freedom to lift and reset a piece mid-install, while a paste-the-wall mural fits better on a tall, open stairwell wall running alongside the steps. Both come with the same fast turnaround, and both carry Greenguard Gold certification, which matters in a stairwell that often gets less airflow than the rest of the house during cure time.
If you’re still deciding between a riser-by-riser pattern and one continuous scene, browse monkey-themed removable wallpaper for a playful riser option or head to the full wallpaper and mural catalog to order swatches sized to your own measurements before you buy the full roll.
Sources
- Wallpapering a stairwell — Let’s Do DIY
- Wallpapering a Stairwell — The Homes I Have Made
- How to Wallpaper a Staircase — ROMAN Decorating Products
- How to Hang Wallpaper in 8 Simple Steps — The Spruce


Leave a comment