

Tiled Mural Design Explained: Materials, Process, and Style
A tiled mural design is a decorative artwork made by assembling individual tiles into a unified image or pattern on a wall, floor, or other surface. Unlike painted murals, tile murals are always physically constructed by fitting pieces together, whether traditional mosaic tesserae or modern digitally printed panels. The result is a large-scale composition that carries both visual impact and lasting durability.
Key characteristics of tiled mural designs include:
- Materials: Ceramic, porcelain, natural stone, glass, and metal tiles are all common choices, each offering different textures, finishes, and durability levels.
- Scale: Tile murals typically run large, covering full walls, floors, backsplashes, or exterior facades.
- Construction method: Tiles are assembled piece by piece to form the complete image, distinguishing them from painted or wallpaper murals.
- Durability: Tiles are kiln-fired at temperatures between 800°C and 1,250°C, making designs permanent, waterproof, heat-resistant, and fade-resistant.
- Modern printing: Digital methods like dye sublimation reproduce high-resolution photos directly onto tiles, expanding design possibilities well beyond traditional hand-painting.
- Applications: Bathrooms, kitchens, outdoor facades, pools, staircases, and commercial interiors all commonly feature tile murals.
What materials and styles define tile mural art?
The material choice shapes everything about a tile mural: its texture, longevity, and visual character. Ceramic and porcelain are the most widely used options, valued for their color consistency and resistance to moisture and staining. Natural stone tiles, such as marble or slate, add organic texture but require sealing to maintain their finish. Glass tiles introduce reflectivity and depth, while metal tiles work well for accent details or contemporary commercial settings.
Style varies just as widely as material. Traditional mosaic murals use small tesserae pieces, cut from stone, glass, or ceramic, to build intricate images through color and pattern. Modern approaches favor large gauged porcelain tile panels, which allow photographic precision with minimal grout lines, making them ideal for branding applications or exterior cladding. Between those two poles sits a broad range of options.
Common style and material combinations include:
- Classic mosaic: Small tesserae in stone, glass, or ceramic for detailed, textured imagery
- Printed ceramic tiles: Digital designs applied to standard tile sizes for photographic accuracy
- Gauged porcelain panels: XXL format tiles with near-invisible grout lines for sleek, modern results
- Hand-painted glazed tiles: Traditional technique with layered glazes for artisanal depth
- Mixed material: Combining glass, stone, and ceramic within one mural for contrast and texture
Tile sizes range from tiny mosaic pieces to XXL panels, and finishes span matte, gloss, textured, and metallic. That range gives designers and homeowners precise control over the final look.
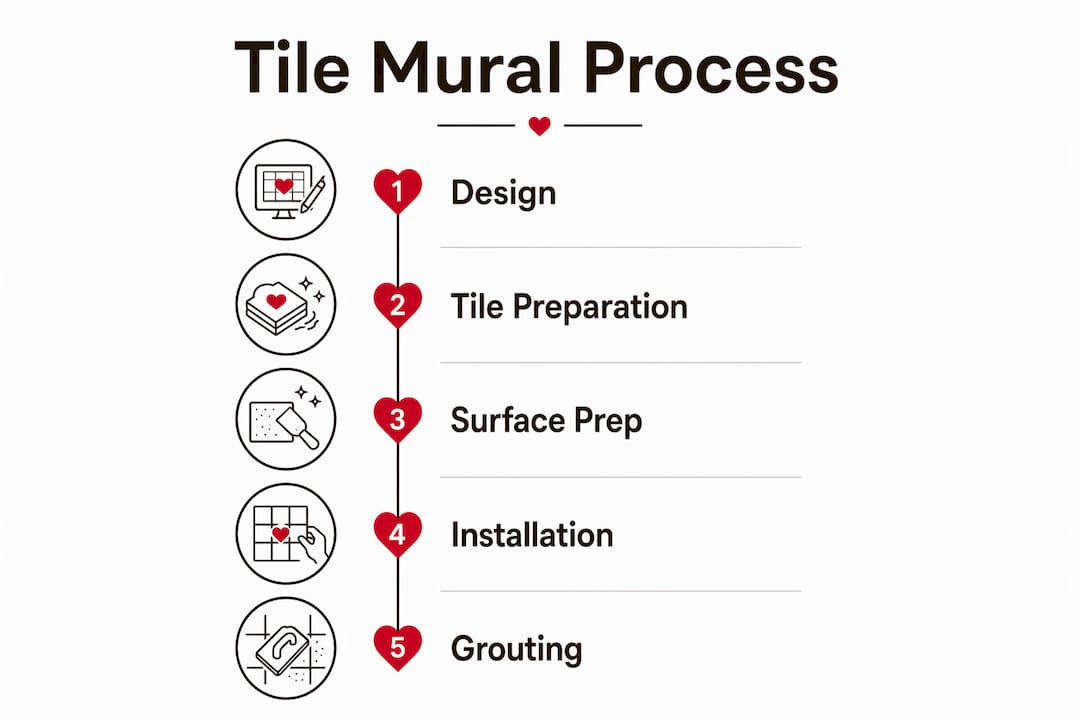
How to create tiled murals: the full process from design to installation
Creating a tile mural follows a clear sequence. Skipping steps, particularly in surface preparation, is the most common cause of installation problems.
Design and planning
Start by selecting or creating a design and taking accurate measurements of the installation space. A full-scale sketch or digital mockup helps confirm proportions before ordering materials. Order at least 10% extra tiles beyond the calculated quantity to account for cuts, breakage, and future replacements.
Tile preparation
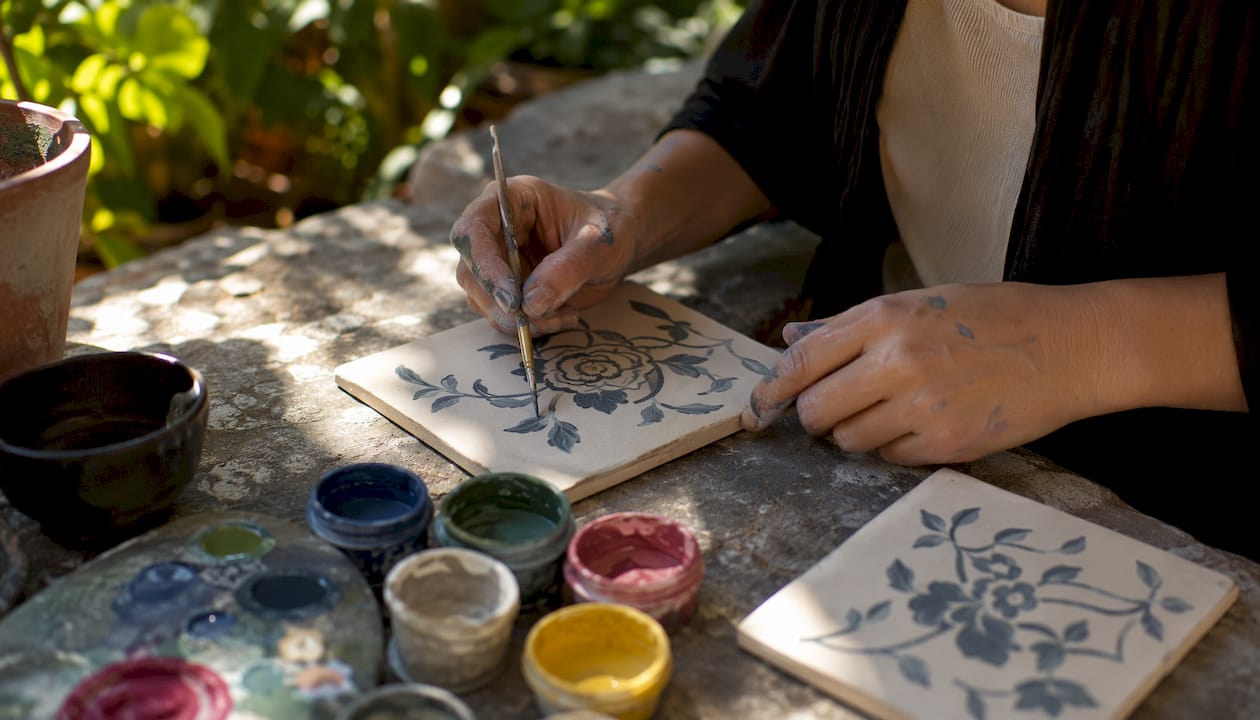
Tiles can be prepared through digital printing, hand-painting with underglazes, or traditional glazing. After decoration, tiles are kiln-fired to lock the design permanently into the surface. Professional installers number each tile by row and column so large murals assemble correctly on site.
Surface preparation
Clean and degrease the wall or floor thoroughly. Apply mortar or primer to smooth the surface and improve adhesion. The substrate must be dry, even, and structurally sound before any tile goes up.
Installation steps:
- Apply mortar evenly to the prepared surface.
- Place tiles carefully, using spacers to maintain consistent grout gaps.
- Work in sections for large murals, fitting one area at a time.
- Allow mortar to cure fully before grouting.
- Fill all gaps with grout, choosing a color that complements or blends with the design.
- Apply a sealant to protect against stains and moisture.
Pro Tip: Always start installation from the center of the mural and work outward. This prevents awkward narrow cuts at the edges and keeps the layout symmetrical.
Grout line width directly affects the final image. Wider grout lines fragment the design visually, while gauged porcelain panels minimize that disruption for photographic clarity. Ceramic tile murals can typically be installed within a few days, depending on size, compared to painted murals that can take weeks to complete and seal.
The artistic and historical significance of tile murals
Tile murals trace back to ancient civilizations that used stone and glass tesserae to record religious narratives, civic histories, and cultural identity on public walls. Roman and Byzantine mosaics are among the most studied examples, covering cathedral floors and walls with scenes that have survived for centuries. That longevity is part of what made tile the preferred medium for monumental public art.
The tradition evolved through Islamic geometric tile work, Portuguese azulejo panels, and Mexican Talavera murals, each adapting the core technique to local materials and cultural stories. By the 20th century, tile murals appeared in American public buildings, transit stations, and schools as both decoration and civic expression. Today, tile murals serve as durable focal points with rich symbolic meaning in both public and private spaces.
Modern innovations have expanded what tile murals can express:
- Digital printing reproduces photographs and complex graphics at high resolution directly onto ceramic or porcelain surfaces.
- Gauged porcelain panels allow large-format murals with minimal visual interruption from grout, enabling near-photographic results.
- Custom bespoke designs let individuals and brands embed personal narratives, logos, or imagery into permanent architectural features.
- Community mosaic projects continue the tradition of collective storytelling, with schools and neighborhood groups creating murals that document local history.
The shift from hand-cut tesserae to digitally printed panels marks the most significant technical evolution in the medium’s history, yet the underlying purpose remains the same: using a durable surface to carry an image worth preserving.
Benefits of tiled murals for interior and exterior design
Tile murals offer practical advantages that painted murals and wallpaper cannot match. Their kiln-fired colors resist fading from sun exposure, and the hard tile surface resists scratches, stains, water, and heat. That combination makes tile murals suitable for locations where other wall treatments fail, including bathrooms, kitchens, pool surrounds, outdoor facades, and fireplaces.
Maintenance is straightforward. Wipe the surface clean; no repainting, resealing, or touch-ups are needed under normal conditions. A well-installed ceramic or porcelain tile mural can retain its appearance for a lifetime, unlike painted murals that chip, fade, and require periodic restoration.
Stylistic applications span a wide range:
- Kitchen backsplashes: Heat and moisture resistance make tile murals practical and decorative at the same time.
- Bathroom feature walls: Waterproof and slip-resistant options work in wet environments where wallpaper cannot.
- Outdoor facades and patios: Frost-resistant porcelain panels handle weather conditions that would damage painted surfaces.
- Commercial interiors: Restaurants, hotels, and retail spaces use tile murals for branded focal points that hold up under heavy daily use.
- Residential accent walls: A single tiled mural wall in a living room or hallway creates a permanent design statement.
Customization options are broad. Digital printing allows tile murals to replicate family photos, brand logos, scenic landscapes, or abstract patterns with precise color matching. That level of personalization, combined with the material’s durability, is what separates tile murals from most other wall decoration options. For those exploring scenic mural styles across different interior settings, the design possibilities extend well beyond traditional tile formats.
Key Takeaways
Tiled mural designs combine durable kiln-fired materials with precise assembly techniques to create permanent, low-maintenance artwork for interior and exterior surfaces.
| Point | Details |
|---|---|
| Core definition | A tile mural assembles individual tiles into a unified image, always constructed piece by piece rather than painted. |
| Material durability | Kiln-firing at 800°C–1,250°C makes tile designs permanent, waterproof, fade-resistant, and heat-resistant. |
| Installation best practice | Start from the mural’s center and work outward to prevent uneven edge cuts and maintain symmetry. |
| Order extra tiles | Always order at least 10% more tiles than calculated to cover cuts, breakage, and future replacements. |
| Widest practical advantage | Tile murals suit wet, high-traffic, and outdoor locations where painted murals and wallpaper cannot perform. |


Leave a comment