Transforming Hallways with Wall Murals: 2026 Guide
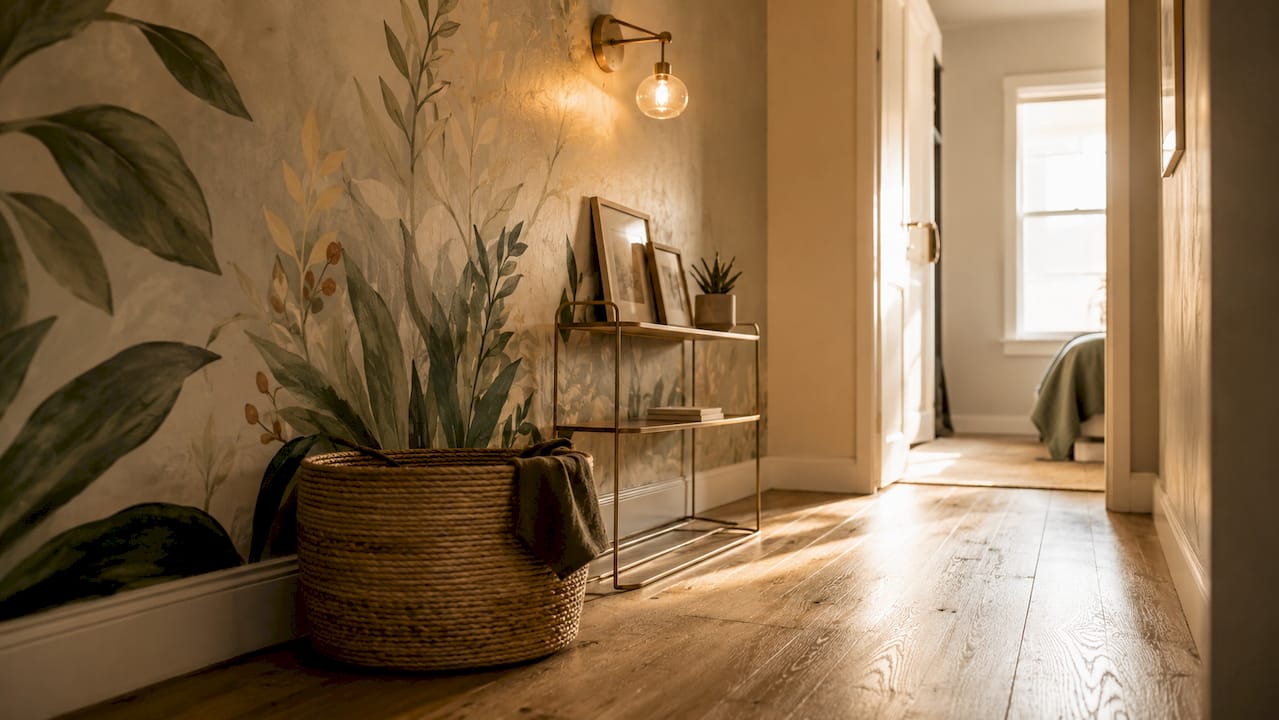
Transforming hallways with wall murals is one of the fastest ways to upgrade your home’s ambiance without a full renovation. A mural converts a plain corridor into a design statement, whether you choose a peel-and-stick botanical print, a painted geometric pattern, or a scenic landscape. Popular styles in 2026 include nature scenes, abstract geometrics, and urban photography. Before installation, you need three things: clean walls, fully cured paint, and proper alignment tools. Get those right, and the result looks professional every time.
What mural styles and designs best suit hallway spaces?
The right mural design depends on your hallway’s dimensions, light levels, and your personal taste. Narrow corridors benefit from vertical patterns or scenic murals that create the illusion of depth. Wider entries can handle bold, large-scale prints without feeling crowded.
Peel-and-stick vs. painted murals
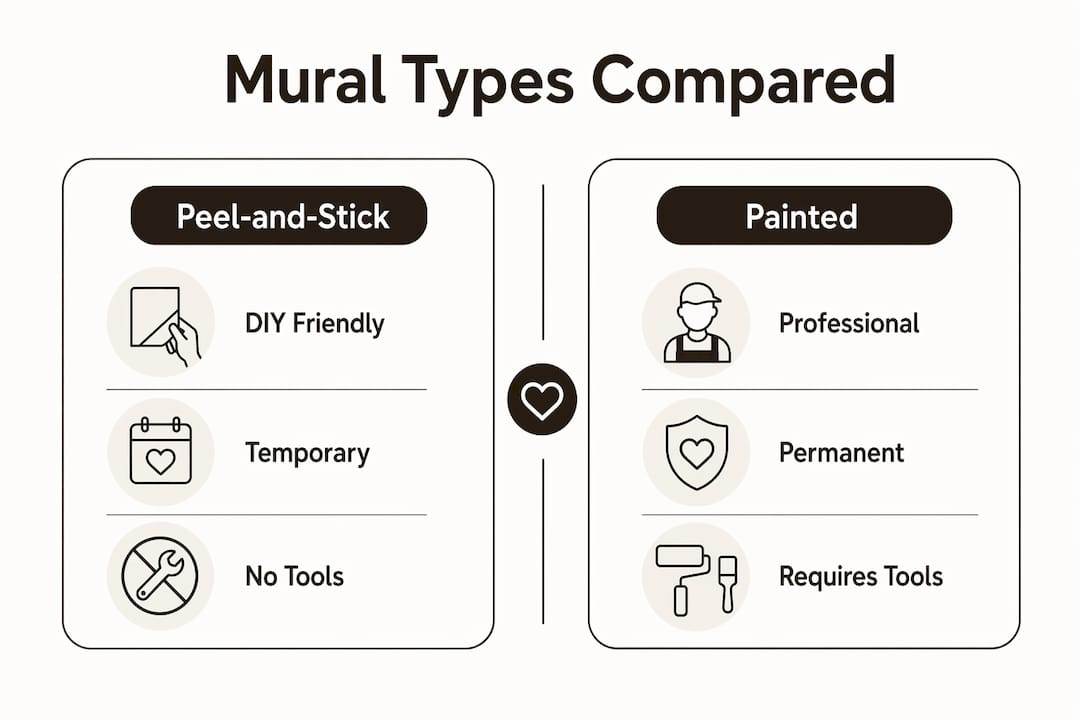
Peel-and-stick wallpaper murals are the top choice for renters and first-time decorators. They require no professional tools, no paste, and no permanent commitment. Painted murals offer more durability and a custom finish, but they demand artistic skill and are not reversible without repainting. Hiring local muralists typically costs between $300 and $800 depending on complexity. That price range makes DIY peel-and-stick murals the practical choice for budget-conscious projects.
| Feature | Peel-and-Stick Murals | Painted Murals |
|---|---|---|
| Installation | DIY friendly, no tools needed | Requires skill or professional |
| Cost | Low to moderate | Moderate to high |
| Reversibility | Removable, renter safe | Permanent without repainting |
| Durability | Up to 12 months on eggshell paint | Years with proper sealing |
| Best For | Renters, first-timers | Homeowners, long-term installs |
Popular hallway mural themes
The strongest hallway mural ideas share one quality: they work with the space rather than against it.
- Botanical and nature scenes: Leafy prints and forest murals add warmth to narrow corridors and pair well with wood flooring.
- Abstract geometrics: Bold shapes and repeating patterns like geometric dot designs work well in modern homes with minimal furniture.
- Urban photography: City skylines and architectural prints, such as a Midtown Manhattan mural, add drama to entry hallways.
- Vintage and floral motifs: Classic prints like birds and flowers designs suit traditional or eclectic interiors.
Pro Tip: In low-light hallways, choose murals with lighter backgrounds or warm tones. Dark scenic murals can make a dim corridor feel smaller.
How to prepare your hallway walls for mural installation
Surface preparation is the single most overlooked step in mural installation. Most mural failures stem from wall surface issues, not the wallpaper material itself. Getting this step right protects both your mural and your walls.
Follow these steps before applying any mural:
- Wait 30 days after painting. Paint looks dry within hours, but outgassing takes weeks. Installing a mural too early causes adhesive failure, bubble formation, and peeling. This is the most common mistake first-time installers make.
- Clean the wall surface. Mix 70% isopropyl alcohol with 30% water and wipe down the entire wall. This cleaning method removes contaminants from paint additives that reduce adhesive grip.
- Run a 72-hour patch test. Apply a small section of your mural or a piece of masking tape to the wall and leave it for 72 hours. Patch testing reveals whether the adhesive will lift paint on removal. This step is non-negotiable for renters.
- Check for texture. Textured or rough walls reduce adhesive contact area by up to 60%, causing edges and seams to lift quickly. Smooth walls are required for reliable adhesion.
- Avoid matte paint surfaces when possible. Matte finishes are more porous and less adhesive-friendly than eggshell or satin. If your walls are matte, the patch test becomes even more critical.
Pro Tip: On textured walls, apply a thin layer of Vaseline with a lint roller before installation. This creates a release layer that protects paint during removal.
How do you install a hallway wall mural flawlessly?
Professional mural installation follows a specific sequence. Skipping steps leads to misaligned panels, air bubbles, and costly repositioning. Professional workflows always begin with a dry run and alignment verification before any adhesive touches the wall.
- Lay out all panels in order. Spread the panels on the floor in sequence to confirm design continuity and check for printing defects before you commit to the wall.
- Mark a vertical reference line. Use a laser level or plumb line to draw a straight vertical guide on the wall. Laser levels and plumb lines prevent cumulative tilting errors across long hallways. A few millimeters off at panel one becomes a visible drift by panel five.
- Start from the top. Peel back a few inches of backing and align the top edge first. Work downward slowly, smoothing as you go.
- Use a felt-edge squeegee. Smooth each panel from the center outward to push out air bubbles. A felt edge prevents scratches on the mural surface.
- Apply the double-cut method at seams. Overlap adjacent panels by about half an inch, then cut through both layers with a sharp utility knife along a straight edge. This technique creates a perfect seam with no gap and no overlap.
- Address edge lifts immediately. Press lifted edges back down and keep the area dry. Edge lifting near doors and switches is usually caused by dust contamination or humidity exposure.
| Installation Step | Tool Required | Common Mistake |
|---|---|---|
| Dry run panel layout | Floor space | Skipping order check |
| Vertical alignment | Laser level or plumb line | Using a standard ruler only |
| Panel application | Squeegee, felt edge | Starting from the bottom |
| Seam joining | Utility knife, straight edge | Overlapping without cutting |
| Edge finishing | Smoothing tool | Ignoring lifted corners |
How do you maintain and remove hallway murals safely?
Murals in hallways face more wear than murals in other rooms. High foot traffic, door drafts, and humidity all affect adhesion and surface quality over time.
Cleaning and care
- Wipe murals with a lightly damp cloth. Avoid abrasive cleaners or scrubbing pads.
- Keep humidity levels stable. Bathrooms adjacent to hallways accelerate adhesive breakdown.
- Do not use steam cleaners near mural surfaces.
- Peel-and-stick murals on latex or eggshell paint last up to 12 months under normal conditions. On matte paint, that window drops to 3–4 months.
Removal best practices
Removal technique matters as much as installation. Pulling too fast or at the wrong angle causes paint to lift with the mural.
- Peel at a low angle, close to the wall surface, and pull slowly.
- Warm the mural surface with a hair dryer on a low setting to soften the adhesive before peeling.
- Never pull straight out from the wall. Always pull back parallel to the surface.
Renters who skip the patch test risk losing part of their security deposit. One documented case shows a renter losing a significant deposit due to paint lift after mural removal without prior adhesion testing. Run the patch test before every installation.
- If paint lifts during removal, stop immediately. Apply gentle heat and try again at a lower angle.
- For murals that have been up longer than 12 months, consider calling a professional for removal to avoid wall damage.
Creative hallway mural ideas that amplify design and ambiance
Hallways are an accessible, contained space to test wall art for corridors before committing to a larger room. Hallway murals are a popular residential interior trend in 2026, and the design options are wider than most homeowners realize.
Strong hallway mural ideas by category:
- Botanical prints: A vintage garden mural or tropical floral print adds color and organic texture to a plain white corridor.
- Scenic landscapes: A Grand Canyon vista or forest scene visually extends a narrow hallway by creating the impression of open space.
- Urban and architectural themes: City murals like a Downtown San Francisco print work well in modern apartments and loft-style homes.
- Abstract and pop art: Bold, graphic designs like a pop art mural make a strong first impression in entry hallways.
- Vintage and map motifs: A vintage world map adds a classic, collected feel and works across multiple interior styles.
Combine murals with directional lighting to highlight the design. A narrow hallway with a scenic mural and a recessed light strip overhead reads as intentional and designed, not accidental. Flooring also matters: light-toned murals pair well with dark wood floors, while geometric prints complement concrete or tile.
Key takeaways
Transforming hallways with wall murals requires proper surface preparation, precise installation, and correct removal technique to protect both the mural and the wall.
| Point | Details |
|---|---|
| Surface prep is non-negotiable | Wait 30 days after painting and clean walls with isopropyl alcohol before installing any mural. |
| Patch test before committing | Run a 72-hour adhesion test to avoid paint lift, especially on matte surfaces or rental walls. |
| Alignment tools prevent drift | Use a laser level or plumb line to keep panels straight across long hallways. |
| Mural lifespan varies by paint type | Eggshell and latex surfaces support murals for up to 12 months; matte paint reduces that to 3–4 months. |
| Removal angle protects walls | Peel at a low angle with gentle heat to avoid paint damage during mural removal. |
What Wallsneedlove has learned about hallway murals
The most consistent pattern seen across hallway mural projects is this: people underestimate preparation and overestimate the difficulty of installation. The prep work, specifically the 30-day paint cure and the patch test, is where most projects succeed or fail. The installation itself is straightforward once the surface is ready.
Renters often assume they cannot do anything meaningful with their walls. That assumption is wrong. Peel-and-stick murals on properly cured eggshell paint are genuinely renter-safe when installed and removed correctly. The key is running the patch test and peeling slowly at removal. Skip either step, and the risk of deposit deductions rises sharply.
The other overlooked factor is scale. A hallway is a small, contained space. That makes it the ideal place to try a bold design you might hesitate to commit to in a living room. A dramatic night sky mural or a large-scale botanical print works in a hallway precisely because the space is short. You see the full effect in seconds, and it sets the tone for the entire home.
— Wallsneedlove
Upgrade your hallway with Wallsneedlove murals
Wallsneedlove offers a full range of peel-and-stick and traditional paste murals designed for spaces exactly like yours. Every mural is custom-printed within 1–3 days and carries Greenguard Gold environmental certification.

For hallways, the Concrete Jungle mural delivers an urban texture that works in both modern and industrial interiors. The Hometaping Wall Mural offers a clean, modern aesthetic suited to renters and homeowners alike. Browse the full mural and wallpaper collection at Wallsneedlove to find the design that fits your hallway’s dimensions, light, and style.
FAQ
How long do peel-and-stick murals last in a hallway?
Peel-and-stick murals last up to 12 months on latex or eggshell paint under normal conditions. On matte paint, lifespan drops to 3–4 months, and humidity near bathrooms shortens it further.
Can renters safely use wall murals without losing their deposit?
Yes, if they run a 72-hour patch test before installation and peel the mural at a low angle during removal. Skipping the patch test is the leading cause of paint lift and deposit deductions.
What is the best mural style for a narrow hallway?
Scenic murals with depth, such as forest scenes or landscape prints, work best in narrow hallways. They create the visual impression of extended space rather than closing the corridor in.
Do you need to wait after painting before installing a mural?
Paint must cure for at least 30 days before mural installation. Paint looks dry within hours but continues outgassing for weeks, and installing too early causes adhesive failure and bubbling.
What tools do you need for a professional-looking mural installation?
A laser level or plumb line, a felt-edge squeegee, a sharp utility knife, and a straight edge are the core tools. These four items cover alignment, smoothing, and seam cutting for a clean result.


Leave a comment