

Testing Wallpaper Samples at Home: A Practical Guide
Testing wallpaper samples at home is the single most reliable method for choosing a design you will actually love long term. Color, texture, and pattern all look different on your walls than they do on a screen or in a store. Color vibrancy and texture often shift dramatically under natural home lighting compared to any digital preview. Wallsneedlove recommends sample testing before every order to prevent costly decorating mistakes. This guide covers every step, from gathering tools to evaluating pattern scale, so you can choose with confidence.
What do you need to start testing wallpaper samples at home?
Good sample testing starts with the right setup. Skipping the preparation step is the most common reason homeowners end up with wallpaper that looks wrong once it is installed.
Samples, tools, and wall prep
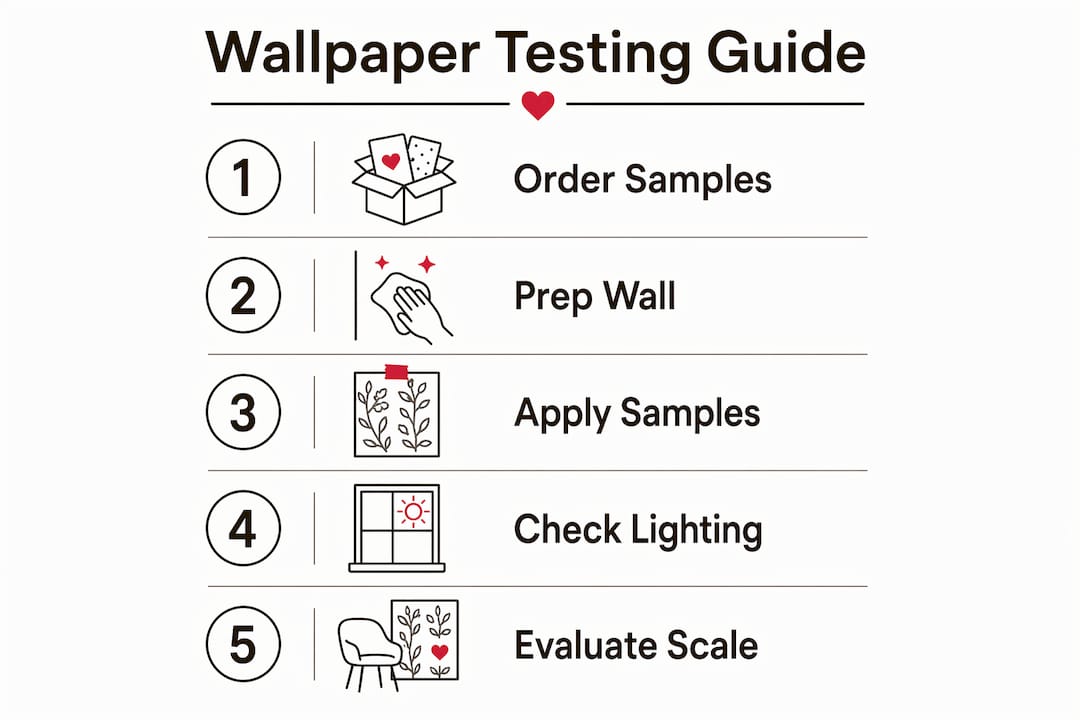
Order at least two samples of each design you are considering. One sample goes on your primary wall, and the second goes on an adjacent or opposite wall. This lets you compare how the same design reads across different surfaces in the same room.
The basic toolkit is simple:
- Painter’s tape for attaching samples without damaging paint or plaster
- Clean scissors to trim samples to a consistent size
- Measuring tape to note sample dimensions and wall proportions
- A smartphone or camera to photograph samples under different lighting conditions
- A clean, dry wall surface free of dust, grease, or loose paint
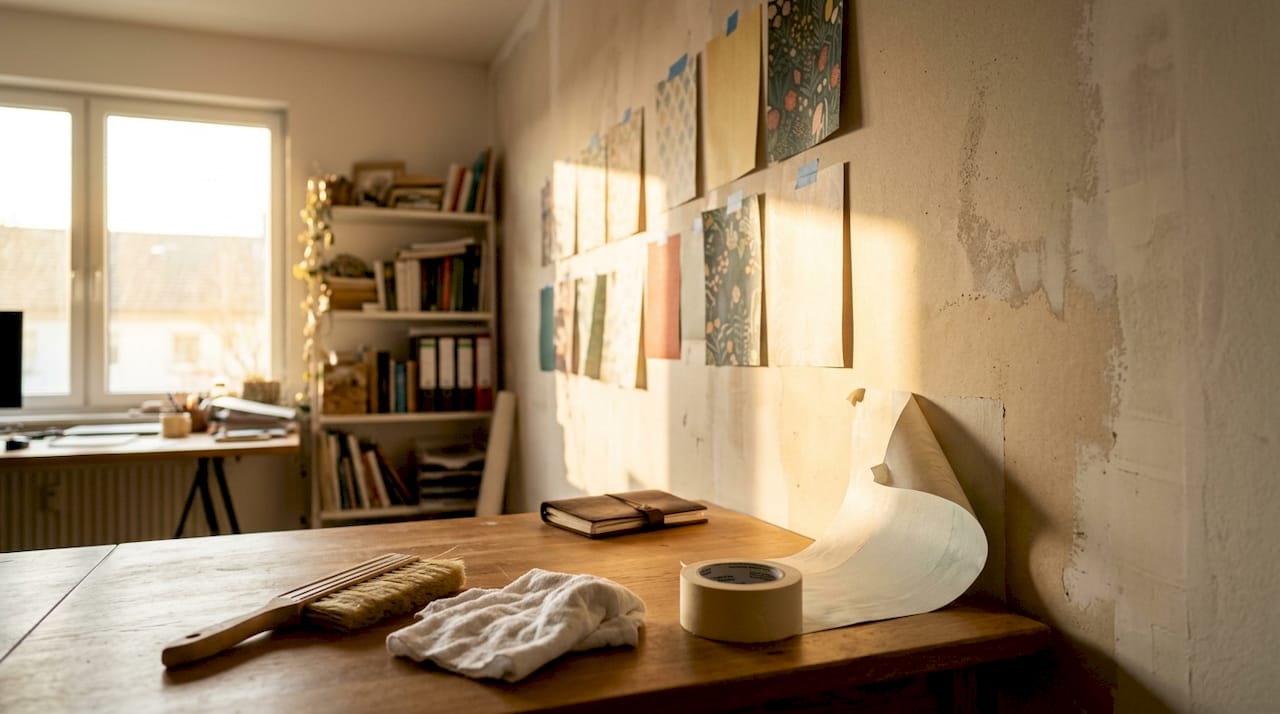
Wall prep matters more than most homeowners expect. A dirty or uneven surface changes how a sample sits and how light reflects off it. Wipe the test area with a dry cloth before applying anything.
Sample types and testing tools at a glance
| Sample type | Best use | Key testing tool |
|---|---|---|
| Paper swatch | Color and pattern reference | Camera for lighting comparison |
| Peel and stick sample | Full texture and adhesion test | Painter’s tape or direct application |
| Paste wallpaper sample | Texture and weight evaluation | Painter’s tape on back |
| Digital room visualizer | Scale preview before ordering | Smartphone photo editing app |
Pro Tip: Order samples in at least an 8x8 inch size if available. Smaller swatches hide how a repeat pattern will look at full scale.
How and when should you test wallpaper samples for accurate results?
Lighting is the most significant variable affecting color, sheen, and pattern perception during wallpaper testing. A sample that looks perfect at noon can read completely differently at 7 PM under warm lamp light. Testing at only one time of day is the most common mistake homeowners make.
A daily testing routine by lighting type
Follow this sequence over at least two days for the most accurate read:
- Morning natural light: Pin your samples to the wall before 9 AM. Note the true base color without artificial influence. This is when cool tones appear most accurate.
- Afternoon light: Check samples again between 1 PM and 3 PM. Direct sunlight or bright indirect light can wash out pale designs and intensify saturated ones.
- Evening lamp light: Turn on your usual room lamps and overhead lights after dark. Warm bulbs shift cool grays toward purple and push cream tones toward yellow. Testing under mixed lighting reveals these shifts before you commit.
- Overcast daylight: A cloudy day gives you the most neutral read of a color. If your room faces north, this is close to your everyday lighting reality.
Positioning and distance
Viewing samples from various distances is critical for an accurate assessment. Stand close to examine texture and print quality. Step back to mid-room to check color clarity. Then view from across the room to judge overall mood and scale. Most people experience wallpaper from sofa distance, not arm’s length. That cross-room view is the one that matters most for daily living.
Testing beside flooring, curtains, and upholstery prevents mismatches that only become obvious after installation. Hold a fabric swatch or flooring sample next to the wallpaper sample and photograph them together. The camera catches undertone clashes that the eye sometimes misses.
Pro Tip: Use your phone’s photo editing app to increase the brightness and contrast on a sample photo. This mimics how the design will read under harsh afternoon light and reveals any hidden undertones.
Check the wallpaper styles for living room walls guide for color and pattern recommendations matched to specific room lighting conditions.
Why does wallpaper scale matter when evaluating samples?
Small wallpaper samples can mislead about pattern scale. A large-scale botanical print may look elegant on a 10x10 inch swatch and visually overwhelming once it covers an entire wall. This is one of the most expensive surprises in home decorating, and it is entirely avoidable.
How to anticipate full-wall pattern impact
A small swatch hides the visual weight of large repeats. Digital multiplication visualization is the recommended method for previewing full-wall effects before ordering. Take a photo of your sample, then use a free photo editing app to tile the image repeatedly across a photo of your empty wall. This gives you a realistic preview of how the repeat will read at room scale.
Physical multiplication works too. If you have multiple samples of the same design, arrange them in a grid on the wall. Even a 2x3 arrangement of standard samples reveals how the repeat connects and whether the pattern density feels right for the space.
Watch for these visual cues when assessing pattern scale:
- Repeat size vs. wall height: A pattern with a 24-inch vertical repeat on an 8-foot wall will complete fewer cycles and may feel unbalanced.
- Color density at scale: A design with small pops of color on a swatch can become a dominant color block at full coverage.
- Pattern direction: Directional designs like stripes or botanicals read very differently when you see 10 repeats versus one.
- Negative space: Busy patterns with little background space tend to feel heavier in large rooms and claustrophobic in small ones.
- Furniture interaction: A large geometric pattern behind a sofa may compete with the furniture’s own lines rather than complement them.
Pro Tip: For rooms under 120 square feet, limit pattern repeats to under 12 inches. Larger repeats work best in open spaces where the eye has room to follow the design.
Understanding wallpaper scale for residential spaces helps you match pattern size to room proportions before you order a single roll.
How can renters test wallpaper samples without damaging walls?
Renters face a real constraint: wall damage can cost security deposits. The good news is that thorough sample testing requires no permanent marks at all.
Painter’s tape or removable adhesive strips safely apply samples without damaging paint or plaster. Apply tape to the back edges of each sample, not directly to the wall surface. Remove tape slowly at a 45-degree angle to avoid lifting paint.
Peel and stick wallpaper samples reduce guesswork and allow easy application, repositioning, and testing with no commitment. They are the lowest-risk option for rental walls because they leave no residue when removed correctly. Wallsneedlove offers peel and stick options that work well for this kind of low-stakes trial.
Safe sample application and removal steps for renters:
- Clean the wall area with a dry microfiber cloth before applying anything.
- Cut samples to a uniform size so comparisons are consistent.
- Apply painter’s tape to all four edges of the sample back, not the wall.
- Press the sample firmly but do not rub it into the wall surface.
- Leave samples up for at least 48 hours before making a final decision.
- Remove tape slowly and at a low angle to protect the paint underneath.
- If a small mark appears, a dab of matching wall paint on a cotton swab fixes it in seconds.
For more guidance on wallpaper in rental spaces, the wallpaper on rental walls resource covers safe application methods in detail.
When testing textured or delicate wallpaper finishes, handle samples by the edges only. Oils from fingertips can alter how the surface reflects light, which affects your color reading.
Key Takeaways
Accurate wallpaper sample testing requires evaluating color, scale, and texture across multiple lighting conditions and viewing distances before placing any order.
| Point | Details |
|---|---|
| Test under all lighting types | Check samples in morning, afternoon, and evening light to catch color shifts. |
| View from multiple distances | Stand close for texture, mid-room for color, and across the room for scale. |
| Visualize pattern at full scale | Use photo editing apps or multiple samples arranged in a grid to preview full-wall impact. |
| Use painter’s tape for safe testing | Apply tape to sample backs, not walls, to protect paint in owned or rented spaces. |
| Test near existing room elements | Place samples beside flooring, curtains, and upholstery to catch undertone mismatches early. |
What testing wallpaper samples actually taught us
The most consistent surprise we see is how dramatically lighting deceives even experienced decorators. A gray wallpaper that looks crisp and cool in a north-facing room at noon can read as pale lavender by 6 PM under warm LED bulbs. This is not a flaw in the wallpaper. It is physics. The lesson is to never judge a sample on a single glance.
The second thing we have learned is that patience during the testing phase saves real money. Homeowners who live with samples for three to five days almost always make a more confident final choice than those who decide in an afternoon. The eye adjusts, the room changes through the day, and details that seemed minor become clear.
The third insight is one most guides skip: test what you do not like as much as what you love. Putting up a pattern you are unsure about often clarifies exactly why it does not work, which sharpens your instinct for the design that does. Sample testing is not just a confirmation step. It is a creative process that leads you toward the right answer.
— Wallsneedlove
Wallsneedlove samples: test before you commit
Wallsneedlove makes sample testing straightforward with a range of removable wallpaper designs available for trial before full purchase. Each design ships quickly, typically within 1–3 days, so you can get samples on your walls and start evaluating without a long wait.

The Monkeying Around removable wallpaper is a strong starting point for homeowners who want to test a bold, large-scale pattern in a real room setting. For those drawn to geometric designs, the Pixel Diamonds removable wallpaper offers a clean repeat that reads very differently at arm’s length versus across a room. All Wallsneedlove wallpapers carry Greenguard Gold certification, so they are safe for any room in the home. Browse the full collection at Wallsneedlove and order samples before committing to a full wall.
FAQ
How long should I leave wallpaper samples on the wall?
Leave samples up for at least 48 hours, and ideally three to five days. This gives you time to observe how color and pattern shift across different lighting conditions throughout the day.
Can small wallpaper samples accurately show the full pattern?
Small samples often misrepresent large-scale patterns. Use a photo editing app to tile the sample image across a photo of your wall, or arrange multiple physical samples in a grid to preview the full repeat.
What is the safest way to test wallpaper samples in a rental?
Apply painter’s tape to the back of each sample rather than directly to the wall. Peel and stick wallpaper samples are the lowest-risk option because they remove cleanly without leaving residue.
Why does my wallpaper sample look different at night?
Warm artificial light shifts cool tones toward purple and pushes cream tones toward yellow. Testing under evening lamp light is a standard part of any thorough wallpaper sample evaluation and prevents color surprises after installation.
How do I test wallpaper texture from a sample?
Handle the sample by its edges and run a fingertip lightly across the surface to feel the finish. View it at a low angle under a lamp to see how light catches any raised texture or sheen.


Leave a comment