

Non-Woven Wallpaper: The Complete Homeowner's Guide
Non-woven wallpaper is a fiber-backed wall covering made from a blend of cellulose and synthetic fibers, and for most DIY paste-the-wall projects, it’s the most practical choice available. It hangs without soaking, stays dimensionally stable, and typically strips dry when you’re ready to redecorate.
Quick reasons to choose non-woven:
- Paste goes on the wall, not the paper, so strips hang immediately without waiting
- Low stretch and shrink means patterns align more reliably
- Most products strip dry in full strips, leaving walls cleaner for the next application
When to reconsider: Direct-splash zones (inside a shower enclosure) and walls with active damp or leaks need a different solution first. Non-woven breathability helps with normal humidity but does not fix structural moisture problems.
Key Takeaways
Non-woven wallpaper is the most practical DIY-friendly wall covering for most rooms, combining dimensional stability, paste-the-wall installation, and dry strippability in one product.
| Point | Details |
|---|---|
| Backing composition | Cellulose and synthetic fibers thermo-bonded; backing weights typically 150–300 g/m². |
| Best room fit | Living rooms, bedrooms, and dining rooms; use coated or vinyl-face products in kitchens and bathrooms. |
| Installation method | Paste the wall, hang dry strips, smooth from center outward, and trim with a sharp blade. |
| Buying checklist | Confirm non-woven label, washability rating, roll width, pattern repeat, and Greenguard certification. |
| Wallsneedlove option | Custom non-woven prints with Greenguard Gold certification, 1–3 day turnaround, and sample ordering available. |
Table of Contents
- What non-woven wallpaper actually is
- Pros and cons worth knowing before you buy
- Vinyl vs. non-woven: which one fits your room?
- Which rooms suit non-woven wallpaper?
- Types, finishes, and product options
- How to install non-woven wallpaper step by step
- Cleaning, care, and how long it lasts
- How to choose and buy non-woven wallpaper
- Wallsneedlove’s perspective on non-woven options
- Browse Wallsneedlove custom non-woven options
- Sources
What non-woven wallpaper actually is
The term “non-woven” describes the backing, not the decorative face. The backing is produced by thermo-bonding cellulose and synthetic or textile fibers into a stable sheet rather than weaving or knitting them. Typical backing weights run roughly 150–300 g/m², which gives the material its dimensional stability and resistance to joint separation.
The decorative face printed on top can be matte, embossed, or vinyl-coated, so two products can both be “non-woven” while looking and performing quite differently in terms of washability and texture.
How it differs from paper and vinyl:
- Traditional paper: absorbs paste and expands, requiring soak time and careful seam management
- Non-woven: paste goes on the wall; the strip hangs dry and stable
- Vinyl-backed: a PVC layer is laminated to a paper or fabric base, prioritizing moisture resistance over breathability
Pros and cons worth knowing before you buy
Non-woven wall covering earns its popularity for practical reasons, but it has real limits.
Advantages:
- Dimensional stability reduces stretch and shrink during installation, making pattern matching more forgiving
- Paste-the-wall application saves time; backing weights in the 150–300 g/m² range contribute to that stability
- Breathable backing allows vapor to escape, which helps in rooms with moderate humidity
- Dry strippability means future removal is cleaner and less damaging to drywall
Limitations:
- Washability depends entirely on the face coating, not the backing; an uncoated matte face is not scrub-resistant
- Breathable does not mean waterproof; it will not protect a wall from condensation or leaks
- Some textured finishes are less suitable for direct-splash areas like the area directly behind a sink
Pro Tip: Before hanging, seal porous or freshly painted walls with a diluted wallpaper primer or size. This step is what makes dry stripping possible later — skip it and the adhesive bonds directly to the paint, pulling it off on removal.
Vinyl vs. non-woven: which one fits your room?
Non-woven generally offers easier installation and dry removal, while vinyl trades breathability for improved washability and moisture resistance. The right choice depends on what the room demands.
| Feature | Non-Woven | Vinyl-Backed |
|---|---|---|
| Breathability | Yes | Limited |
| Installation method | Paste the wall | Usually paste the paper |
| Washability | Depends on face coating | Generally higher |
| Removal | Often dry-strippable | Usually requires soaking |
| Best use | Living spaces, bedrooms, feature walls | Kitchens, high-traffic hallways, splash zones |
Practical guidance:
- Choose non-woven for living rooms, bedrooms, dining rooms, and feature walls where breathability and easy future removal matter
- Choose vinyl where scrubbability and direct splash resistance are the priority, such as behind a stove or in a utility room
Which rooms suit non-woven wallpaper?
For living rooms and bedrooms, non-woven is often preferred for breathability and easier removal; vinyl is usually recommended where scrubbability and direct splash resistance matter. Here’s how that plays out room by room.
- Living room: Strong fit. Low moisture, low scrubbing demand, and non-woven’s pattern stability makes feature walls straightforward. See living room wallpaper styles for design direction.
- Bedroom: Strong fit. Breathability supports air quality, and dry strippability suits renters or frequent redecorators.
- Dining room: Good fit. Occasional splashes from the table are manageable with a coated face; check the washability rating on the product label.
- Hallway: Good fit with a coated face. High-traffic scuffs are the main concern; choose a product rated at least “washable.”
- Kitchen (non-splash areas): Acceptable. Keep non-woven away from the area directly behind the stove or sink; use a vinyl or coated product there.
- Bathroom: Conditional. A coated or vinyl-face non-woven product can work on walls away from direct water contact. Breathable backing helps vapor escape, but it does not make the product waterproof. Ensure adequate ventilation and address any existing damp before hanging.
Before covering any wall, check:
- No active leaks or rising damp
- Adequate ventilation in the room
- Wall surface is clean, dry, and primed
Types, finishes, and product options
Non-woven products come in several face finishes, and the finish determines care requirements more than the backing does.
Common finishes:
- Matte printed: Clean, flat look; not scrub-resistant; best for low-traffic areas
- Embossed/textured: Adds depth and hides minor wall imperfections; washability varies by coating
- Vinyl-coated face on non-woven backing: Combines the installation ease of non-woven with the scrub resistance of vinyl; the most practical choice for kitchens and hallways
Pattern repeat and roll width: Standard rolls in the US are typically 20.5 inches wide. Custom-printed murals have no repeat because the image is sized to your wall.
Peel-and-stick vs. paste-the-wall: Peel-and-stick non-woven products skip adhesive entirely and suit renters or temporary installs. Paste-the-wall products bond more firmly and are better for permanent applications. Testing wallpaper samples at home before committing to a full order helps confirm color, texture, and adhesion on your specific wall surface.
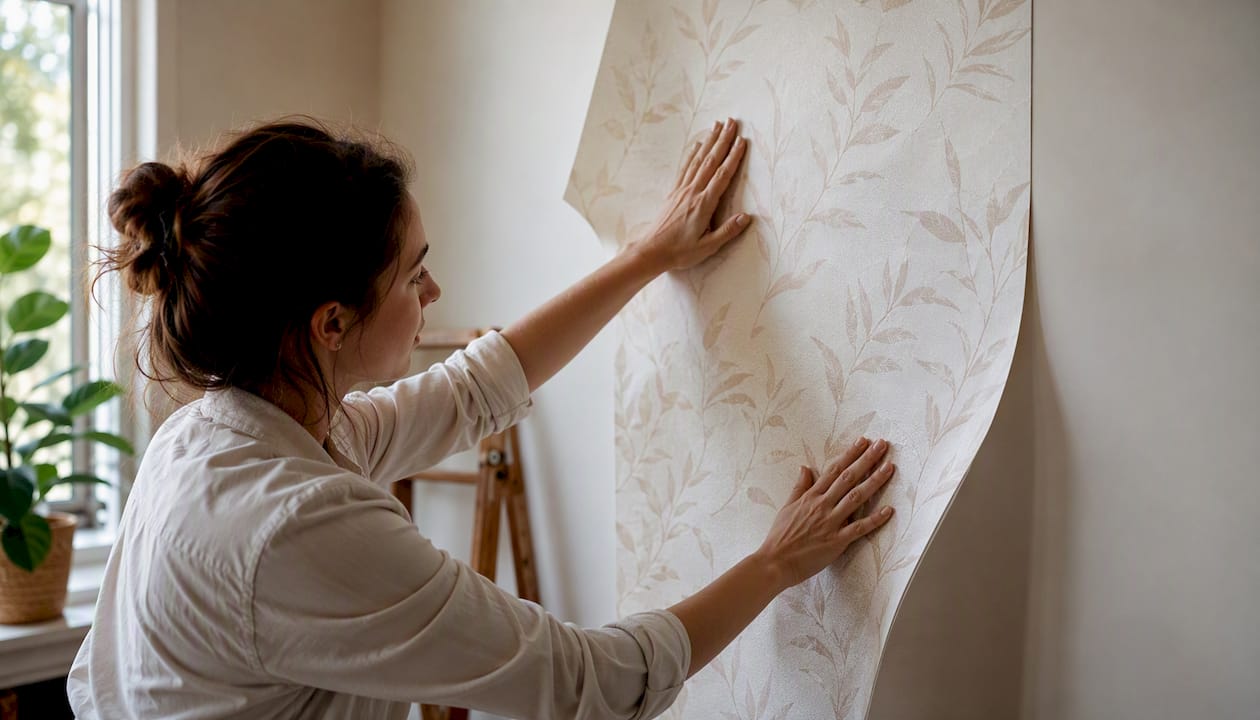
For pattern inspiration, current wallpaper trends cover everything from bold botanicals to geometric repeats.
How to install non-woven wallpaper step by step
Paste the wall, hang dry strips, smooth, and trim. That’s the core sequence. Here’s the full process.
Tools and materials checklist:
- Wallpaper paste formulated for non-woven (check the product label)
- Paste brush or roller
- Smoothing brush or plastic smoother
- Seam roller
- Sharp trimming knife and spare blades
- Plumb line or laser level
- Sponge and clean water bucket
- Ladder
Step-by-step installation:
- Prepare the wall. Fill holes, sand smooth, and apply a wallpaper primer or diluted size. Let it dry fully.
- Measure and cut strips. Measure wall height, add 2 inches top and bottom for trimming, and cut strips. Number them in sequence.
- Mark a plumb line. Use a level or laser to draw a true vertical starting line. Never trust a door frame or corner as a guide.
- Apply paste to the wall. Brush or roll paste onto a strip-width section of wall, slightly wider than your first strip.
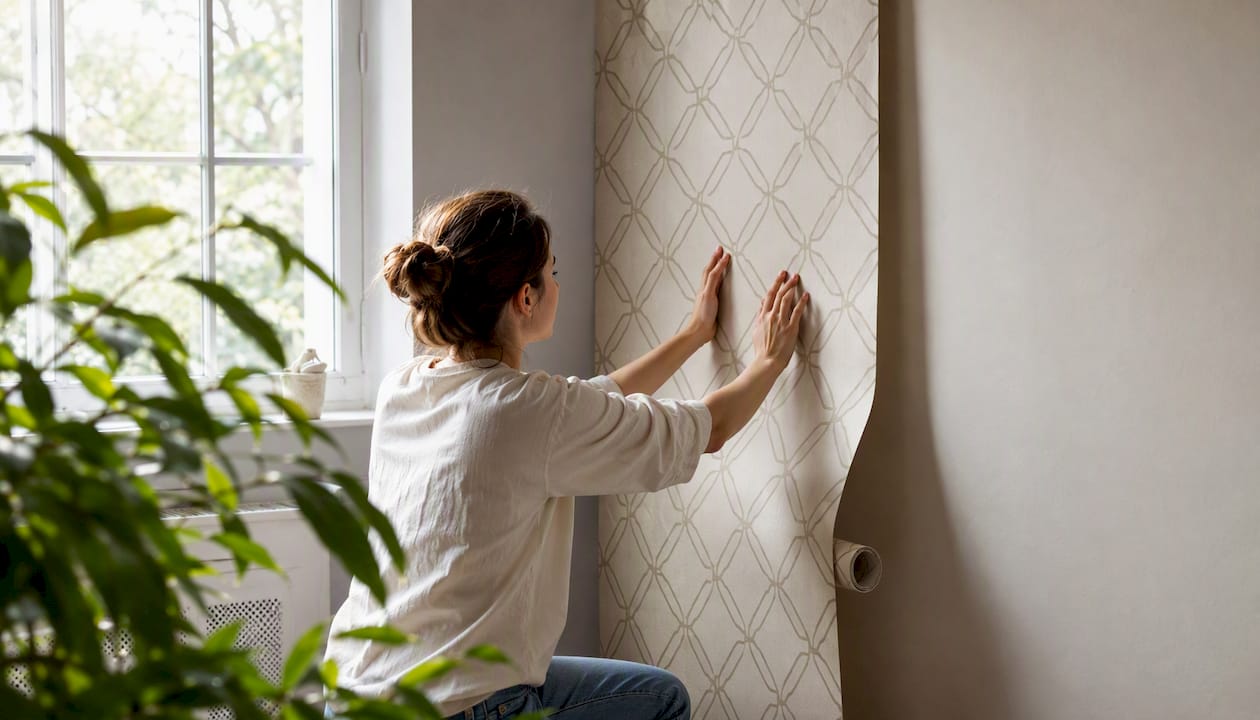
- Hang the first strip. Align one edge to your plumb line, press the strip to the pasted wall, and smooth from the center outward to push out air bubbles.
- Match the pattern and hang the next strip. Butt seams tightly; do not overlap. Slide the strip into position before the paste sets.
- Smooth and trim. Use the smoothing brush to work out any remaining bubbles. Trim top and bottom with a sharp knife against a straight edge.
- Clean up. Wipe paste off the face with a damp sponge immediately; dried paste can dull the finish.
Pro Tip: Change trimming knife blades frequently. A dull blade tears rather than cuts, and torn edges at the ceiling or baseboard are the most visible installation flaw.
Substrate notes: Drywall and plaster both work well when primed. Painted concrete is workable but benefits from a bonding primer. Glossy paint should be lightly sanded before sizing. For beginner planning, where to start when wallpapering covers layout decisions in detail.
Cleaning, care, and how long it lasts
Non-woven wallpaper under normal household conditions typically lasts 10–15 years when properly installed and maintained. The face coating determines how aggressively you can clean it.
Cleaning by face type:
- Uncoated matte: Dust with a dry microfiber cloth; spot-clean very gently with a barely damp sponge
- Washable-rated: Wipe with a damp sponge and mild soap; avoid abrasives
- Scrub-resistant: Can handle a soft brush with gentle pressure; still avoid harsh chemicals
Always test cleaning in an inconspicuous area first. Prolonged direct sunlight fades printed faces; UV-filtering window film extends color life noticeably.
Removal: Test a corner first. Grip the strip at the baseboard and pull slowly at a low angle. If the wall was primed correctly, the strip should release cleanly. If it resists, DIY wallpaper removal guidance covers troubleshooting for adhesive residue and paint pull.
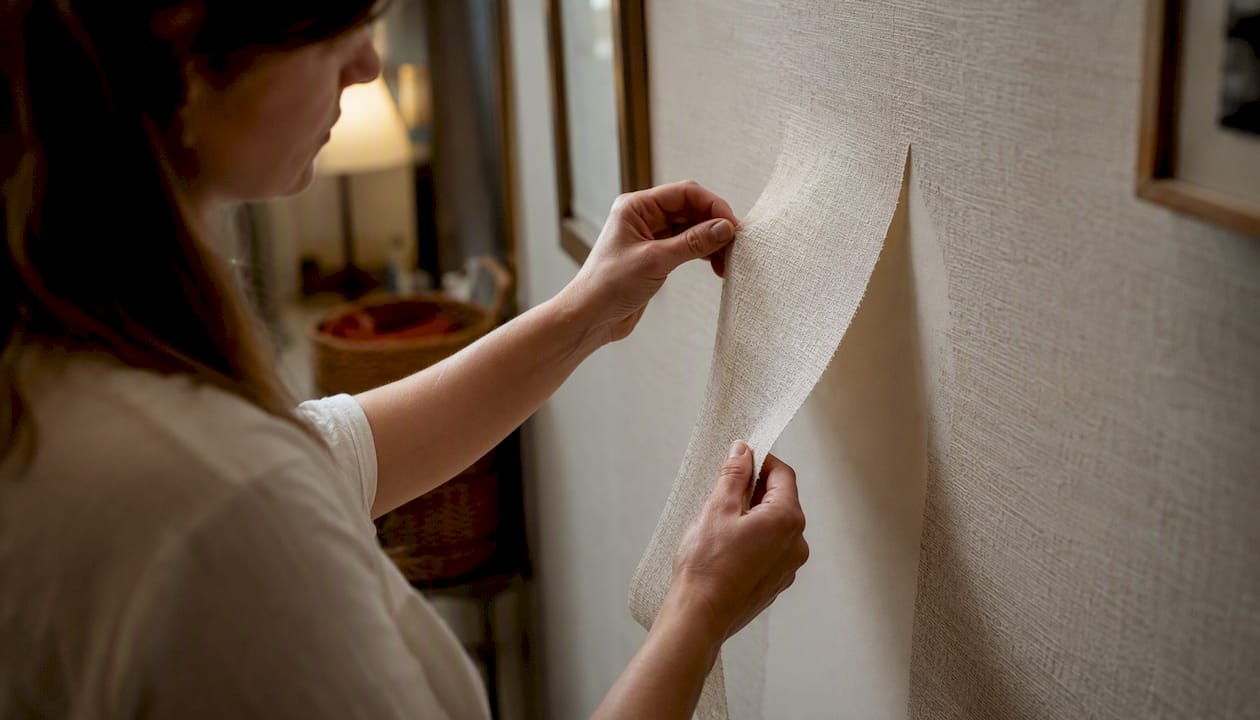
For a full maintenance reference, wallpaper maintenance basics covers routine care across product types.
How to choose and buy non-woven wallpaper
Buying checklist:
- Confirm the backing is labeled “non-woven” (not paper or vinyl-backed)
- Check the face coating and washability rating (symbols on the label: sponge = washable, brush = scrub-resistant)
- Note roll width (typically 20.5 inches) and pattern repeat for accurate coverage math
- Verify the product lists a recommended adhesive type; use it
- Look for “dry-strippable” on the label if easy future removal matters
- Check for fire rating and environmental certifications, particularly Greenguard Gold, which signals low chemical emissions. Eco-friendly wall covering credentials are worth verifying independently for any product you’re considering
- Order samples before committing to a full room
For complex rooms with many windows and doors, round up by one extra roll.
When to hire a professional: Large murals, rooms with multiple obstacles, or walls in poor condition are all cases where professional installation protects the investment.
Wallsneedlove’s perspective on non-woven options
Non-woven backing is the standard for Wallsneedlove’s custom-printed products because it performs consistently across the widest range of home environments. Paste-the-wall application suits the DIY customers who make up a large share of orders, and dry strippability matters to renters and anyone who redecorates regularly.
Greenguard Gold certification on Wallsneedlove products signals low chemical emissions, which is a meaningful credential for bedrooms and children’s spaces. The sample service lets customers test color and texture on their actual walls before ordering a full print. Custom orders are typically produced within 1–3 days, and installation guides and bathroom-specific guidance are available to support both first-time hangers and experienced decorators.
Browse Wallsneedlove custom non-woven options
Wallsneedlove prints custom wallpaper and murals on non-woven backing, available in peel-and-stick or traditional paste formats, with Greenguard Gold certification and a 1–3 day production turnaround.

Browse ready-to-order designs like the Monkeying Around removable wallpaper or the Java Mountain wall mural to see how custom printing translates across different scales and styles. Sample orders are available on product pages so you can confirm color and texture before committing. Check each product page for washability symbols and Greenguard certification details, or contact Wallsneedlove support for adhesive and substrate questions before you order.
Sources
- Non-Woven Wallpaper Explained: A Beginner’s Full Guide
- Wallpaper Backing Guide: Choosing Between Non-Woven, Vinyl and Paper - Hart Design Selection
- Vinyl Wallpaper vs Non-Woven: Complete Comparison | Goodrich


Leave a comment