

Scenic Mural Placement Above Fireplace: Practical Guide
For scenic mural placement above a fireplace, the mural width should be 2/3 to 3/4 of the mantel or surround width, the bottom edge should sit 4–8 inches above the mantel shelf, and a landscape orientation almost always reads best. Before any permanent installation, press your palm to the wall after a long fire. If it feels warm, test further or choose a heat-tolerant substrate. Wallsneedlove offers custom-sized scenic murals in both peel-and-stick and traditional paste formats, making them a practical starting point for this application.
Table of Contents
- How do you get scenic mural placement above a fireplace right?
- How should you center and align a mural above a fireplace?
- What design choices make scenic murals work above a fireplace?
- What materials and finishes are safe above a fireplace?
- How do you mock up and install a mural above a fireplace?
- When should you hire a pro vs. install a mural yourself?
- Key Takeaways
- The case for getting the scale right before anything else
- Wallsneedlove scenic murals for fireplace walls
- Useful sources
How do you get scenic mural placement above a fireplace right?
The two-thirds to three-quarters width rule is the single most reliable guide for art placement above a mantle. A piece that spans less than two-thirds of the mantel reads as undersized and unfinished. One that matches or exceeds the full surround width competes with the architecture rather than complementing it.
Width targets by mantel size
- For a typical mantel around four feet wide, target mural width should be roughly two-thirds to three-quarters of that width.
- For mantels about five feet wide, choose a mural width within the same proportional range.
- Larger mantels near six feet wide call for proportionally wider murals adhering to the two-thirds to three-quarters guideline.
These ranges give you a working spec before you ever open a tape measure in a showroom.
Vertical placement
The standard gallery hanging rule, centering artwork at 57–60 inches from the floor, does not apply above a mantel. The mantel shelf already raises the base of the composition. Instead, hang the bottom edge 4–8 inches above the shelf. This keeps the mural visually connected to the mantel rather than floating above it.
A taller chimney breast with high ceilings can push toward the 8-inch end of that range. A lower ceiling or a shallow mantel shelf calls for the 4–5 inch end, so the mural stays anchored to the fireplace rather than drifting toward the ceiling.
Landscape vs. portrait orientation
Landscape orientation suits most fireplace walls because mantels are wider than they are tall. A portrait-format mural above a standard mantel tends to look narrow and column-like, drawing the eye up rather than across. The exception is a very tall, narrow chimney breast with a slim surround, where a vertical panel can work if the proportions are carefully matched.
Pro Tip: For mantels wider than 60 inches, consider a two-panel scenic mural rather than a single oversized piece. Two panels allow for easier installation, better seam control, and the option to create a diptych composition where the scene reads as one continuous image.
How should you center and align a mural above a fireplace?
Centering decisions depend on which reference point you use, and the right choice varies by room.
Centering on the mantel vs. the room
Center the mural on the mantel surround first, not on the room wall. The fireplace is the focal point, and the mural should reinforce that relationship. If the fireplace sits off-center on the wall, centering the mural on the surround still reads correctly from most sightlines. Centering it on the room wall instead creates an awkward gap on one side of the mantel.
The exception: if the seating arrangement is significantly offset from the fireplace, shift the mural slightly toward the primary seating plane. The goal is that the mural reads centered from where people actually sit, not just from the doorway.
What design choices make scenic murals work above a fireplace?
Scenic murals introduce compositional variables that framed art does not. The horizon line, focal point placement, and color palette all interact with the fireplace in ways worth planning before ordering.
Horizon line placement
Place the mural’s horizon line at or slightly below the top of the mantel shelf. This grounds the scene and creates the impression that the landscape begins at the hearth. A horizon line that sits too high in the mural panel makes the scene feel like it is floating above the room. Too low, and the sky dominates the composition while the ground detail disappears behind the mantel.
For a scenic mural wallpaper with a mountain or forest subject, the treeline or ridgeline typically works best when it falls roughly one-third from the bottom of the visible mural area, keeping key landscape detail at seated eye level.
Focal point and rule of thirds
Apply the rule of thirds to the mural’s composition. The primary subject, a mountain peak, a stand of trees, a distant structure, should fall on one of the vertical third lines rather than dead center. Dead-center placement reads as static above a fireplace, where the firebox itself already anchors the horizontal midpoint. An off-center focal point creates visual movement across the mantel.
Color and finish for firelight
Warm-toned scenic murals, earthy greens, amber skies, ochre hillsides, read well in firelight because the warm light source reinforces rather than clashes with the palette. Cool blues and grays can look flat or washed out when the fire is lit. Midtone contrast matters more than high contrast: a mural with very dark shadows and very bright highlights can look harsh under the shifting light of a fire.
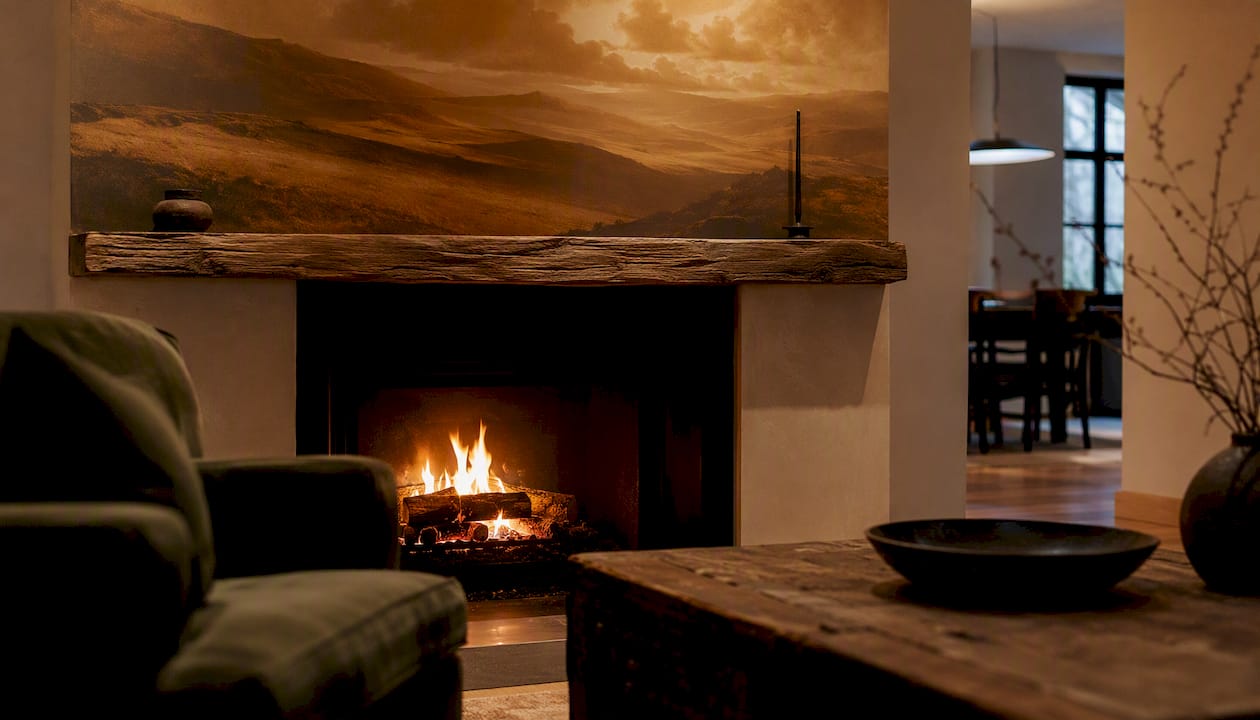
Avoid high-gloss finishes entirely above a fireplace. Gloss reflects the flickering light and creates distracting hot spots across the image. Matte or low-sheen finishes absorb light evenly and hold the scene’s detail under all lighting conditions.
What materials and finishes are safe above a fireplace?
Material choice matters more above a fireplace than almost anywhere else in a room. Heat, soot, and humidity from the firebox all affect adhesion, color stability, and long-term durability.
Peel-and-stick vs. traditional paste murals
- Peel-and-stick murals are removable, reposition-friendly, and practical for renters or anyone who wants flexibility. They perform well above gas fireplaces and sealed wood-burning fireplaces where the wall stays cool. The adhesive can soften if the wall gets consistently warm, so heat testing is required before installation.
- Traditional paste murals bond more permanently and tend to hold better on walls that experience minor temperature fluctuation. They are the better choice for a chimney breast that occasionally warms during extended fires. For wall covering fabric and substrate options on heat-sensitive walls, fabric-backed coverings offer an additional layer of thermal buffering.
Finish choices
Matte finishes are the clear preference above a fireplace. They reduce glare under firelight, hide minor surface imperfections, and hold color accurately across the full range of room lighting from midday sun to evening fire.
Heat and safety checklist
- After a fire burns for two or more hours, press your palm flat against the wall above the mantel. If the wall feels noticeably warm, the location is not suitable for adhesive-backed murals or heat-sensitive framed art.
- Gas fireplaces typically produce less radiant heat at the wall surface than wood-burning units, but the test still applies.
- Maintain the manufacturer’s recommended clearance between the firebox opening and any wall covering. Most building codes in the United States require a minimum clearance; check local requirements before installation.
- Avoid placing any artwork or mural directly above an open-faced wood-burning fireplace without a glass or mesh screen. Soot and sparks are a real risk.
Mounting hardware
For framed scenic panels, use wall anchors rated for the piece’s weight, not just picture hooks. Z-bar cleats distribute weight evenly across a wider span and are the preferred hardware for large, heavy frames above a hearth. Adhesive-only mounting is not recommended for pieces over 5 pounds in this location. The combination of heat, humidity, and the weight of a large frame creates conditions where adhesive alone can fail.
Pro Tip: If the wall above your fireplace feels warm after a long burn, move the scenic mural to a flanking wall instead. The fireplace remains the focal point, and the mural creates a complementary visual anchor without the heat exposure risk.
How do you mock up and install a mural above a fireplace?
A physical mockup before installation saves time, materials, and frustration. Painter’s tape and kraft paper templates are the standard method, and they work reliably for murals of any size.
Step-by-step installation process
- Check under evening light. Test the mockup under firelight or lamp light to confirm color and contrast choices before ordering or installing.
- Install panels in sequence. For multi-panel murals, start from the center and work outward, or follow the manufacturer’s panel sequence. Align seams carefully before pressing panels fully into place. Wallsneedlove’s paneling layout guide for oversized murals covers seam alignment in detail for complex installations.
Pro Tip: Leave the painter’s tape mockup in place for at least one full evening with the fire lit. Proportion and color choices that look right in daylight can shift noticeably under warm, flickering light.
Troubleshooting common issues
- Minor tears or edge gaps: a small amount of color-matched touch-up paint on the wall behind a lifted edge is less visible than a gap. For common installation mistakes and how to avoid them, Wallsneedlove’s installation resource covers the most frequent errors in detail.
When should you hire a pro vs. install a mural yourself?
Most homeowners can handle a peel-and-stick mural on a standard drywall surface above a fireplace. The decision to hire a professional installer comes down to surface complexity and mural size.
When to hire a professional
- The chimney breast is masonry, brick, or uneven plaster that needs skim-coating before installation.
- The mural spans more than 72 inches wide or extends from mantel to ceiling on a tall chimney breast.
- The wall has significant texture, paneling, or a curved surface.
- The installation involves a traditional paste mural on a high-traffic or high-humidity surface.
Why Wallsneedlove scenic murals suit fireplace installations
Wallsneedlove produces custom-sized scenic murals printed to your exact dimensions, so the two-thirds width calculation translates directly into an order spec. The peel-and-stick option is practical for standard drywall fireplace walls and for renters who need a removable solution. Traditional paste murals are available for permanent installations. All products carry Greenguard Gold certification, which confirms low chemical emissions, a relevant consideration for a space where air quality matters. Orders are typically custom-made within 1–3 days. The scenic mural style guide on the Wallsneedlove site covers theme selection, sizing, and installation support in detail.
For complex surfaces or oversized chimney breasts, Wallsneedlove can provide installation guides and referrals to professional installers. The practical next step is to measure the mantel width, apply the two-thirds rule to get a target mural width, and use that spec when requesting a custom size on the product page.
Key Takeaways
Scenic mural placement above a fireplace works best when the mural width is 2/3 to 3/4 of the mantel, the bottom edge sits 4–8 inches above the shelf, and the wall passes a heat test before any permanent installation.
| Point | Details |
|---|---|
| Width rule | Choose a mural that spans 2/3 to 3/4 of the mantel width; undersized pieces read as unfinished. |
| Vertical gap | Place the bottom edge 4–8 inches above the mantel shelf; the standard 57-inch gallery rule does not apply here. |
| Orientation | Landscape format suits most mantels; portrait works only on narrow, tall chimney breasts. |
| Heat safety | Press your palm to the wall after a two-hour fire; if it feels warm, avoid adhesive-backed murals or reposition to a flanking wall. |
| Wallsneedlove option | Custom-sized peel-and-stick and paste scenic murals, Greenguard Gold certified, with installation guides and 1–3 day turnaround. |
The case for getting the scale right before anything else
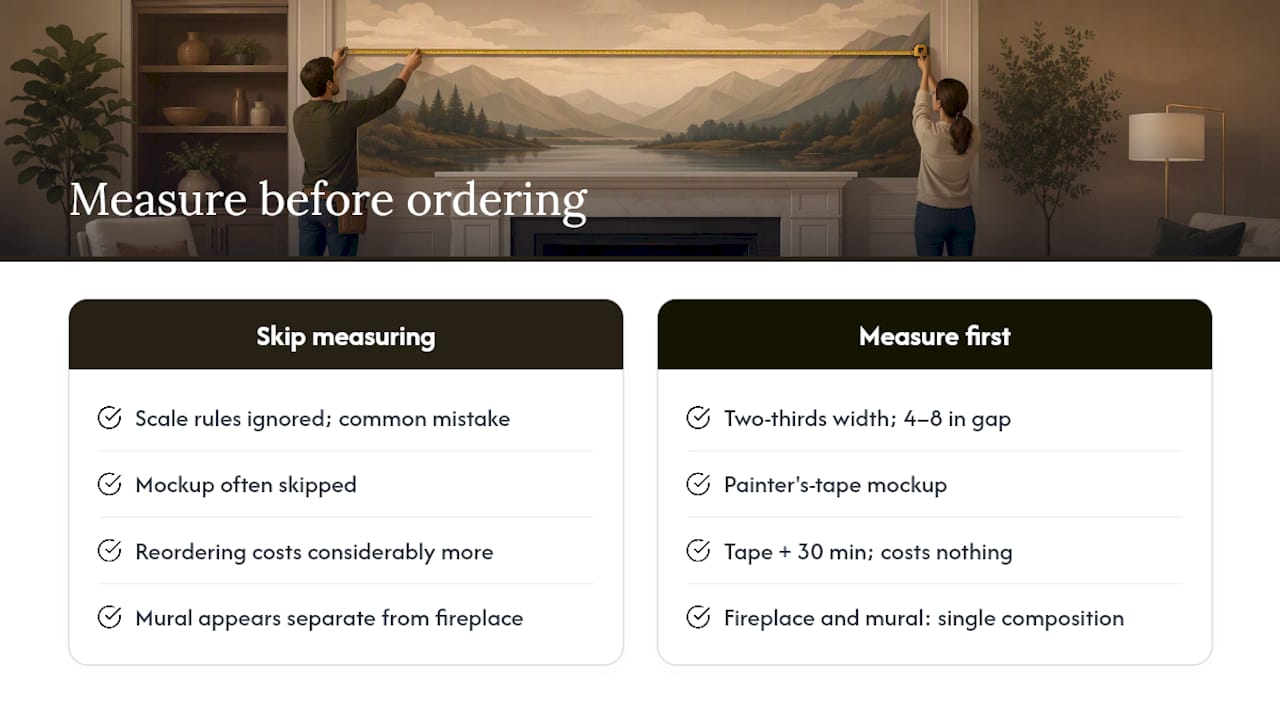
Most fireplace styling mistakes come down to one decision made too early: ordering art before measuring. The two-thirds width rule and the 4–8 inch vertical gap are not stylistic preferences. They are the measurements that make a mural look like it belongs to the fireplace rather than just hanging near it.
The painter’s tape mockup step gets skipped more often than any other part of the process, and it is the step that prevents the most expensive mistakes. A roll of tape and thirty minutes of evaluation under evening light costs nothing. Reordering a mural because the scale was wrong costs considerably more.
Scenic murals add something framed art rarely does above a fireplace: a sense of depth and place. When the horizon line is set correctly and the focal point falls at seated eye level, the firebox and the mural work together as a single composition. The fireplace becomes a threshold rather than just a heat source.
The safety check is non-negotiable. Adhesive failure above a hearth is not just a design problem. Test the wall, respect the clearances, and choose materials rated for the conditions.
Wallsneedlove scenic murals for fireplace walls
Wallsneedlove offers scenic murals in custom sizes, printed to the exact dimensions calculated from the two-thirds width rule. The Java Mountain wall mural is a strong example of the depth and tonal range that works well above a fireplace: a receding mountain landscape in warm midtones that holds detail under both daylight and firelight. Peel-and-stick panels install without paste or professional tools on standard drywall, and traditional paste options are available for permanent applications on complex surfaces.
Every mural ships with installation guidance. For multi-panel compositions on wide chimney breasts, the paneling layout resources on the Wallsneedlove site cover seam sequencing and alignment. Greenguard Gold certification applies across the product range. Orders are custom-made within 1–3 days. Measure the mantel, apply the two-thirds rule, and browse scenic mural options to request a custom size or order a sample panel before committing to a full installation.
Useful sources
- Creative mantel ideas
- Art Above the Fireplace: Getting the Scale Right
- Dos and Don’ts of Hanging Art Above a Fireplace
- How to Hang Art the Right Way Above the Bed, Fireplace, Sofa, and More
- Scenic Mural Wallpaper Style Guide for Home Decorators
- Paneling Layout for Oversized Custom Murals: Full Guide
- Java Mountain | Wall Mural | WallsNeedLove


Leave a comment