

Paneling Layout for Oversized Custom Murals: Full Guide
For an oversized custom mural, the safest approach is a multi-panel tiled set sized to your printer’s maximum roll width and practical handling limits, delivered with a numbered panel map and a designed seam tolerance of a few millimeters. That gap accounts for wall irregularities, substrate expansion, and real-world handling without requiring precision-shop conditions on-site. Butt-joins are an option only when panels are CNC-cut to ±0.5 mm tolerance and the wall surface is planed flat.
Before anything else, take these three steps:
- Measure wall height and width at multiple points and record the variation.
- Document every obstruction: vents, electrical boxes, trim, and moldings.
- Request a numbered panel map from your vendor before production begins.
Table of Contents
- 1. How to measure the site accurately before finalizing your panel layout
- 2. How panel width, substrate, and mounting method affect your design
- 3. How to prepare artwork files and print specs so panels align on install
- 4. How to number panels and build an installation sequence map
- 5. On-wall seam methods: butt-joins, designed gaps, and corner treatments
- 6. QA checks and troubleshooting common installation problems
- 7. Realistic timelines and the main cost drivers for large mural projects
- 8. How Wallsneedlove supports oversized mural paneling and installation
- Key Takeaways
- What installers wish clients knew before the project starts
- Wallsneedlove custom murals: from panel map to finished wall
- Useful sources for production specs and large-scale mural references
1. How to measure the site accurately before finalizing your panel layout
Professional installers consistently flag the site survey as the step that prevents the most rework. Walls are rarely square, and a panel map built on a single measurement will drift at the edges.
What to measure and record:
- Wall width at top, middle, and bottom; wall height at left, center, and right. Note the maximum and minimum for each axis.
- All door and window openings with their trim returns and reveal depths.
- HVAC vents, electrical boxes, fire alarms, sprinkler heads, and baseboards. Note which cannot be relocated.
- Plumb and level readings using a laser level or a long spirit level. Record how far out-of-plumb each corner runs.
- Corner angles: inside and outside corners that are not 90° will affect how edge panels terminate.
Capture a photo of each wall elevation alongside a hand-drawn or digital sketch with all dimensions labeled. Use the smaller of your recorded width and height values when designing edge fittings. That conservative number prevents panels from running short at the tightest point.
Minimum deliverables to send your vendor:
- Three-point width and height measurements (top/mid/bottom; left/center/right).
- A scaled elevation photo with dimensions annotated.
- An obstruction map showing exact locations and sizes.
- Your preferred clearance margin at baseboards and ceiling.
2. How panel width, substrate, and mounting method affect your design
Panel sizing starts with the printer. Most wide-format roll printers max out at 60 inches (roughly 1,524 mm) per roll, though some production facilities run 98-inch or 126-inch rolls. Sizing panels to the roll width eliminates a cut step and keeps edges clean.
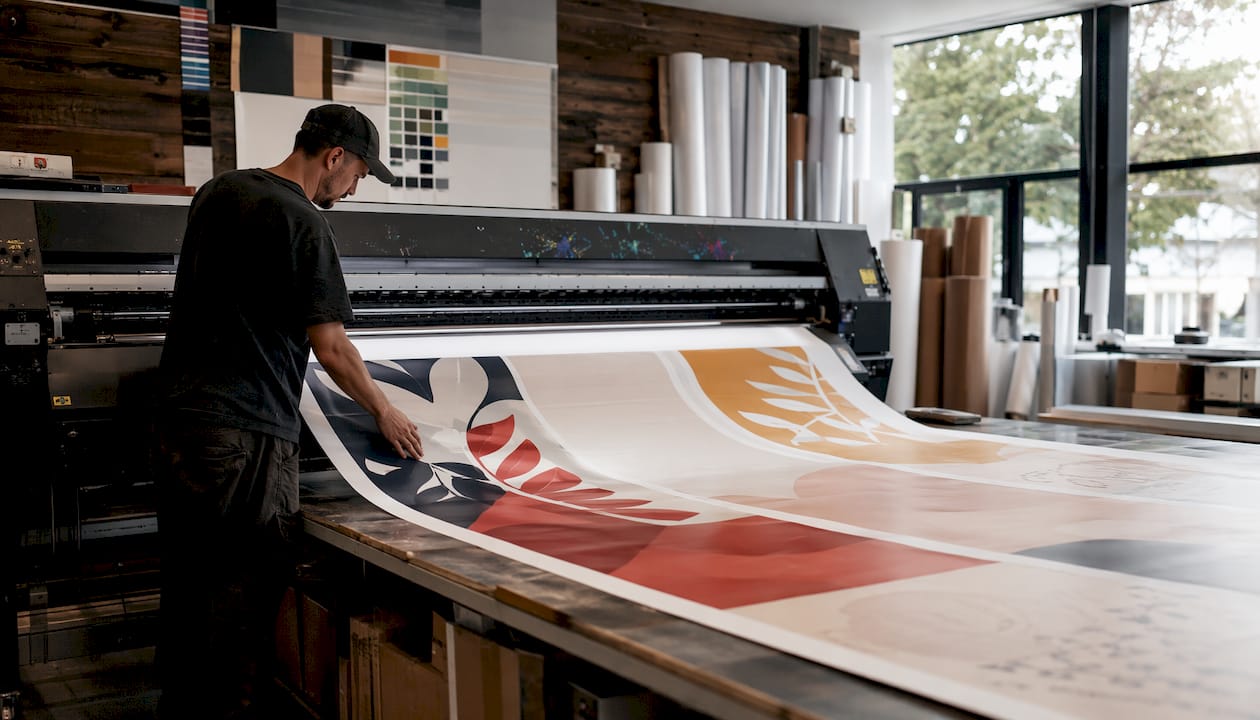
Handling is the second constraint. A single person can typically manage panels up to about 48 inches wide and 96 inches tall. Anything larger needs a two-person lift or mechanical assist.
Substrate comparison:
| Substrate | Seam Visibility | Moisture Resistance | Typical Use |
|---|---|---|---|
| Peel-and-stick vinyl | Low to moderate | Good | Residential, retail, temporary installs |
| Paste-applied textile wallpaper | Low | Moderate | Commercial, high-end residential |
| Aluminum composite (Dibond-style) | Very low with CNC edges | Excellent | Exterior-adjacent, high-durability commercial |
| MDF / rigid board | Low | Poor | Gallery-style, climate-controlled interiors |
Aluminum composite panels resist moisture and dimensional warping, making them a reliable choice for murals in lobbies, stairwells, or any space with humidity variation; to learn more about integrating such elements in your design, see the role of prisms in interior design. They are also lighter than wood panels of comparable size.
For flexible substrates like peel-and-stick vinyl or paste-applied wallpaper, seam visibility depends heavily on surface prep and seam strategy. Textile-backed wallpaper tends to produce the least visible seam on textured walls because the material conforms to minor surface variation.
Pro Tip: Size panels so the narrowest edge panel is at least 6 inches wide. A sliver panel at a corner or door frame is difficult to align and tends to lift at the edge. Adjust the overall panel count by a half-panel increment to keep all edge panels at a workable width.
3. How to prepare artwork files and print specs so panels align on install
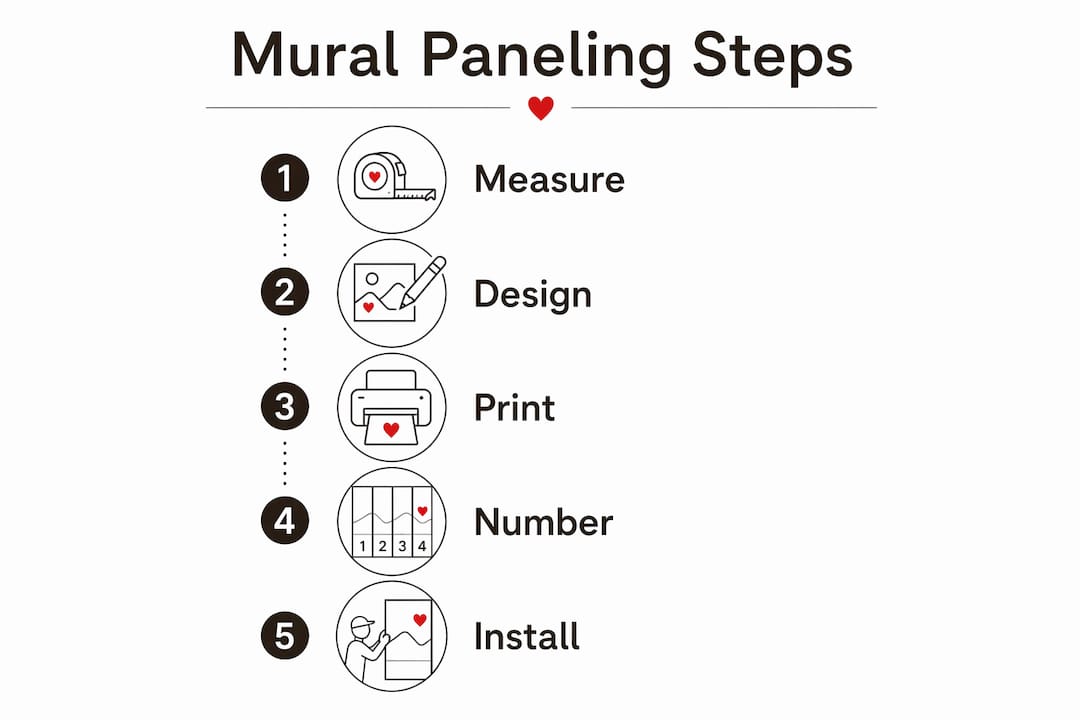
The answer up front: supply a panel-by-panel digital mockup with bleed, trim lines, registration marks, resolution targets, color profile, and a numbered sequence map before sending files to print.
File specs checklist:
- Resolution: 150 DPI at final printed size is the standard floor for large-format murals; 300 DPI at final size for close-viewing installations under 6 feet.
- File format: PDF/X-4 or TIFF for raster content; AI or EPS for vector elements. Avoid JPEG for production files.
- Color profile: CMYK with the print shop’s specified ICC profile. Request a color proof on the actual substrate before approving the full run.
- Bleed: extend image content at least 5 mm beyond each trim edge for butt-join panels; 10 mm for panels that will overlap or wrap a corner.
- Trim marks and registration marks on every panel file, positioned outside the bleed area.
Numbered panel map — what to include:
- A scaled wall elevation showing panel outlines with dimensions labeled.
- A sequence number on each panel (Panel 1, Panel 2, etc.) reading left-to-right, top-to-bottom.
- Edge callouts on every panel: Top, Bottom, Left, Right, with arrows indicating orientation.
- Seam strategy noted per edge: butt-join, designed gap, or overlap.
- Installer notes: which panel installs first, direction of progression, and any panels that require simultaneous positioning.
Large-scale production facilities rely on color-calibrated wide-format printers and finishing equipment to maintain color continuity across panels. Request a color bar printed at the edge of each panel so the installer can verify color match before committing adhesive.
For multi-floor or multi-wall compositions, digital stitching of source images into a single master file before dividing into sections keeps the composition continuous. A large composite divided into multiple floor-by-floor sections is one documented example of this method producing a continuous multi-story piece.
4. How to number panels and build an installation sequence map
Always supply both a printed and a digital numbered panel map. The physical copy goes on-site with the installer; the digital copy stays with the project manager for reference during QA.
Panel labeling on the physical backing:
- Sequence number in large print (Panel 01, Panel 02, etc.).
- Orientation arrow pointing toward the ceiling.
- Panel dimensions (width × height) printed on the backing.
- Edge indicators: “LEFT EDGE,” “RIGHT EDGE,” “TOP,” “BOTTOM” on the relevant sides.
Pack panels in reverse installation order so the first panel to install comes off the top of the stack. Label the outer crate or tube with the sequence range it contains.
Installation sequence steps:
- Uncrate panels in order and lay them flat on a clean floor in sequence.
- Conduct a visual QA check: verify sequence numbers, orientation arrows, and that registration marks align between adjacent panels.
- Confirm color match across the full set under the project’s ambient lighting before mounting any panel.
- Begin mounting at Panel 01 (typically top-left or bottom-left depending on substrate and adhesive type).
- Work left-to-right and top-to-bottom, checking alignment at each seam before moving to the next panel.
Producers print alignment guides and sequence numbers on backing boards and provide wall-side mounting templates to match cleat locations. That practice alone reduces on-site alignment errors significantly.
Run a digital pre-flight before production: overlay the panel production map onto an architectural elevation in design software to confirm seam placement across features. Adjust panel widths at that stage to avoid seams landing on vents, door frames, or other obstructions. Fixing a seam location in software costs nothing; fixing it after printing costs a full reprint.
For panoramic designs that span multiple walls, the multi-wall layout guide from Wallsneedlove covers how to handle corner transitions and maintain image continuity across connected surfaces.
5. On-wall seam methods: butt-joins, designed gaps, and corner treatments
Choose your seam strategy before production, not on install day. The strategy determines bleed, trim, and edge finishing on every panel.
Seam strategy comparison:
| Method | Best For | Pros | Cons |
|---|---|---|---|
| Butt-join (flush) | Precision CNC panels, flat walls | Invisible seam when done correctly | Requires ±0.5 mm cut tolerance and flat wall surface |
| Designed 2–3 mm gap | Commercial installs, textured walls | Accommodates wall irregularities and expansion | Gap visible on close inspection; must be designed into artwork |
| Slight overlap (2–5 mm) | Paste-applied wallpaper | Forgiving of minor misalignment | Double-cut required for clean seam; risk of ridge |
Commercial multi-panel installations standardly use a designed 2–3 mm gap to accommodate wall irregularities and substrate expansion. Butt-joins are reserved for high-precision, flush-mount jobs where panels are CNC-cut to ±0.5 mm tolerance and the wall surface is prepared to match.
Tool list for on-wall installation:
- Laser level and chalk line for establishing horizontal and vertical reference lines.
- Seam roller for pressing flexible substrates flat at joins.
- Seam clamps or temporary clips for holding rigid panels in position during adhesive cure.
- Straight edge and utility knife for double-cutting overlaps on paste-applied wallpaper.
- French cleats or Z-bar mounting systems for rigid panels; these allow micro-adjustment after hanging.
- Shims for leveling rigid panels on out-of-plumb walls.
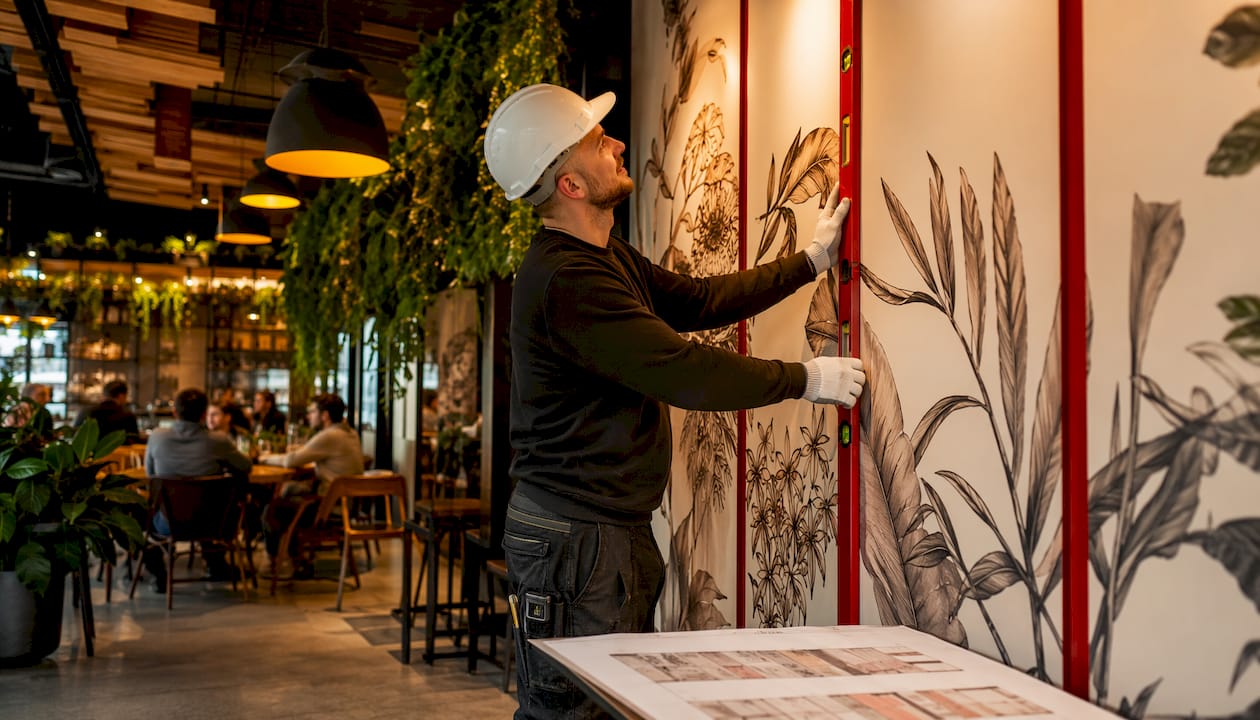
Corner and trim handling: terminate flexible panels at inside corners by running the panel 1–2 inches around the corner, then starting the next wall’s panel over it. For outside corners, wrap the panel edge around the corner or use a metal edge trim. Never place a seam directly over a vent, electrical box, or alarm. If the panel layout forces a seam near an obstruction, shift the entire panel grid by a few inches to move the seam clear.
Pro Tip: For out-of-plumb walls, float rigid panels on French cleats and shim the bottom edge before locking the cleat. This lets you adjust vertical alignment panel-by-panel without re-drilling. On flexible substrates, use a plumb chalk line as the reference for every panel, not the wall corner, which is rarely true.
6. QA checks and troubleshooting common installation problems
Start QA before the first panel goes on the wall.
Pre-install checklist:
- Dry-fit all panels on the floor in sequence and verify registration marks align between adjacent panels.
- Check sequence numbers and orientation arrows on every panel backing.
- Compare color across the full set under the project’s lighting conditions. Daylight and artificial light can reveal color shifts between panels that are invisible under production lighting.
- Confirm wall surface is clean, dry, and primed per the substrate manufacturer’s spec.
Common problems and fixes:
- Mis-sequenced panels: Catch this in the floor dry-fit. Re-sort before mounting. Never try to correct sequence on the wall.
- Visible seam mismatch: Usually a production cut error or a wall that is out of plumb. Field fix: shim or re-clamp rigid panels; for flexible substrates, carefully peel back and reposition before adhesive sets fully.
- Edge lifting: Caused by insufficient adhesive, dusty substrate, or moisture. Fix with additional adhesive applied by syringe under the lifted edge, then press and clamp.
- Trapped air or bubbles: On peel-and-stick panels, work a squeegee from the center outward. For paste-applied panels, use a smoothing brush in the same direction.
- Minor alignment drift across multiple panels: Reset to a plumb chalk line at the midpoint of the installation rather than continuing to correct from the previous panel.
Lighting deserves a specific check. A physical site survey before finalizing panel maps is critical, and the same logic applies to lighting: view the installed panels under the space’s actual lighting before declaring the install complete. Seam shadows and color shifts that are invisible under work lights can appear clearly under ambient or directional lighting.
For a broader list of installation errors to avoid, the wallpaper installation mistakes guide from Wallsneedlove covers the most common missteps across substrate types.
7. Realistic timelines and the main cost drivers for large mural projects
A typical oversized custom mural project moves through five phases. Each has a realistic duration and a fast-track option when the project demands it.
| Phase | Standard Duration | Fast-Track Option |
|---|---|---|
| Site survey and documentation | 1–2 days | Same day with prepared checklist |
| Design, proofing, and approval | 5–10 business days | 2–3 days with pre-approved artwork |
| Printing and finishing | 3–7 business days | 1–3 days (Wallsneedlove standard) |
| Packing, crating, and shipping | 2–5 business days | Expedited freight available |
| On-site installation | 1–5 days depending on scale | Parallel crew scheduling |
Main cost drivers:
- Substrate choice: aluminum composite and textile-backed wallpaper cost more per square foot than standard vinyl.
- Panel count and CNC cutting: more panels mean more cut time and more mounting hardware.
- Finishing and edge profiles: custom edge trims, wrapped edges, and protective coatings add cost.
- Shipping and crating: rigid panels require custom crating; large flexible rolls need protective tubes. Both add freight cost.
- On-site labor complexity: out-of-plumb walls, high ceilings, and multi-floor installs increase labor hours.
To reduce cost or compress the timeline:
- Size panels to standard roll widths to eliminate custom cutting steps.
- Approve artwork digitally before requesting physical proofs.
- Bundle installation into a single mobilization rather than phased visits.
- Choose peel-and-stick vinyl for projects where speed and repositionability matter more than long-term durability.
A well-documented sequencing and production pipeline can move a large-scale project from print to install in days, even at significant scale, when the site survey, panel map, and pack order are all prepared in advance.
8. How Wallsneedlove supports oversized mural paneling and installation
Wallsneedlove provides custom-printed murals with panel-by-panel production specs, numbered panel maps, and installation support included with orders. Both peel-and-stick and traditional paste substrates are available, covering residential and commercial applications.
Service elements and production proofs:
- Custom sizing to exact wall dimensions, with no standard size restrictions.
- Peel-and-stick and paste-applied substrate options across the full product range.
- Greenguard Gold certification on products, confirming low chemical emissions for residential and commercial interiors.
- Published step-by-step installation guides covering surface prep, panel alignment, and seam finishing.
- Orders custom-made within 1–3 business days, with expedited options available.
- Installation support documentation and contractor referral guidance for complex projects.
Trust signals:
- Numbered panel maps supplied with multi-panel orders.
- Digital pre-flight support to verify seam placement before production.
- Greenguard Gold certification for product safety in occupied spaces.
- Detailed how-to content covering both DIY and contractor-led installs.
Wallsneedlove’s installation and design guides give project managers and decorators a clear path from client brief to panel-ready production specs. For commercial projects where mural placement affects customer experience, the commercial mural guide covers design rationale and installation considerations specific to public-facing spaces.
Key Takeaways
A numbered panel map with a designed small seam tolerance, built from accurate multi-point wall measurements, is the single most reliable foundation for a clean oversized mural installation.
| Point | Details |
|---|---|
| Measure at multiple points | Record wall width and height at top, middle, and bottom; use the smallest dimension for edge fittings. |
| Use a designed seam gap | A 2–3 mm gap accommodates wall irregularities and substrate expansion in most commercial installs. |
| Run a digital pre-flight | Overlay the panel map on an architectural elevation to catch seam placement issues before printing. |
| Confirm registration marks | Every panel file must carry registration marks and a sequence number to guide on-site alignment. |
| Wallsneedlove production support | Wallsneedlove delivers custom murals with numbered panel maps, Greenguard Gold certification, and 1–3 day turnaround. |
What installers wish clients knew before the project starts
The most common friction point on large mural installs is not the installation itself. It is arriving on-site with incomplete measurements or no panel map. An installer who receives a dimensioned wall elevation, an obstruction map, and a numbered panel map can begin work immediately. One who has to measure, re-measure, and improvise a sequence on-site loses hours before the first panel goes up.
Color proofing under representative lighting is another area where clients often skip a step. Approving a color proof under office fluorescents and then installing in a space with warm incandescent or directional track lighting can produce a visible color shift across the panel set. The fix is simple: view the proof in the actual space, or at minimum under a light source that matches the installation environment.
The 2–3 mm designed gap is worth accepting on most projects. Clients sometimes push for a flush butt-join because it sounds more precise. In practice, a flush butt-join on a wall that is even slightly out of plumb or has minor surface texture will show more irregularity than a clean designed gap. The gap, when it is part of the artwork’s design intent, reads as intentional. An imperfect butt-join reads as an error.
Dry-fitting panels on the floor before mounting is the single step that catches the most problems at the lowest cost. It takes 20–30 minutes on most projects and has prevented full reprints on more than a few large-scale installs.
Wallsneedlove custom murals: from panel map to finished wall
Wallsneedlove produces custom oversized murals sized to exact wall dimensions, with numbered panel maps, mounting hardware guidance, and installation documentation included. Both peel-and-stick and paste-applied options are available, and orders are custom-made within 1–3 business days.

Before requesting a quote, prepare your three-point wall measurements, an obstruction map, and your preferred substrate and seam strategy. That information lets the production team build an accurate panel map and confirm print specs without back-and-forth delays.
Browse finished examples like the Java Mountain wall mural to see scale, finish, and substrate options in context. When ready to start a custom order or request installation guidance, visit Wallsneedlove directly to begin the inquiry.
Useful sources for production specs and large-scale mural references
These sources cover production tolerances, installation sequencing, and large-scale case studies useful for vendors, installers, and project managers.
- Shawmut Design and Construction: Excel Miami mural case study — Documents the four-panel installation of the tallest mural in the U.S. at 245 feet on a 24-story residential tower. Use for scale reference and multi-panel coordination on large exterior projects.
- Livewellcraft: Custom multi-panel mural manufacturing specs — Production tolerances, CNC cutting specs, seam gap standards, and backing board alignment guide practices. Best resource for production-level panel specifications.
- Hollywood Monster: Peaky Blinders large-scale mural case study — Documents a 75 m × 2.5 m mural completed from print to install in three days using strict sequencing. Use for timeline benchmarking and production pipeline reference.
- Kurt Johnson Photography: Six-story nature installation — Covers digital stitching and multi-floor panel sequencing for a 566-inch composite. Use for multi-floor and multi-wall design workflows.
- ForgePDX blog: Large-scale custom wall murals guide — Practical site survey guidance, obstruction mapping, and installer recommendations. Best for pre-install planning and QA checklists.
- Mural Routes: Aluminum composite panel data — Material properties, moisture resistance, and shaping options for Dibond-style panels. Use when specifying substrate for durable or exterior-adjacent installations.


Leave a comment