

Custom Mural Color Accuracy Best Practices for Designers
Reliable color accuracy in custom murals comes down to five non-negotiable actions: capture reference images with a color target, characterize every device in the chain, proof colors at the actual wall, use spectrophotometer-backed paint matches, and verify the final result under the intended lighting. Skip any one of these and the mural you install will not match the design you approved.
Quick TL;DR checklist:
- Shoot RAW with an X-Rite ColorChecker in frame and lock white balance manually.
- Calibrate your monitor to D65 and embed ICC profiles before sending files to print.
- Proof on-site at night using a projector and physical paint swatches side by side.
- Specify anchor colors by paint brand code, not HEX alone, and confirm with a spectrophotometer.
- Approve the final sample panel under 5000K lighting before installation begins.
Project brief pin: Color accuracy requires controlled capture, profiled devices, on-site proofing, spectro-matched paint, and lighting-verified sign-off. Document every compromise in writing.
Table of Contents
- What to prepare before you design, print, or order paint
- Digital capture and color management, step by step
- On-site projection and patch-proofing at the wall
- How to test and verify color before final installation
- Common causes of color mismatch and how to fix them
- Technical background: why RAW and camera profiling matter
- Key Takeaways
- Color accuracy as a studio habit, not a one-time check
- Wallsneedlove supports color-accurate custom mural production
- Curated sources and further reading
What to prepare before you design, print, or order paint
Colors decided without physical references almost always require correction later. Before opening a design file, gather the following.
Physical items: paint fan decks or brand swatches for the room’s existing colors, an X-Rite ColorChecker or 18% gray card, and sample-panel materials (primed substrate matching the wall surface).
Digital settings: confirm your monitor is hardware-calibrated to D65, your working color space is set to ProPhoto RGB or Adobe RGB, and you know the printer’s requested output profile and file format.
Client brief items: lock the top two or three anchor colors by paint brand code (Benjamin Moore, Sherwin-Williams, or similar), specify finish (matte, satin, or gloss), note the intended viewing distance, and record the room’s dominant light source. Designers should also analyze the home’s undertones and neutral foundation before committing to a palette, since fixed elements like flooring and trim constrain mural color choices more than most clients expect.
Pro Tip: Lock anchor colors using physical paint brand codes, not HEX values. As one designer’s guide notes, HEX and RGB values are inadequate for physical color specification because they describe light-emitting displays, not reflected pigments. A Sherwin-Williams or Benjamin Moore code gives your paint mixer an unambiguous target.
Digital capture and color management, step by step
Consumer cameras are not colorimetric instruments by default. Their sensors fail what researchers call the Luther-Ives condition, meaning the camera’s spectral sensitivities do not match human vision. Camera characterization and RAW processing workflows are required to produce color-accurate data rather than pleasing-but-shifted images.
- Shoot RAW. Never rely on in-camera JPEGs for color reference. RAW files preserve the sensor’s full data before any manufacturer tone-mapping is applied.
- Place a ColorChecker in frame. An X-Rite ColorChecker Classic or Passport gives you a known reference for every shot. Include it in the first and last frame of each lighting setup.
- Lock white balance manually. Auto white balance shifts between frames. Set a custom white balance from an 18% gray card under the actual shooting light.
- Create a bespoke camera profile. Use the ColorChecker data to generate a custom RGB-to-XYZ ICC profile for that camera-and-light combination. Open-source workflows like pyColourimetry demonstrate that this step reduces color errors significantly compared to generic camera profiles.
- Calibrate your monitor to D65. A hardware colorimeter (such as those in the X-Rite i1 family) is the standard for this. Software-only calibration is not sufficient for color-critical work.
- Work in a wide editing space. ProPhoto RGB or Adobe RGB captures more of the mural’s potential gamut than sRGB.
- Embed ICC profiles and export correctly. For large-format print, convert to the printer’s ICC profile and export as PDF/X-4, with a 50mm panel bleed and safe zones for seams. Resolution depends on viewing distance; standard mural printing typically uses a resolution suited to common viewing distances around a few meters to ensure visual clarity.
Pro Tip: Send a soft-proof PDF to the printer before final export. Ask them to flag any out-of-gamut areas. Catching a saturated cyan or vivid red at this stage costs nothing; reprinting a full mural panel costs significantly more.
On-site projection and patch-proofing at the wall
Ambient light, surface texture, and viewing distance all shift color perception after installation. A design that looks correct on a calibrated monitor can read warmer, cooler, or flatter on a textured wall under incandescent light.
The practical workflow for on-site projector calibration follows a repeatable sequence. Work at night or in the lowest-ambient-light window available. Mount the projector on a stable stand and mark its exact position so you can return to the same geometry in subsequent sessions. Set the projector to a neutral or “standard” picture mode and disable any dynamic contrast or color-enhancement presets. Project large solid-color blocks (not small chips) onto the wall and place physical paint swatches directly adjacent for comparison.
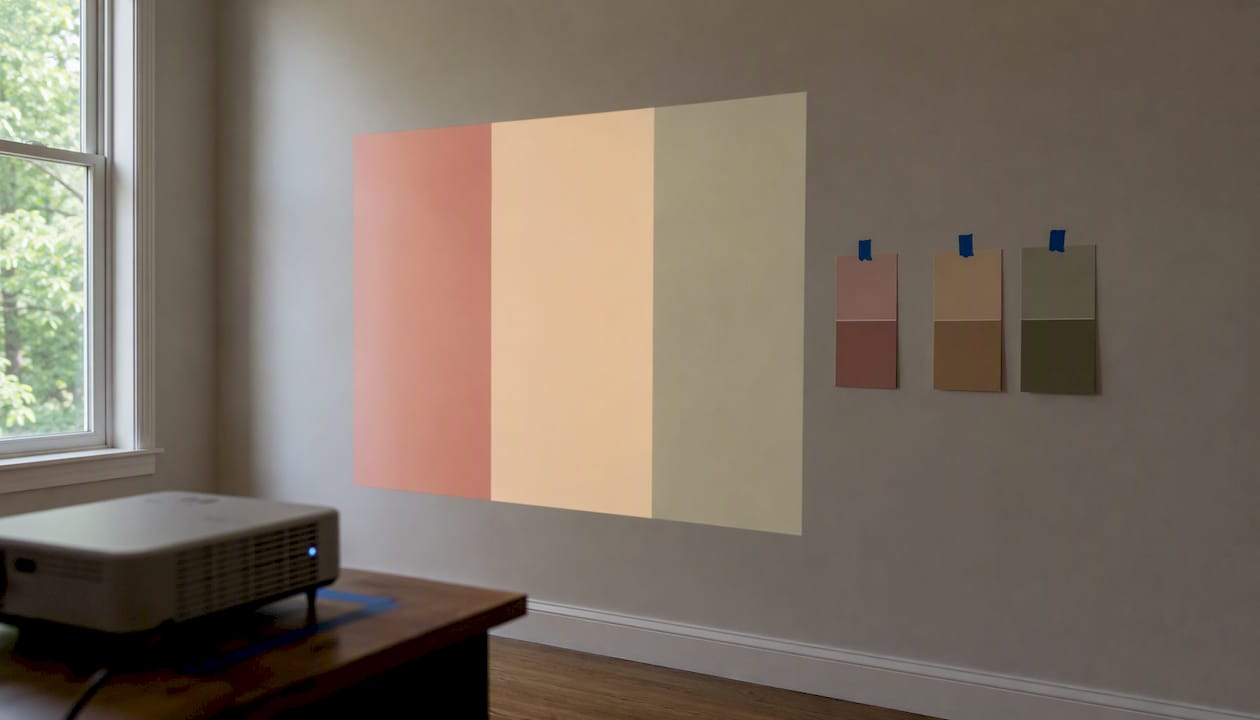
Calibration adjustments: set color temperature to approximately 6500K, adjust brightness and contrast until the projected white matches a neutral reference card, and make minimal RGB gain tweaks only after the global settings are stable. Accept a match when the projected block and the physical swatch read as the same color under the room’s intended light source. If they do not match, re-specify the paint before proceeding.
Pro Tip: Mark the projector’s tripod position with tape and photograph the setup. Recalibrate at the start of each session — projector output drifts with lamp temperature, and a session started cold will shift color within the first 15 minutes.
How to test and verify color before final installation
- Order a small printed proof or photo proof from the printer and compare it to the digital file on a calibrated monitor.
- Paint a sample panel on the actual substrate using the specified paint and finish. Let it cure fully (typically 24–48 hours) before measuring.
- Run the projection patch test described above and record Delta-E readings.
- If a full-size proof is feasible, install one panel and view it at the intended distance under the room’s lighting before proceeding.
Acceptance criteria table:
| Sample ID | Measurement device | Illumination | Delta-E result | Accept / Reject |
|---|---|---|---|---|
| Anchor color 1 | Spectrophotometer | 5000K | < 1.0 | Accept |
| Anchor color 2 | Spectrophotometer | 5000K | < 1.0 | Accept |
| Secondary color | Hardware colorimeter | Room light | < 2.0 | Accept |
| Background fill | Hardware colorimeter | Room light | — | Review |
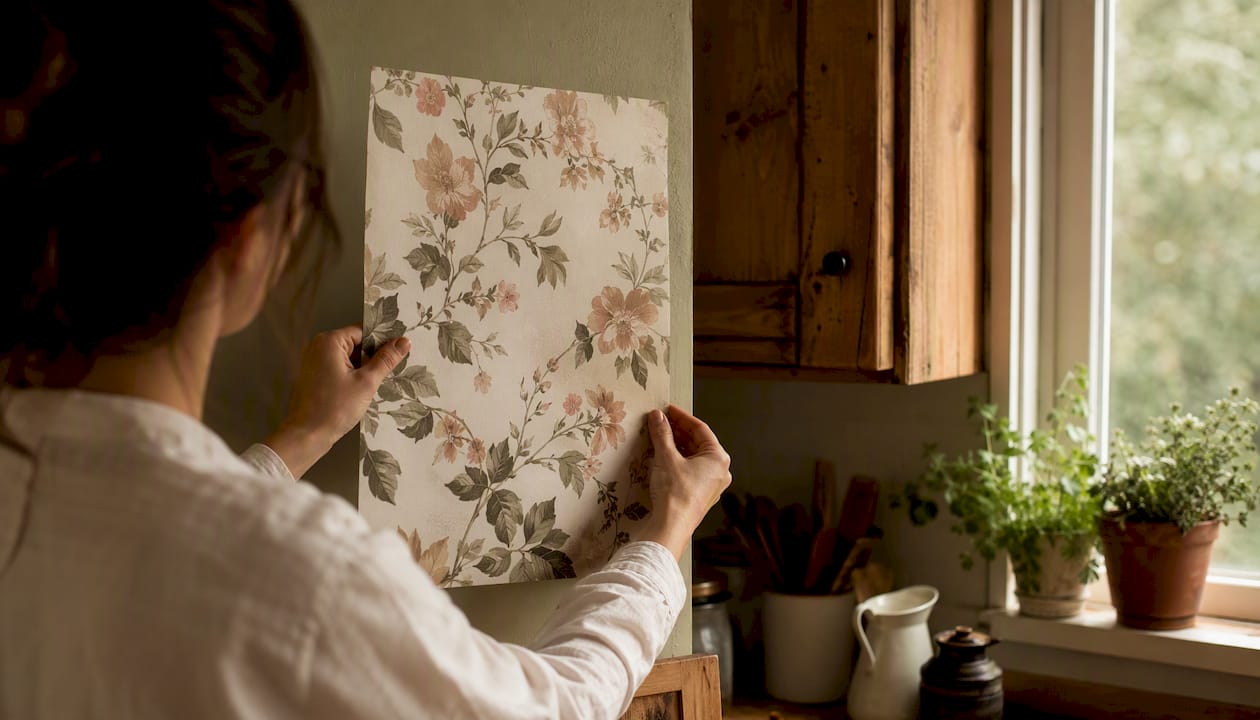
For testing wallpaper samples at home, view them at different times of day and under both natural and artificial light before signing off.
Common causes of color mismatch and how to fix them
Pro Tip: Keep a short log of Delta-E readings and decisions for every job. When a future project on a similar surface produces a mismatch, the log tells you exactly where the last one drifted.
| Failure mode | Immediate fix |
|---|---|
| Auto white balance in capture | Reshoot RAW with a locked custom white balance from a gray card |
| Out-of-gamut paint color | Request spectro match to nearest achievable anchor; document in brief |
| Metamerism under room light | Re-test under actual room light source; re-specify if Delta-E > 2.0 |
| Projector presets boosting saturation | Switch to neutral/standard mode; disable dynamic contrast |
| Textured wall scattering light | Prime test section; apply larger patch and re-measure after curing |
| Unprimed or tinted substrate | Prepare the surface properly before any color testing |
Technical background: why RAW and camera profiling matter
Academic research confirms that consumer cameras require characterization to yield color-accurate outputs. Standard museum imaging guidelines (Metamorfoze and FADGI) require color targets such as the X-Rite ColorChecker SG, and studies have identified specific chart patches (particularly dark and black patches) as disproportionate sources of average and maximum color deviation.
| Threshold | Value | Context |
|---|---|---|
| Acceptable Delta-E (non-critical) | < 2.0 | Standard interior color match |
| Desired Delta-E (critical anchor) | < 1.0 | Brand colors, tight client specs |
| Smartphone app Delta-E (daylight) | 2.0–3.5 | Per hardware colorimeter testing |
| Smartphone app Delta-E (warm indoor) | 4.0–8.0 | Per hardware colorimeter testing |
| Large-format DPI (2–5 m viewing) | 50–150 | Standard mural production |
Key findings:
- RAW capture plus bespoke ICC profiling reduces color errors compared to generic in-camera processing.
- Black and near-black patches in color charts are the most common bottleneck for accuracy metrics.
- PDF/X-4 export with embedded ICC profiles is the industry standard for large-format wallcovering production.
Key Takeaways
Reliable color accuracy in custom murals requires controlled capture, profiled devices, on-site proofing, spectrophotometer-backed paint matches, and lighting-verified client sign-off at every stage.
| Point | Details |
|---|---|
| Use physical color references | Specify anchor colors by paint brand code, not HEX; physical fan decks prevent display-to-pigment translation failures. |
| Profile every device | Shoot RAW with an X-Rite ColorChecker, calibrate your monitor to D65, and embed ICC profiles before sending files to print. |
| Proof at the wall | Project large color blocks at night, place physical swatches adjacent, and accept only matches that hold under the room’s actual lighting. |
| Spectrophotometer for paint | Hardware colorimeters average Delta-E ~0.6; smartphone apps average 2.0–3.5 in daylight and degrade further under warm indoor light. |
| Wallsneedlove for production | Wallsneedlove accepts physical paint codes, produces custom sample panels with quick turnaround, and carries Greenguard Gold certification for interior installations. |
Color accuracy as a studio habit, not a one-time check
The studios that consistently deliver accurate murals treat color verification as a routine part of production, not a final-stage scramble. Every project starts with anchor swatches pinned to a physical brief. Projection proofing always happens at night, with the projector position photographed and logged. Client sign-off requires a photograph of the approved sample panel taken under 5000K lighting, signed and dated.
Scaling this reliably means keeping a shared project folder with ICC profiles, a standardized naming scheme for sample panels (client name, date, paint code, finish, Delta-E reading), and a pre-job rental checklist for spectrophotometers and projectors. These habits remove the guesswork from handoffs between designers, printers, and installers. When a color question comes up on-site, the answer is already in the folder.
Wallsneedlove supports color-accurate custom mural production
Wallsneedlove produces custom wall murals with a 1–3 day turnaround, accepts physical paint codes alongside digital files, and ships sample panels so designers can proof colors at the actual wall before committing to a full order. Every product carries Greenguard Gold certification, which matters for residential and commercial interiors where air quality standards apply.

For designers working through the workflow above, the practical next step is ordering a sample panel to run the patch test and Delta-E check before final production. Wallsneedlove’s installation guides and paneling documentation reduce on-site surprises, particularly for oversized custom murals where seam placement and bleed affect color continuity. Request a sample or start a custom order at wallsneedlove.com.
Curated sources and further reading
Academic and technical:
- Achieving Colour-Accurate Data from Images: Challenges and Solutions — camera characterization, RAW workflows, ColorChecker use, and Delta-E benchmarks.
Trade and how-to:
- How to Achieve Accurate Color Calibration for Outdoor Murals — projector calibration workflow and on-site patch testing.
- Specifying Color Values for Custom Art: A Designer’s Guide — physical paint codes vs. HEX, ASTM lightfastness, and fan deck use.
- How to Choose a Mural Color Palette That Flows With the Whole House — undertones, dominant neutrals, and palette cohesion for interiors.
- The Importance of Color and How to Choose One — undertone analysis and palette selection from a professional painting perspective.
Tools and benchmarks:
- Best App to Match Paint Color From Photo 2026: 6 Tested — Delta-E comparisons between hardware colorimeters and smartphone apps.
- Artwork Specifications for Printing: A Professional Guide to Large-Format Wallcoverings — DPI by viewing distance, ICC profiles, PDF/X-4 export, and panel bleed.


Leave a comment