

Layering Textures with Faux Finish Wallpaper: 2026 Guide
Layering textures with faux finish wallpaper is defined as combining multiple wall treatments to create depth, warmth, and visual interest in a room. Faux finish wallpaper simulates real materials like marble, leather, plaster, and stone using high-resolution digital printing that replicates shadow, grain, and tonal depth so convincingly that viewers instinctively reach out to touch the surface. The industry term for this practice is “layered wall treatment,” and it covers everything from a subtle plaster-look base paired with a woven textile accent to a bold stone feature wall anchored by natural wood trim. The ceiling, known as the “fifth wall,” expands layering possibilities beyond the four standard surfaces. Done well, this approach adds dimension to any room without costly renovations.
What materials do you need for layering faux finish wallpaper?
The right materials determine whether a layered wall treatment looks polished or patchy. Faux finish wallpapers fall into several distinct categories, each suited to a different role in a layered scheme.
Common faux finish wallpaper types:
- Plaster-look wallpaper. Soft, matte surface that works as a neutral base layer. Pairs well with wood accents and linen textiles.
- Stone and concrete texture. Higher visual weight. Best used on a single accent wall rather than all four surfaces.
- Leather and suede finish. Adds warmth and visual interest without the cost of real upholstered panels. Works in bedrooms and home offices.
- Faux wood grain. A natural, organic texture that layers well with geometric or botanical prints. Wallsneedlove’s faux wood removable wallpaper is a popular choice for living rooms.
- Geometric and subtle pattern prints. Low-relief visual texture that reads as a base layer when kept in a tonal palette.
Beyond the wallpaper itself, you need a few core tools and supplies.
| Item | Purpose | Best for |
|---|---|---|
| Wallpaper adhesive or paste | Bonds traditional wallpaper to the wall | Non-peel-and-stick applications |
| Smoothing tool or squeegee | Removes air bubbles during installation | All wallpaper types |
| Utility knife and straight edge | Trims edges cleanly at corners and ceilings | Precision cuts |
| Seam roller | Presses seams flat for an invisible join | Pattern-matched faux textures |
| Tonal glaze or layering paint | Adds a translucent color wash over wallpaper | Enhancing depth on plaster or stone prints |
| Wall primer | Creates an even, adhesion-ready surface | All installations, especially textured walls |
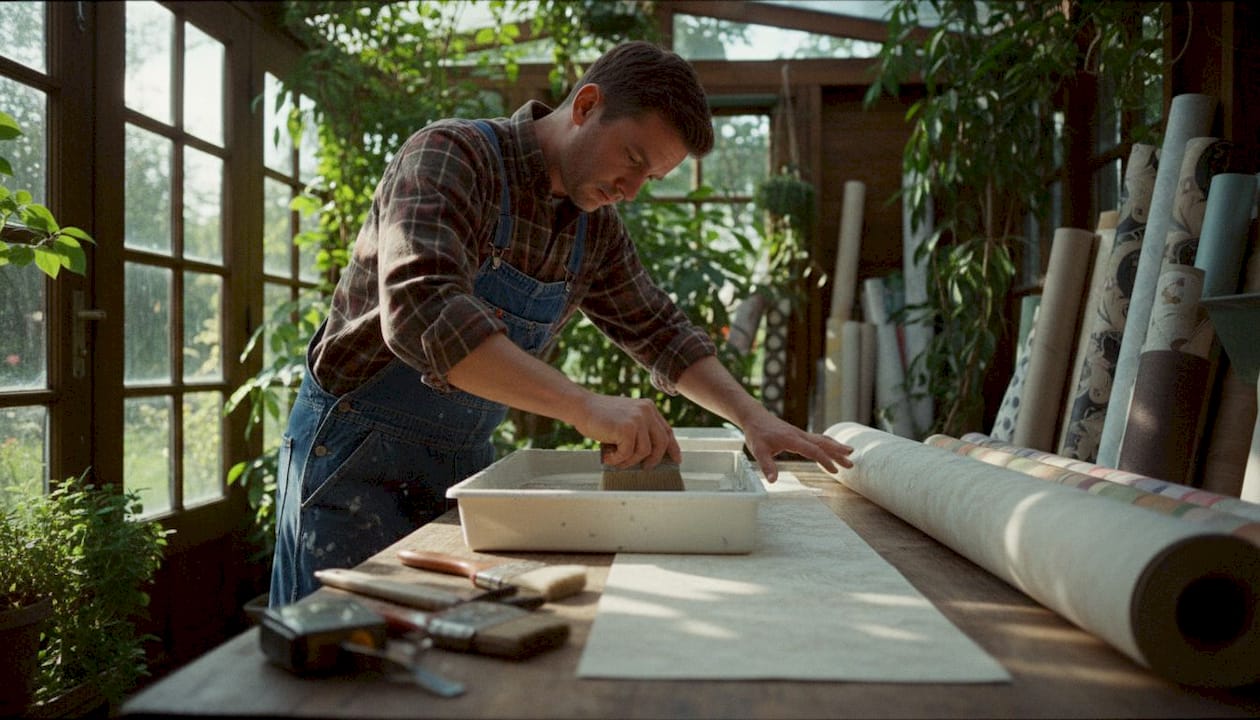
Pro Tip: Order a physical sample before committing to a full roll. Testing wallpaper samples at home under your room’s actual lighting reveals color shifts and texture depth that screen previews cannot show. Wallsneedlove’s sample testing guide walks through this process step by step.
How to layer textures effectively using faux finish wallpaper
Effective layering follows a clear sequence. Skipping steps, particularly surface preparation, causes the most common installation failures.
The layering process: step by step
- Prepare the wall surface. Fill cracks, sand rough patches, and apply a coat of primer. A smooth, clean surface is the single biggest factor in a professional result.
- Choose your base layer. Select a low-contrast faux finish, such as a plaster or concrete look, in a neutral tone. This layer sets the room’s overall texture register without competing with accent elements.
- Plan your accent wall or zone. Identify one wall or architectural feature, such as a fireplace surround or alcove, for a bolder texture. Pairing subtle base wallpaper with bold patterned accents prevents flat, one-dimensional spaces.
- Install the base layer first. Follow the manufacturer’s instructions for peel-and-stick or paste application. Work from the center of the wall outward to keep patterns aligned.
- Add complementary materials. Introduce natural wood shelving, linen curtains, or woven rugs after the wallpaper is set. Layering faux wallpaper with natural materials like wood and textiles creates a cozy, lived-in atmosphere that modern interior designers favor.
- Apply the accent layer. Install the bolder faux finish on your chosen feature wall. Keep the color palette tonal, meaning the accent should share at least one color value with the base.
- Position lighting strategically. Ambient lighting at an acute angle enhances the three-dimensional illusion of textured wallpaper. Wall sconces and directional recessed lights work best.
- Evaluate and adjust. Step back and view the room from the doorway. Check that no single texture dominates and that the layers read as a unified composition.
Pairing textures for visual depth
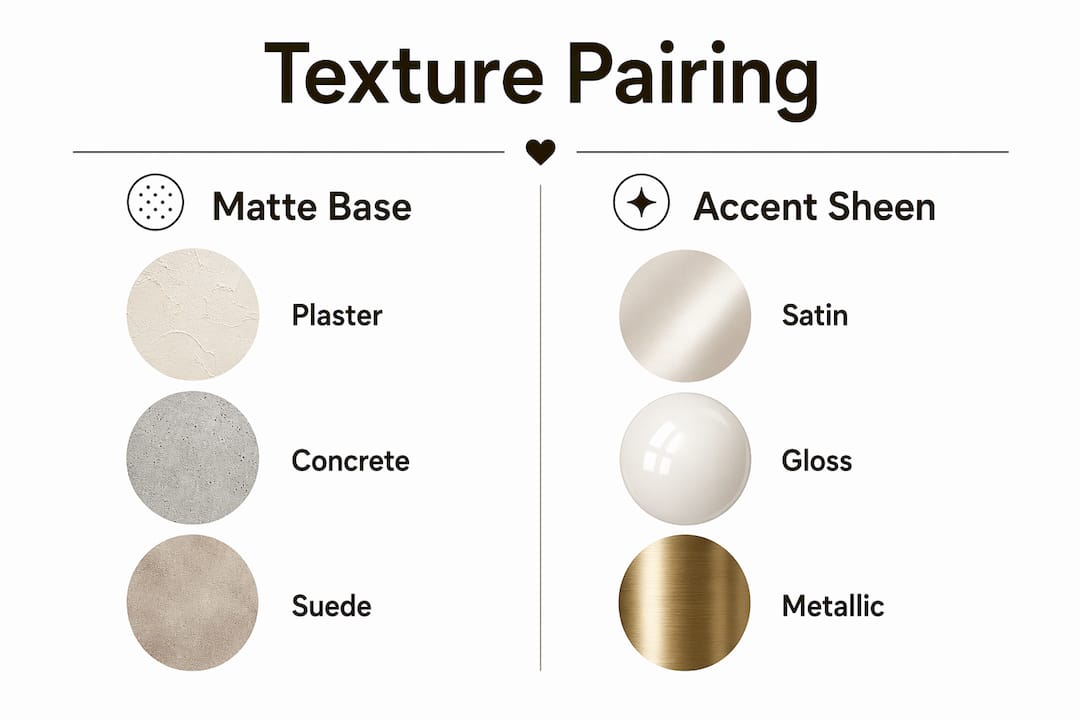
The most effective pairings follow a simple rule: one matte, one with slight sheen. A matte plaster base paired with a satin-finish geometric accent creates contrast without visual noise. Advanced digital printing allows designers to alter specific color areas within a single wallpaper panel, producing nuanced tonal layering that paint alone cannot achieve. This means even a single sheet of well-designed faux wallpaper already contains built-in depth before you add a second layer.
Pro Tip: After installation, run your hand lightly across the wallpaper surface in low light. If the texture reads as flat, reposition a directional light source to cast a raking angle across the wall. The shadow effect will immediately increase perceived depth.
What design styles benefit most from layered faux finish wallpaper?
Layered wall treatments work across a wide range of interior styles. The key is matching the faux finish type to the room’s existing palette and furniture weight.
- Modern and minimalist. Use a concrete or plaster-look base on all walls, then add a single geometric accent in a slightly darker tonal value. The result is quiet depth without pattern clutter. Wallsneedlove’s wallpaper styles guide for living rooms covers this approach in detail.
- Rustic and organic. Faux wood grain on one wall paired with a linen-texture print on the adjacent wall creates warmth. Add real wood furniture and woven textiles to complete the layered effect.
- Industrial. A concrete-look base with a dark stone accent on the feature wall suits open-plan spaces. Keep metallics minimal so the textures carry the visual weight.
- Cozy luxury. Leather or suede faux finishes in deep neutrals, layered with soft lighting and velvet upholstery, produce the high-end look that 2026 interior trends favor. Modern faux finishes favor matte or satin sheen and neutral palettes over high-contrast combinations.
Bedrooms benefit from softer faux textures, particularly plaster and suede looks, because they reduce visual stimulation while adding warmth. Living rooms can carry bolder stone or wood grain accents because the larger floor area absorbs the visual weight. The ceiling deserves special attention. Applying faux finish wallpaper on ceilings tricks the eye into making rooms feel larger and more dynamic, a technique that works especially well in low-ceiling apartments.
Faux finish wallpaper also solves a practical problem. Textured wallpapers hide wall imperfections and deliver a polished look on uneven surfaces. Older homes with plaster walls that have settled and cracked benefit significantly from this approach.
What are the most common challenges when layering faux finish wallpaper?
Most layering problems fall into three categories: texture mismatch, installation errors, and lighting failures. Each has a clear fix.
- Over-contrasting textures. Combining a rough stone print with a high-gloss geometric creates visual conflict. The fix is tonal alignment: keep all textures within two shades of each other and vary sheen rather than color.
- Mismatched pattern scale. A large-scale marble print next to a large-scale wood grain competes for attention. Pair one large-scale texture with one small-scale or near-solid texture.
- Poor surface preparation. Bubbles, lifting seams, and visible joins almost always trace back to an unprimed or uneven wall. Sand, prime, and let the surface dry fully before installation. Reviewing common installation mistakes before starting saves significant rework time.
- Flat appearance after installation. This happens when overhead lighting washes the texture out evenly. Reposition at least one light source to a raking angle of roughly 30 degrees from the wall surface.
- Color shift between sample and installed wallpaper. Room lighting, particularly warm incandescent versus cool LED, changes how faux finishes read. Tonal movement and light-reactive surfaces are what make layered looks feel elegant rather than flat, so testing under your actual room lighting is non-negotiable.
Pro Tip: Before committing to a full installation, tape a large sample of each wallpaper to the wall and live with it for 48 hours. View it at different times of day and under artificial lighting. This single step eliminates the majority of post-installation regrets.
The comparison between wallpaper texture and painted walls is also worth reviewing if you are deciding whether to use faux wallpaper or a layered paint technique for a specific surface.
Key Takeaways
Layering textures with faux finish wallpaper works best when you pair a matte base layer with a tonal accent, position lighting at a raking angle, and introduce natural materials to complete the composition.
| Point | Details |
|---|---|
| Start with a neutral base layer | Choose a low-contrast plaster or concrete faux finish to anchor the room’s texture register. |
| Use tonal color alignment | Keep all textures within two shades of each other and vary sheen rather than color value. |
| Light placement is critical | Position wall sconces or directional recessed lights at an acute angle to maximize perceived depth. |
| Natural materials complete the layer | Add wood, linen, or woven textiles after wallpaper installation to build a cohesive, lived-in look. |
| Test samples before full installation | Live with large wall samples for 48 hours under real room lighting before committing to a full roll. |
Why subtle layering outperforms bold contrast every time
At Wallsneedlove, we have seen hundreds of layering projects, and the ones that photograph well are rarely the ones that felt boldest on paper. The rooms that consistently impress are the ones where the textures are almost invisible at first glance. You notice warmth and depth before you notice the wallpaper itself. That is the goal.
The instinct to go high-contrast is understandable. A dramatic stone wall next to a bright geometric print looks exciting in a mood board. In a real room, it reads as busy within a week. The projects we return to again and again are the ones where a soft plaster base meets a barely-there wood grain accent, and the whole thing is pulled together by a single directional light source that makes the wall feel three-dimensional.
One thing homeowners consistently underestimate is the ceiling. Treating it as the fifth wall and applying even a subtle faux finish there changes the entire spatial experience of a room. It is the single highest-impact, lowest-risk move in layered wall design.
The 2026 trend toward understated sophistication confirms what we have always believed: restraint is a skill. Pick two textures, keep them tonal, light them well, and let the materials do the work.
— Wallsneedlove
Wallsneedlove’s faux finish wallpaper collection
Wallsneedlove offers a range of removable faux finish and textured wallpapers designed for exactly this kind of layered approach.

The Pixel Diamonds geometric wallpaper works as a clean, low-contrast base layer in modern and minimalist rooms. For accent walls that need more character, the Monkeying Around wallpaper injects personality without overwhelming a tonal palette. All Wallsneedlove wallpapers are Greenguard Gold certified, custom printed within 1–3 days, and available in peel-and-stick or traditional paste formats. Browse the full textured wallpaper collection to find the right combination for your layering project.
FAQ
What is layering textures with faux finish wallpaper?
Layering textures with faux finish wallpaper means combining multiple wall treatments, such as a plaster-look base with a stone or wood grain accent, to create depth and visual interest in a room. The technique uses digital-print wallpaper to simulate real materials without the cost of actual stone, leather, or plaster.
How many texture layers should a room have?
Two layers is the standard for most rooms: one base texture covering all walls and one accent texture on a single feature wall. Adding a third layer on the ceiling, the “fifth wall,” works well in larger spaces.
Can faux finish wallpaper hide wall imperfections?
Yes. Textured faux finish wallpapers cover uneven surfaces, hairline cracks, and minor plaster damage while delivering a polished result. This makes them particularly useful in older homes with settled walls.
What lighting works best with layered faux finish wallpaper?
Wall sconces and directional recessed lights positioned at an acute angle to the wall surface produce the strongest three-dimensional effect. Overhead lighting that hits the wall straight on flattens the texture and reduces the visual impact of the layered finish.
Is peel-and-stick wallpaper suitable for layering projects?
Peel-and-stick wallpaper is fully suitable for layering projects and is the preferred format for renters or anyone who wants to change designs without wall damage. Proper surface preparation, including a clean, primed, and dry wall, is still required for a bubble-free result.


Leave a comment