

Should You Prime Before Peel-and-Stick Wallpaper?
On clean, sound satin or eggshell paint, priming is optional. The right primer does two jobs at once: it gives the adhesive a consistent surface to grip, and it helps wallpaper come off later without tearing the drywall paper underneath.
Three wall conditions push priming from “nice to have” to “necessary”:
- Bare or new drywall, which is too porous for peel-and-stick adhesive to bond evenly.
- Fresh joint compound patches, which absorb adhesive differently than the surrounding paint.
- Heavily textured, sanded, or dusty surfaces, which leave adhesive with nothing consistent to hold onto.
Products like PRO-977 Ultra Prime and Zinsser Shieldz Universal Wallcovering Primer are built for exactly this job, and Wallsneedlove’s own installation guides walk through where each one fits in a real prep sequence.
Key Takeaways
A properly primed wall improves peel-and-stick wallpaper adhesion and lets you remove it later without damaging the drywall underneath.
| Point | Details |
|---|---|
| Prime bare or patched walls | Bare drywall, fresh joint compound, and porous surfaces all need an acrylic wallcovering primer before installation. |
| Skip priming on sound painted walls | Clean, cured satin or eggshell paint usually doesn’t require primer, but a test patch confirms it. |
| Choose acrylic over PVA | Acrylic wallcovering primers like PRO-977 or Zinsser Shieldz grip adhesive; PVA and flat paint absorb it unevenly. |
| Respect cure time before hanging | Wait for the primer’s optimum dry window, often 12 hours or longer for deep patches, before applying wallpaper. |
| Order a sample from Wallsneedlove | Test color and adhesion with a sample swatch before committing to a full custom peel-and-stick order. |
Table of Contents
- Do You Really Need a Peel and Stick Primer Here?
- How Do You Prep a Wall for Wallpaper Primer?
- Which Type of Primer Works Best for Peel-and-Stick?
- How Do You Apply Primer Before Wallpapering?
- Why Do Some Peel-and-Stick Walls Fail Later?
- What Happens to Leftover Primer and Empty Cans?
- What Safety Gear Do You Need to Apply Primer?
- Sources
Do You Really Need a Peel and Stick Primer Here?
Not every wall needs it. Run through this list before you spend money or time.
- Bare drywall always needs primer. The paper facing soaks up adhesive unevenly, which leads to weak spots and bubbling later.
- Fresh joint compound patches need primer, but only after they’ve cured. Compound is porous and will pull moisture out of the adhesive if it’s primed too early or not at all.
- Porous, chalky, or mottled paint needs primer to even out how the surface absorbs adhesive.
- Heavy sanding dust left behind from patch work needs to be primed over (after cleaning), since dust prevents any adhesive from bonding properly.
- Textured walls (orange peel, light stucco) often need a coat to knock down surface variation, though heavy texture may need skim-coating first.
If your wall is recently painted with satin or eggshell, clean, and free of patches, you can usually skip priming. Manufacturers often list priming as optional on painted walls, but installers tend to recommend it anyway when conditions are uncertain, since a $20 can of primer is cheaper than a wallpaper panel that won’t sit flat.
Pro Tip: Before committing to a full roll, cut a 6-inch scrap from a sample and stick it to an inconspicuous section of wall. Press it firmly, wait 24 hours, then try to peel it back. If it lifts cleanly, your wall is ready. If it resists or takes paint with it, prime first.
How Do You Prep a Wall for Wallpaper Primer?
Good prep is mostly patience, not skill. Follow this order and you’ll avoid the two most common mistakes: priming over dust and priming too soon after patching.
- Inspect the wall in raking light. Turn off overhead lights and shine a flashlight sideways across the surface. This reveals dents, nail pops, and old patch edges you’d otherwise miss.
- Remove loose material. Scrape off peeling paint, old tape residue, and any flaking compound, then vacuum the wall and baseboards to pull dust out of the texture.
- Repair damage. Fill holes and dents with spackle or joint compound, feathering the edges out several inches so the patch doesn’t create a visible ridge once wallpaper goes up.
- Sand smooth. Once dry, sand patches flush with the surrounding wall using fine-grit paper, then wipe down with a slightly damp cloth to catch residual dust.
- Degrease and clean. Kitchens and bathrooms especially need a wipe-down with a mild detergent solution, followed by a clean-water rinse. Skip anything oil-based, which can interfere with primer adhesion.
- Address texture. Light texture can be primed as-is. Heavier texture often needs a thin skim coat of joint compound to create a workable surface for pattern-matched wallpaper.
- Spot-prime patches first. Coat just the repaired areas and let them dry before priming the full wall. This keeps the compound’s higher absorption from showing through as a dull patch under the topcoat.
- Test before you commit. Once the wall is primed and dry, apply a wallpaper scrap to confirm the adhesive bonds the way you expect.
Pro Tip: Patch compound can look and feel dry on the surface while still holding moisture underneath. Deep repairs sometimes need several weeks to fully cure before they’re ready for a pressure-sensitive adhesive, so when in doubt, wait longer than you think you need to.
Which Type of Primer Works Best for Peel-and-Stick?
Not all primers behave the same way once adhesive hits them, and the wrong choice can undo everything else you did right during prep.
Acrylic-based primers are the standard recommendation. They dry into a flexible, non-porous film that gives pressure-sensitive adhesive something to grip without soaking it up. PVA primers, by contrast, stay porous and absorbent long after they dry. That’s fine for regular paint, but it’s a problem for peel-and-stick adhesive, which can lose its tack as the primer pulls moisture out of it. Flat paint has the same issue, minus the primer’s sealing benefit. Neither belongs under peel-and-stick wallpaper.
Look for a primer labeled specifically as a wallcovering primer. That label signals a few things worth checking on the can:
- Strippability language on the label, meaning the manufacturer designed the film to release cleanly later.
- Tintability, so the primer can be gray-tinted for dark wallpaper or kept white for light patterns.
- Coverage and dry time specs, so you can plan material and scheduling before you start.
- Low VOC and low odor, especially relevant for occupied homes or commercial spaces with limited ventilation.
PRO-977 Ultra Prime is a pigmented acrylic wallcovering primer built around this exact use case. It’s zero VOC per EPA Method 24, tintable up to 4 ounces, and covers roughly 400 to 450 square feet per gallon, with a minimum dry time of 3 hours and an optimum dry window of 12 hours before wallpapering. Zinsser Shieldz Universal Wallcovering Primer takes a slightly different approach, combining priming, sealing, and sizing into one coat while adding mold and mildew resistance, useful in bathrooms or basement walls.
A high-quality eggshell paint can substitute in a pinch on a clean, previously painted, low-porosity wall. It shouldn’t replace primer on bare drywall or patched areas, where sealing and strippability actually matter.
How Do You Apply Primer Before Wallpapering?
Application is straightforward, but timing trips people up more than technique does.
- Use a 3/8-inch nap roller for the main wall and an angled brush for corners and edges.
- Prime patched spots first with a mini-roller, let them dry, then roll the full wall for even coverage.
- One coat is usually enough on previously painted, sound walls. Bare drywall or heavily patched walls often need two coats for full sealing.
- Respect the minimum dry time on the label before handling the wall, but wait for the manufacturer’s optimum cure window before applying peel-and-stick wallpaper. With PRO-977, for example, that’s a minimum of 3 hours and an optimum of 12.
- Keep the room between 65 and 85 degrees Fahrenheit with a window cracked or a fan running. Cold, damp conditions slow curing and can trap moisture under the wallpaper later.
Why Do Some Peel-and-Stick Walls Fail Later?
Most adhesion failures trace back to one of three causes: bubbling from trapped air or moisture, edge lift where seams weren’t pressed firmly, or adhesive that soaked unevenly into an unprimed patch. Each has a fix, and each is easier to prevent than repair.
- Bubbling usually means the wall wasn’t fully clean or the patch wasn’t dry before priming. Puncture small bubbles with a pin and smooth them flat; larger ones may need the panel lifted and reset.
- Edge lift often comes from insufficient pressure during install. A firm pass with a smoothing tool along every seam solves most cases.
- Adhesive soaking into unprimed patches shows up as dull, discolored patches under the wallpaper. The only real fix is removing that section and re-priming before reinstalling.
A proper wallcovering primer reduces all three risks, and it does something else worth mentioning: it protects the wall itself. Primer creates a barrier between the adhesive and the drywall paper, so when it’s time to pull the wallpaper down, you’re peeling off a primed film rather than tearing into the wall’s paper facing. Renters and anyone planning to change wallpaper again in a few years should treat this as a non-skippable step, not a shortcut.
Pro Tip: If you’re renting, do the scrap-and-peel test on your primer coat itself before committing to the full room. It confirms the wallpaper will release cleanly at move-out.
What Happens to Leftover Primer and Empty Cans?
Most acrylic wallcovering primers are water-based, which makes cleanup and disposal simpler than oil-based products, but they still need to be handled correctly rather than poured down a drain or tossed in regular trash while wet.
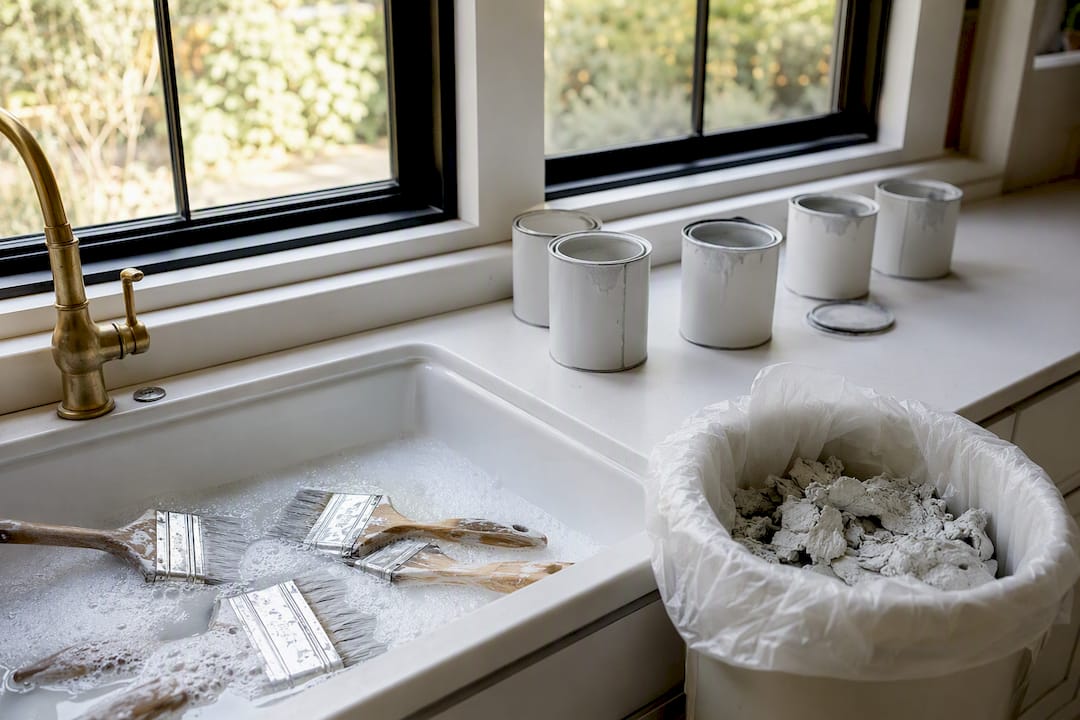
Let small amounts of leftover primer dry out completely in the can, with the lid off, in a ventilated space away from kids and pets. Once it’s solid, most municipal trash services accept it as regular waste. For larger leftover quantities, many cities run household hazardous waste drop-off programs, or paint recycling programs through retailers, that will take latex and acrylic primer even though it’s not classified as hazardous in most areas.
Rollers, brushes, and trays clean up with soap and water since these are water-based formulas. Avoid rinsing heavy paint or primer residue directly into a storm drain. A sink with a strainer, followed by wiping excess product into a paper towel for the trash, keeps runoff out of the water system.
Check your primer’s label for VOC content before buying if indoor air quality is a concern, particularly for occupied commercial spaces or nurseries. Zero-VOC and low-VOC acrylic wallcovering primers are now common enough that there’s little reason to reach for a higher-emission product, and they make same-day room turnaround easier since off-gassing is minimal.
What Safety Gear Do You Need to Apply Primer?
Acrylic wallcovering primers are low-odor and low-VOC compared to older oil-based products, but a few basic precautions still apply, especially in smaller rooms or commercial spaces being turned around quickly.
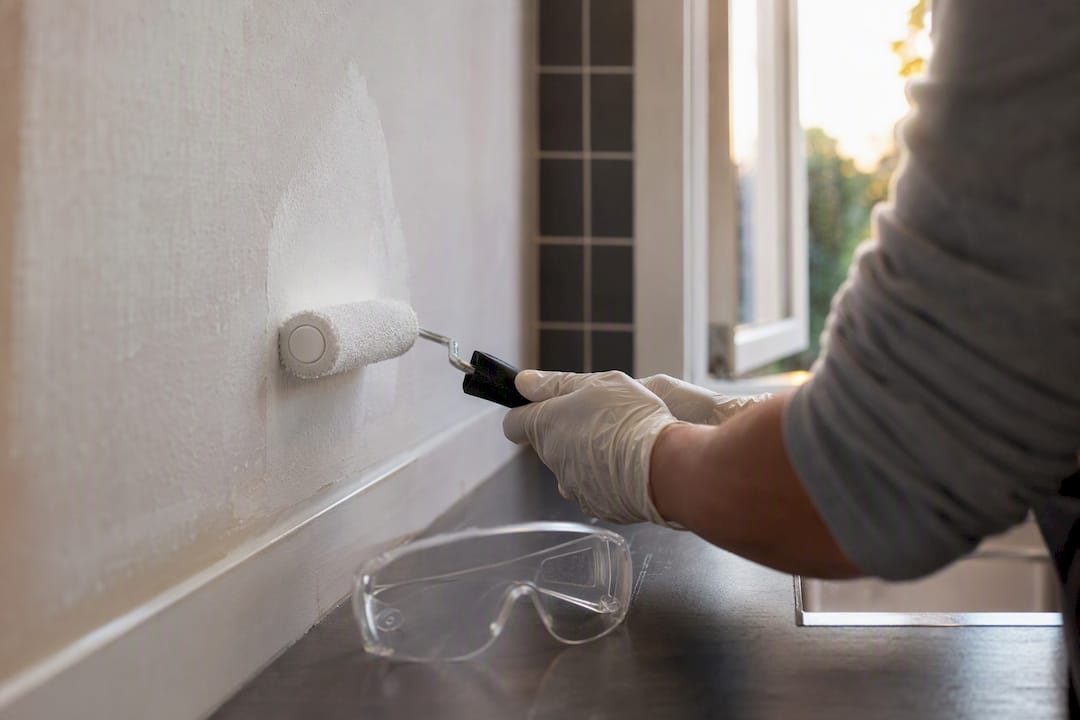
Open a window and run a fan to keep air moving while you prime, even with a zero-VOC product. Ventilation speeds drying as much as it protects air quality. Wear safety glasses if you’re rolling primer overhead or near eye level, since splatter happens even with a controlled roller technique. Nitrile or latex gloves keep primer off your hands and out from under your fingernails, which matters more than it sounds once you’re several hours into a project.
If you’re sanding patches or drywall before priming, wear an N95 dust mask. Drywall dust is fine enough to irritate lungs, and it lingers in the air longer than most people expect after sanding stops. Keep pets and small children out of the room while primer is wet and for the first hour or two of drying, and always read the specific product label for any additional manufacturer warnings, since formulas vary slightly between brands.
What Do Installers Say About Prepping for Peel-and-Stick?
Installers follow a simple sequence: inspect, repair, spot-prime, prime the full wall, then test. Many prefer a pigmented wallcovering primer like PRO-977 because it creates uniform slip, which makes pattern matching and double-cutting seams noticeably easier. Order a sample before you buy a full roll, and bring in a pro if your walls have extensive texture or damage.
— WallsNeedLove
Ready to Order? Start With a Sample and the Right Prep
Good primer gets you a clean surface and how to plan wall decor for stunning, cohesive results depends on that uniform look. What goes on top of it is where the room actually comes together, and that’s where Wallsneedlove does the heavy lifting: custom-printed wallpaper made to order in 1 to 3 days, Greenguard Gold certified, with installation guides written for exactly the prep work covered above.

Once your wall is primed and cured, order a sample swatch before committing to a full roll. It’s the fastest way to confirm color, pattern scale, and how the material feels against your specific wall. Browse patterns like Monkeying Around for a playful accent wall, the large-format Java Mountain mural for a statement space, or the graphic Pixel Diamonds pattern for a modern geometric look. Every product page links to installation instructions, so you can check adhesive requirements before you buy. Visit the full wallpaper collection to start browsing, and order your sample today.
Sources
- Why Is It Important to Prime Before Wallpaper Installation? - Angi
- Shieldz® Universal Wallcovering Primer - Zinsser (Rust-Oleum)


Leave a comment